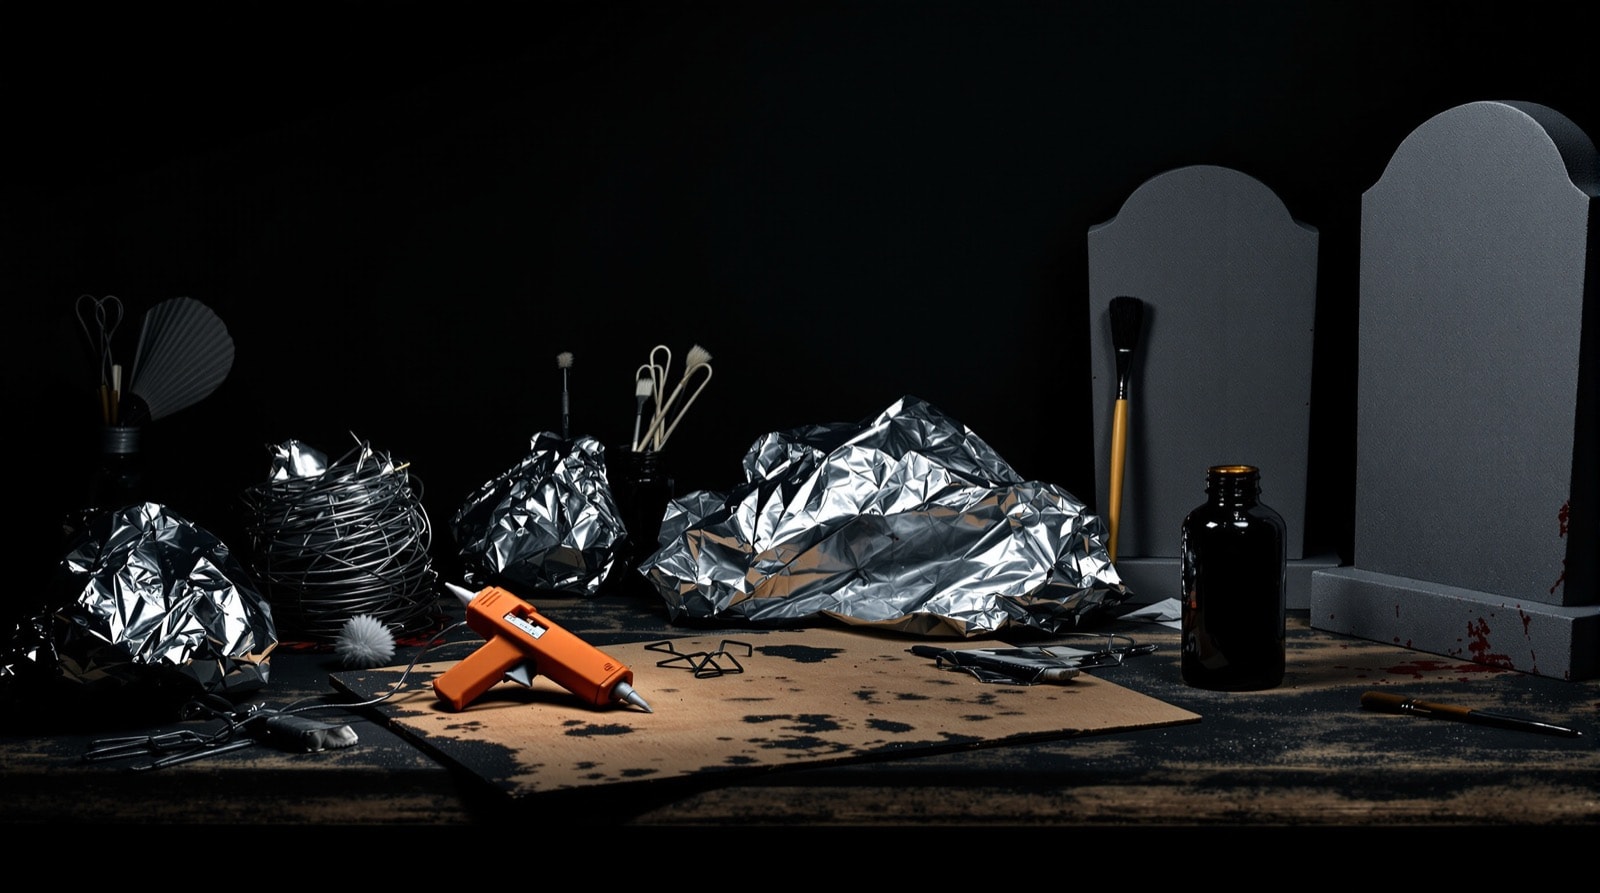
The Prop Shed covers home-haunt prop building — the kind done at a folding table in a garage, with a hot-glue gun, a bag of wire coathangers and a roll of aluminium foil. Everything collected here was worked out by hobbyists decorating a yard, a porch or a party room for Halloween, and the whole body of technique rests on one stubborn idea: that a convincing prop is a problem of observation and patience, not of budget.
These are not kit builds. There is no latex to pour, no mould box to fill, no silicone to mix. The most expensive material named anywhere on this site is a can of wood stain. The most common ones — wire, foil, glue, tissue, newspaper, plastic sheeting, dollar-store foam board — are things most households already have in a drawer.
The cheap-materials philosophy
Read enough of the tutorials in the project index and a small number of moves keep reappearing. They are worth learning as techniques in their own right, because once you have them you can build almost anything.
- Wire makes the skeleton. A straightened coathanger holds a shape, takes a bend, and costs nothing. Bats, spiders, ghosts, spectres and zombie arms are all the same trick: bend a wire armature, then dress it.
- Foil makes the volume. Aluminium foil pressed over a form picks up every crease and hollow, and it does it in seconds. Skinned with a thin coat of hot glue it becomes a rigid, feather-light shell.
- Hot glue makes the surface. Laid in circles it reads as bone. Laid in crossing threads it reads as veined skin. Laid over a wire joint it reads as tendon. It is the single most versatile material in the shed, and the one most worth practising on scrap.
- Tissue and wood glue make the rot. One ply of cheap facial tissue laid into wet wood glue dries into a puckered, papery skin that takes stain beautifully. This is the whole of corpsification, and it costs pennies per figure.
- Paint makes it believable. Almost every finish here is a dark wash pushed into the recesses and then wiped back off the high points. That one move — ink over white, black over brown, stain over tissue — is what separates a prop that reads at ten feet from a prop that reads as a toy.
- Light makes it frightening. Half the props on this site do very little in daylight. A single low side-light, a blacklight, or a lamp behind glass does more for a prop than another four hours of detailing.
How the projects are organised
The project index groups every tutorial by the technique it teaches rather than by the object it makes, because the techniques transfer and the objects do not. If you have never built a prop before, the wire-armature projects are the place to start — bats and wire ghosts both finish in an evening and both teach the bend-and-dress method that half the rest of the site assumes you already know.
If you want to understand why any of this works at all, read head in a jar first. It is the most-copied idea here and it contains no sculpture whatsoever: it is a flat printed face, curved inside cheap glass, in bad light. The prop is the lighting and the distortion. Everything else is paper.
Before you start: read the safety page
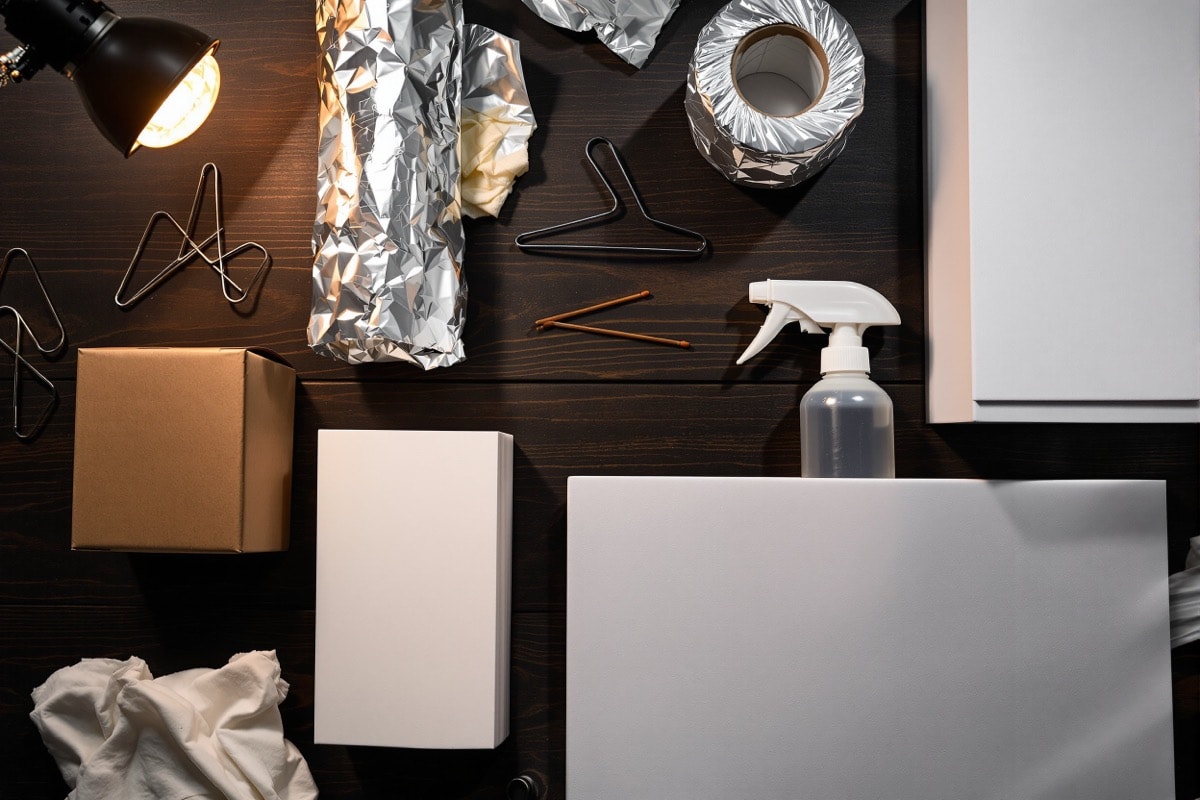
These projects use a glue gun running near 190 °C, craft knives and single-edged razors, cut sheet metal, solvent-based stain and spray paint, and — in the case of the flame box — a mains-powered floodlight sitting inches from loose fabric. None of that is exotic, and none of it is trivial either. The tools and safety page sets out the handful of habits that keep this hobby uneventful: how to hold hot glue so it cannot end up in your palm, how to hem a cut tin edge, why solvent work belongs outdoors, and why a lit prop is a fire-safety question rather than a decorating one. The National Fire Protection Association's Halloween guidance is the short version and is worth five minutes before the first of October.
A note on what this site is
This is an independent, non-commercial reference. Nothing here is for sale, there is nothing to subscribe to, and no services of any kind are offered. The techniques documented are ordinary public hobby craft, written up so that they stay findable. If a project on this site saves someone forty dollars and an evening of guessing, it has done its job.
The projects
Eighteen builds. Every one of them is wire, foil, glue, tissue, foam or paint — usually several at once. The project index groups them by technique if you would rather learn a method than make an object.
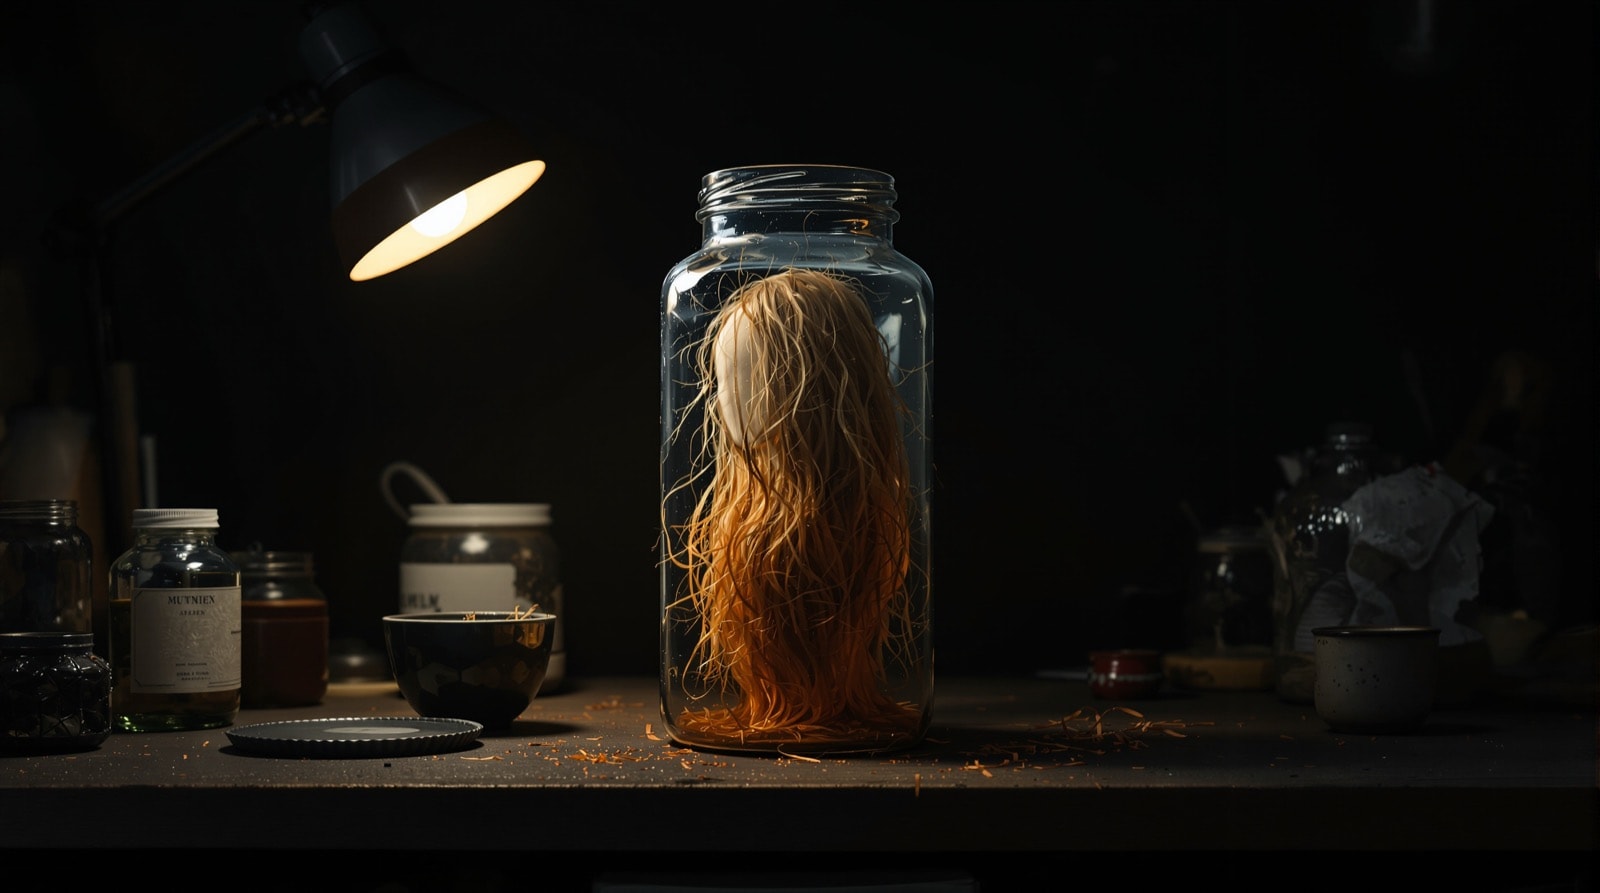 Head in a jarA flat printed face curved inside cheap glass. No sculpture at all.
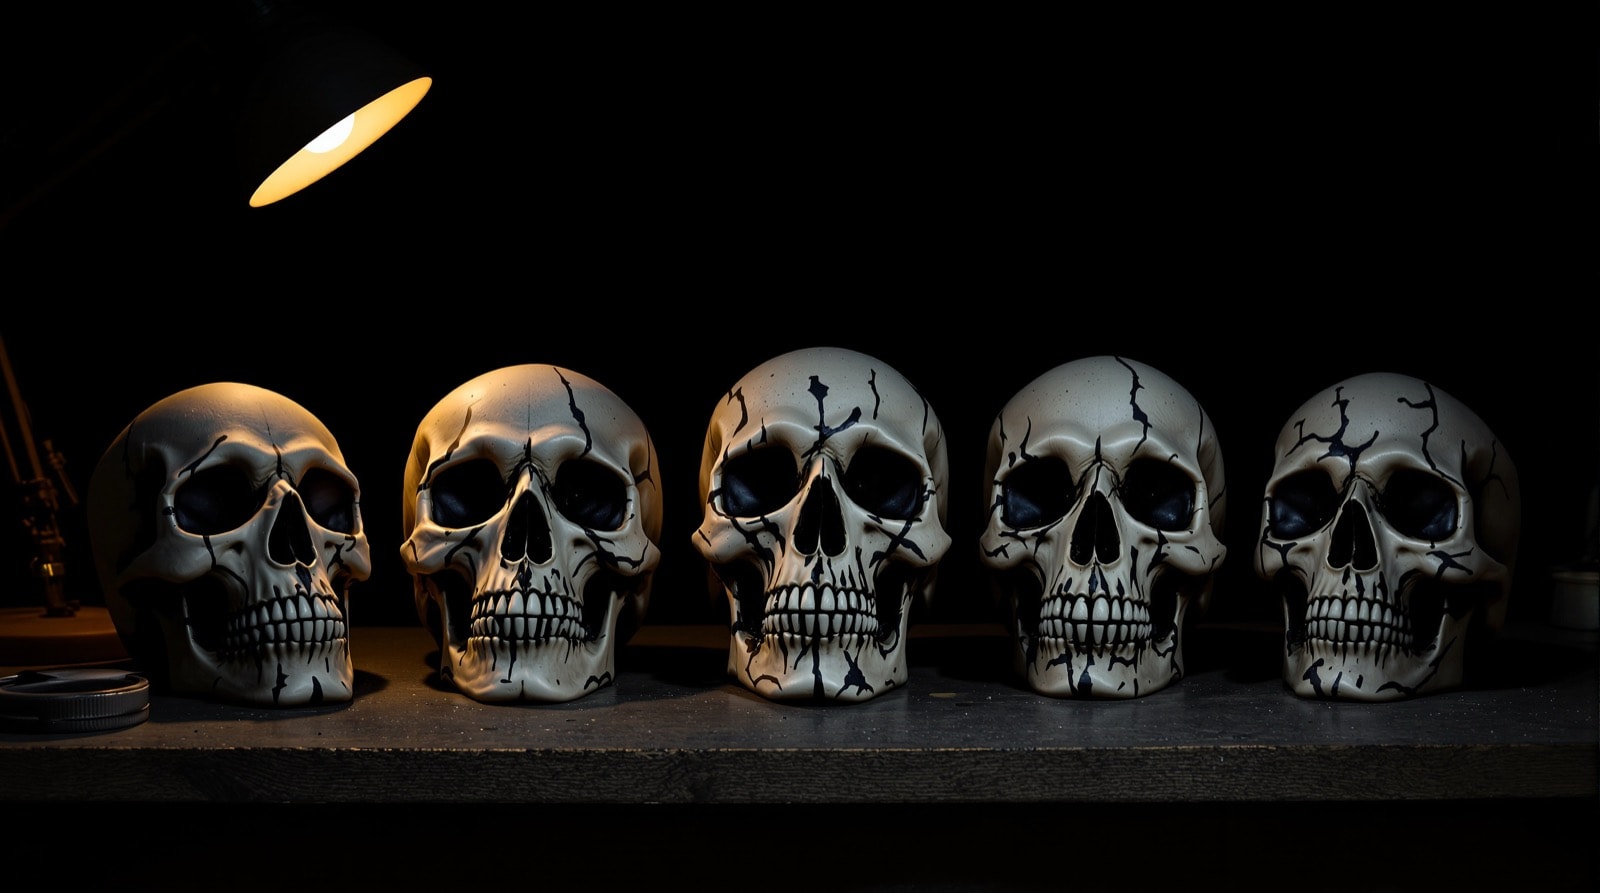 Cheap skullsFoil pressed over a bought skull, skinned in hot glue. Four parts.
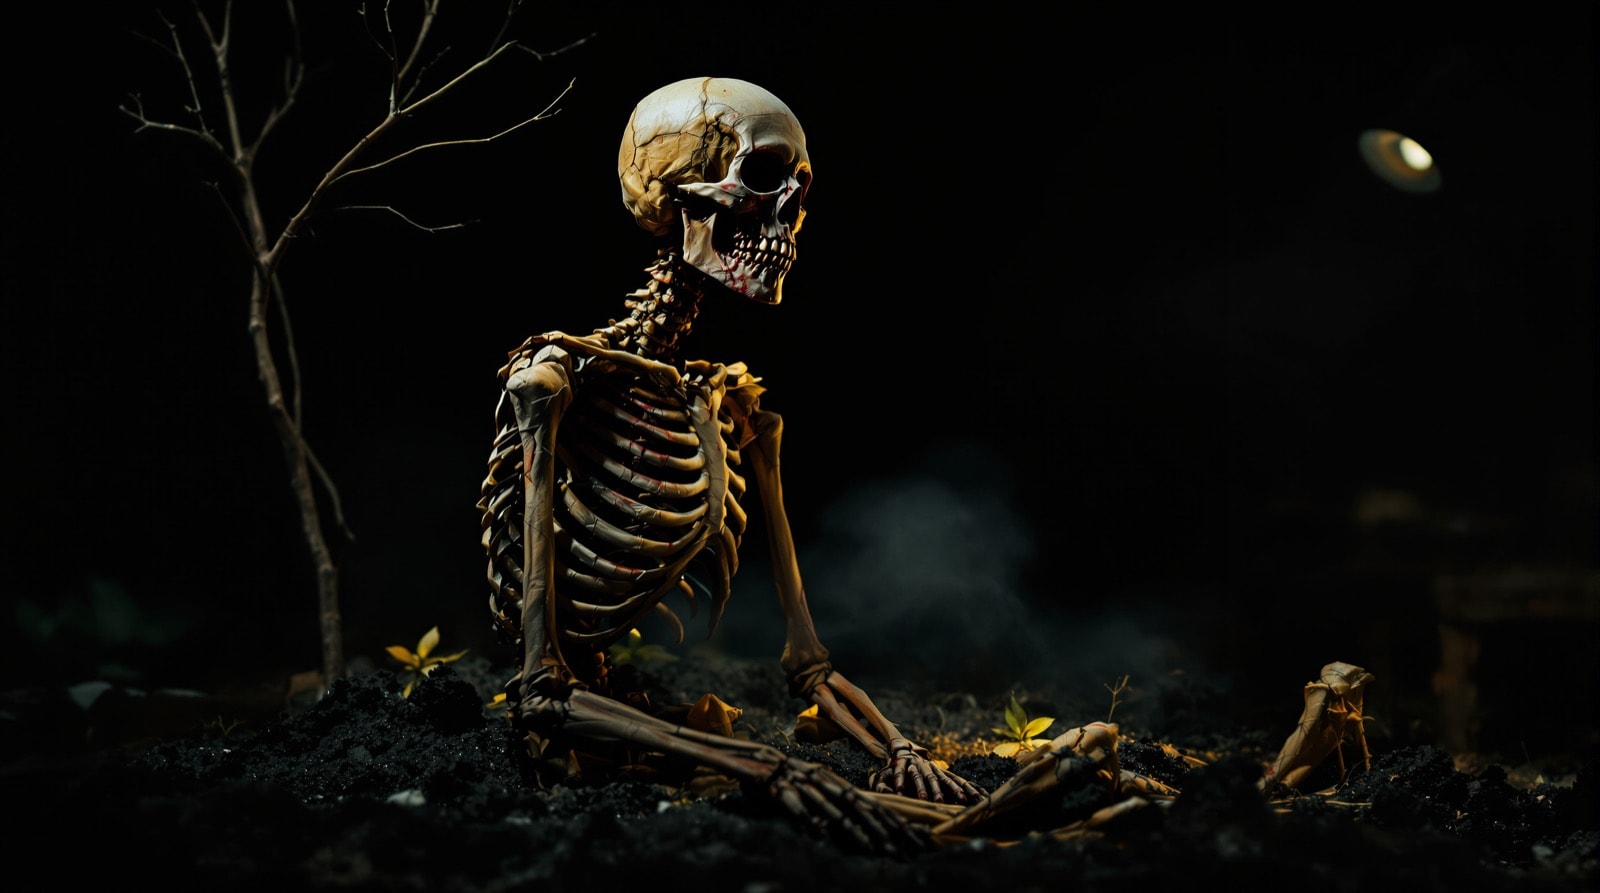 Corpsification 101Tissue and wood glue turn clean plastic into something buried. Two parts.
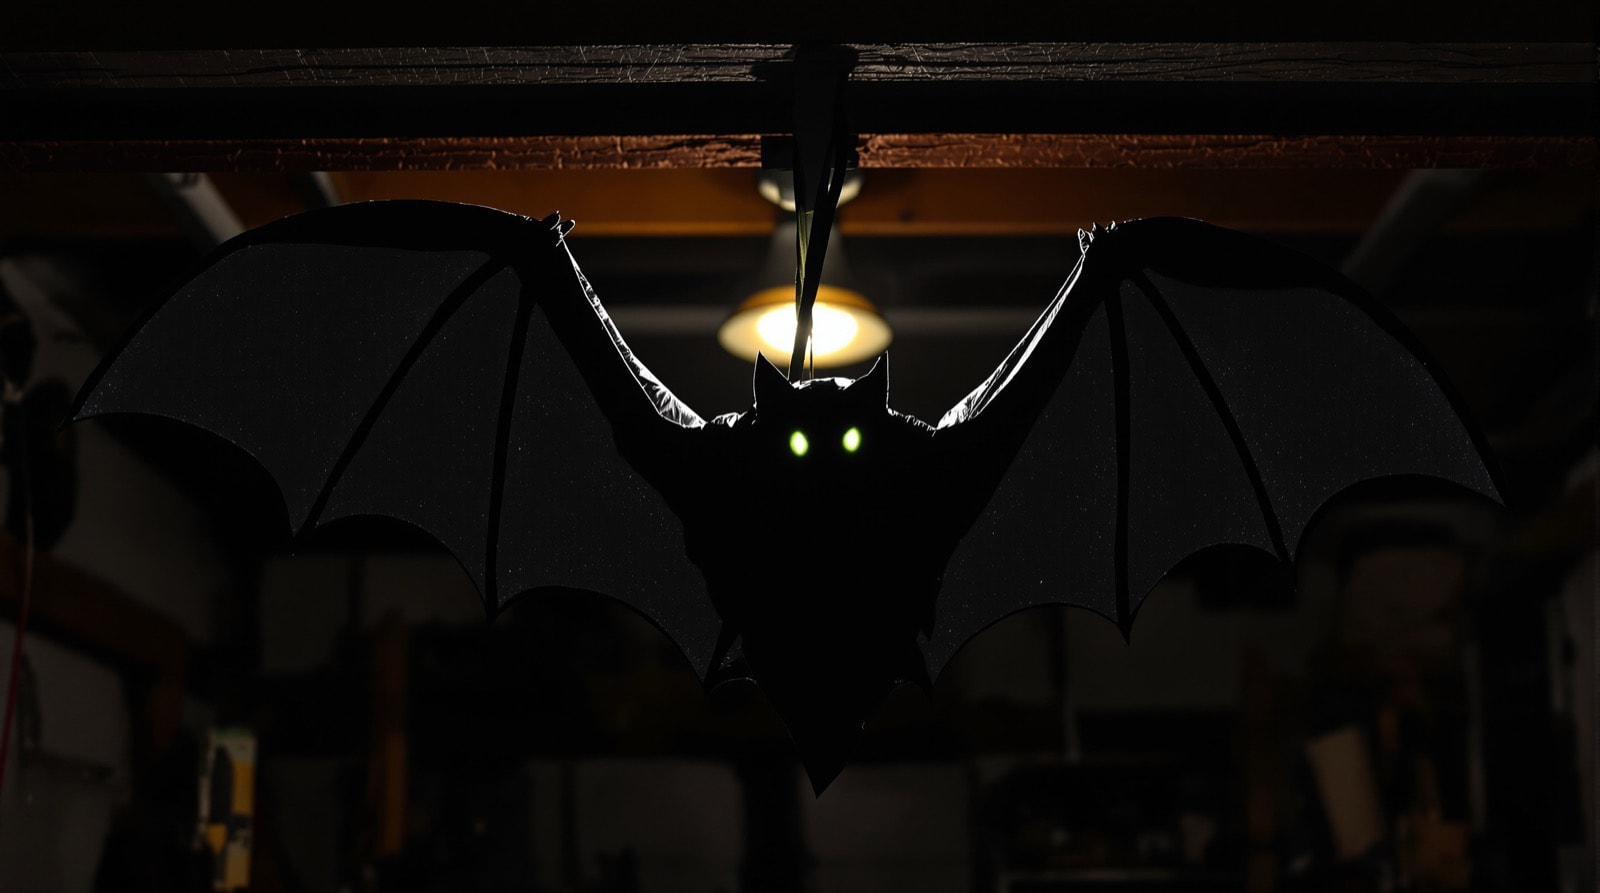 Wire batsThe reference wire-armature build, in three parts.
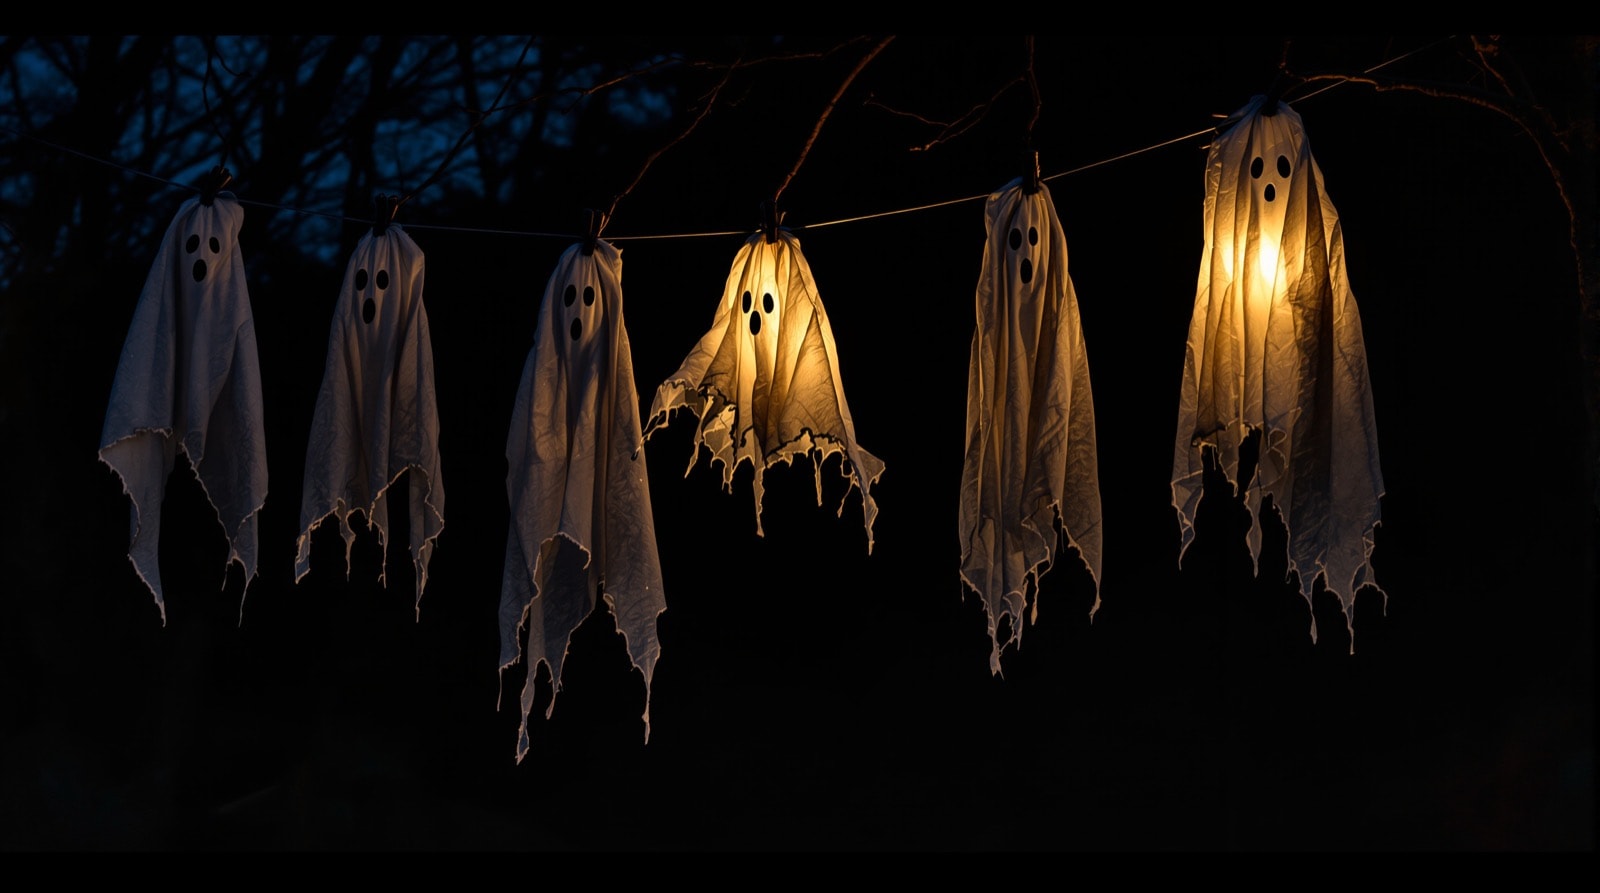 Easy wire ghostsA bent coathanger draped in dyed cheesecloth. An evening, almost no money.
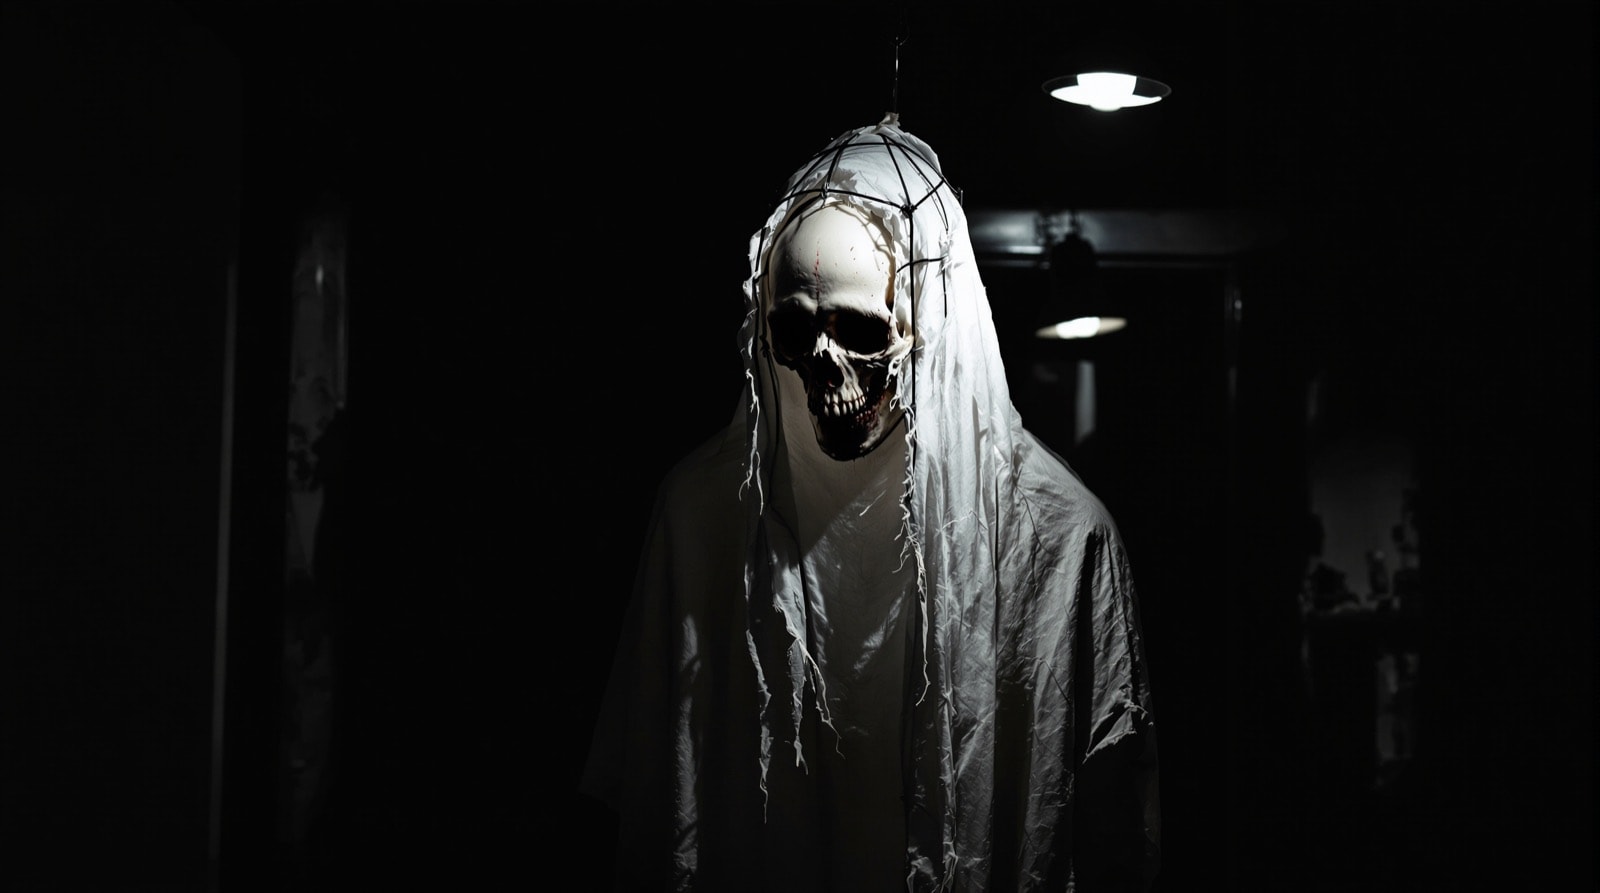 SpectresThe wire ghost with a skull in it, hung to swing. Fierce under UV.
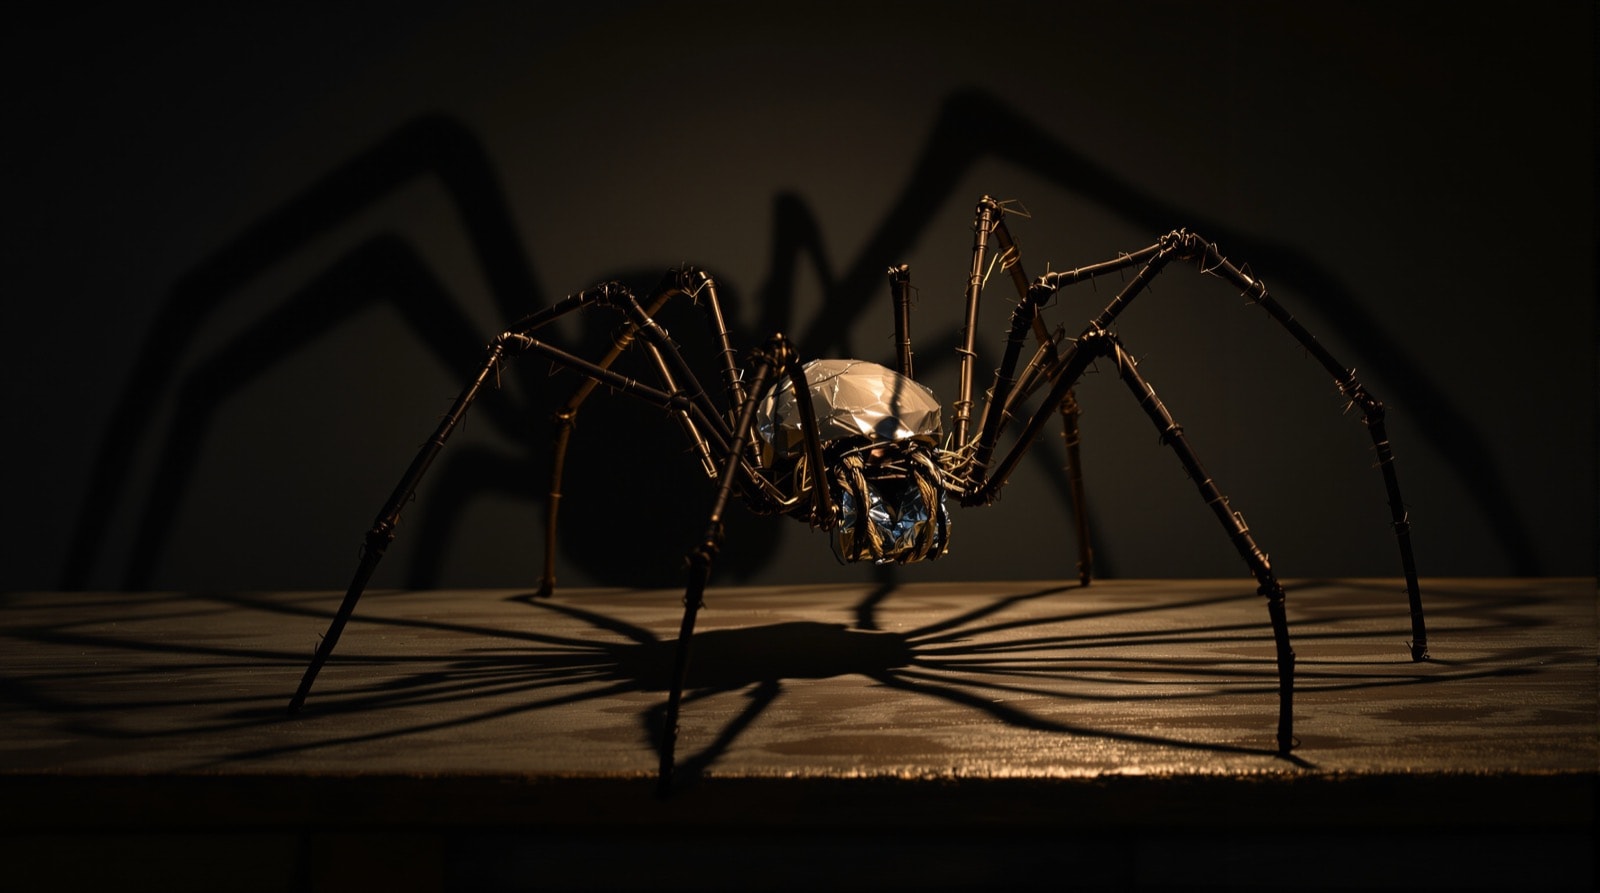 Cheap spidersEight legs off a wire core, bodies bulked with crumpled foil.
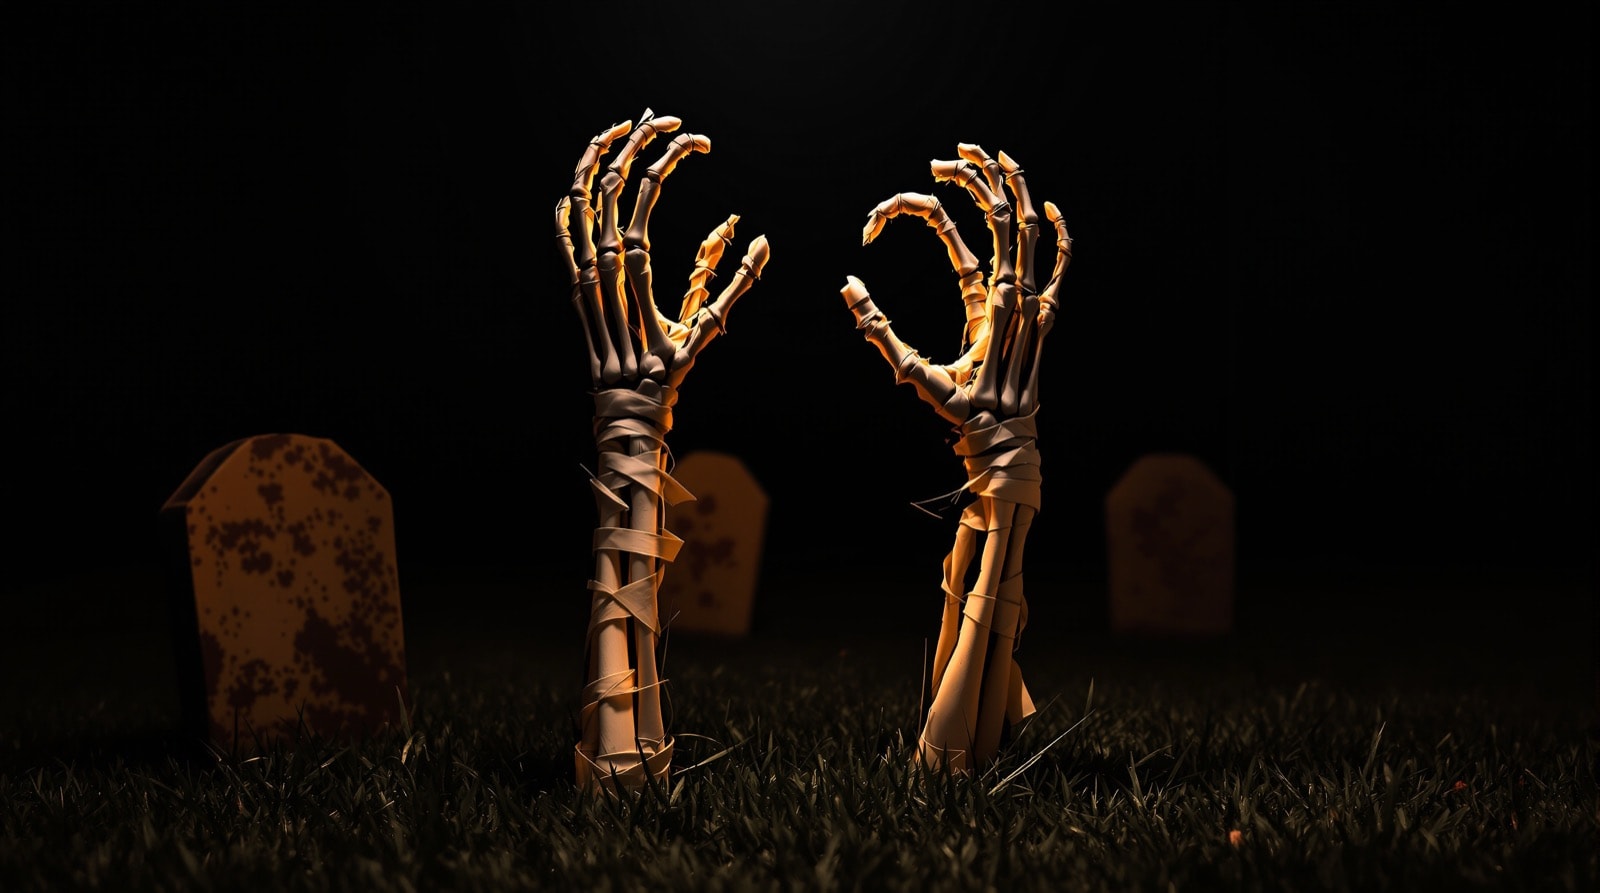 Zombie armsHands twisted from one continuous wire, wrapped in tape and aged.
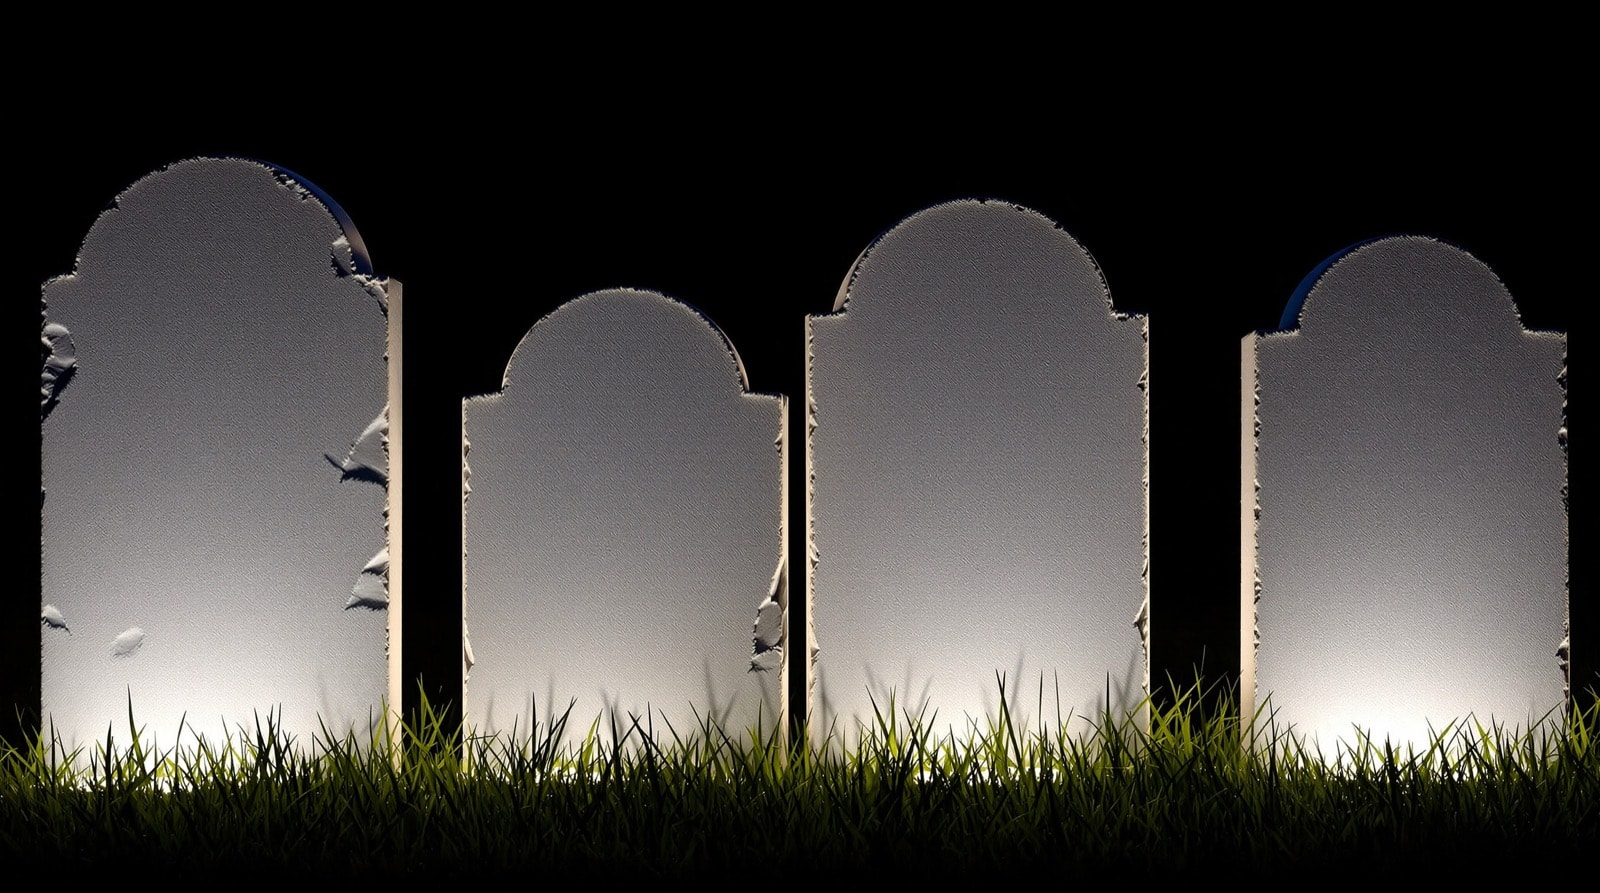 One dollar gravesDollar-store foam board carved and wire-brushed into stone.
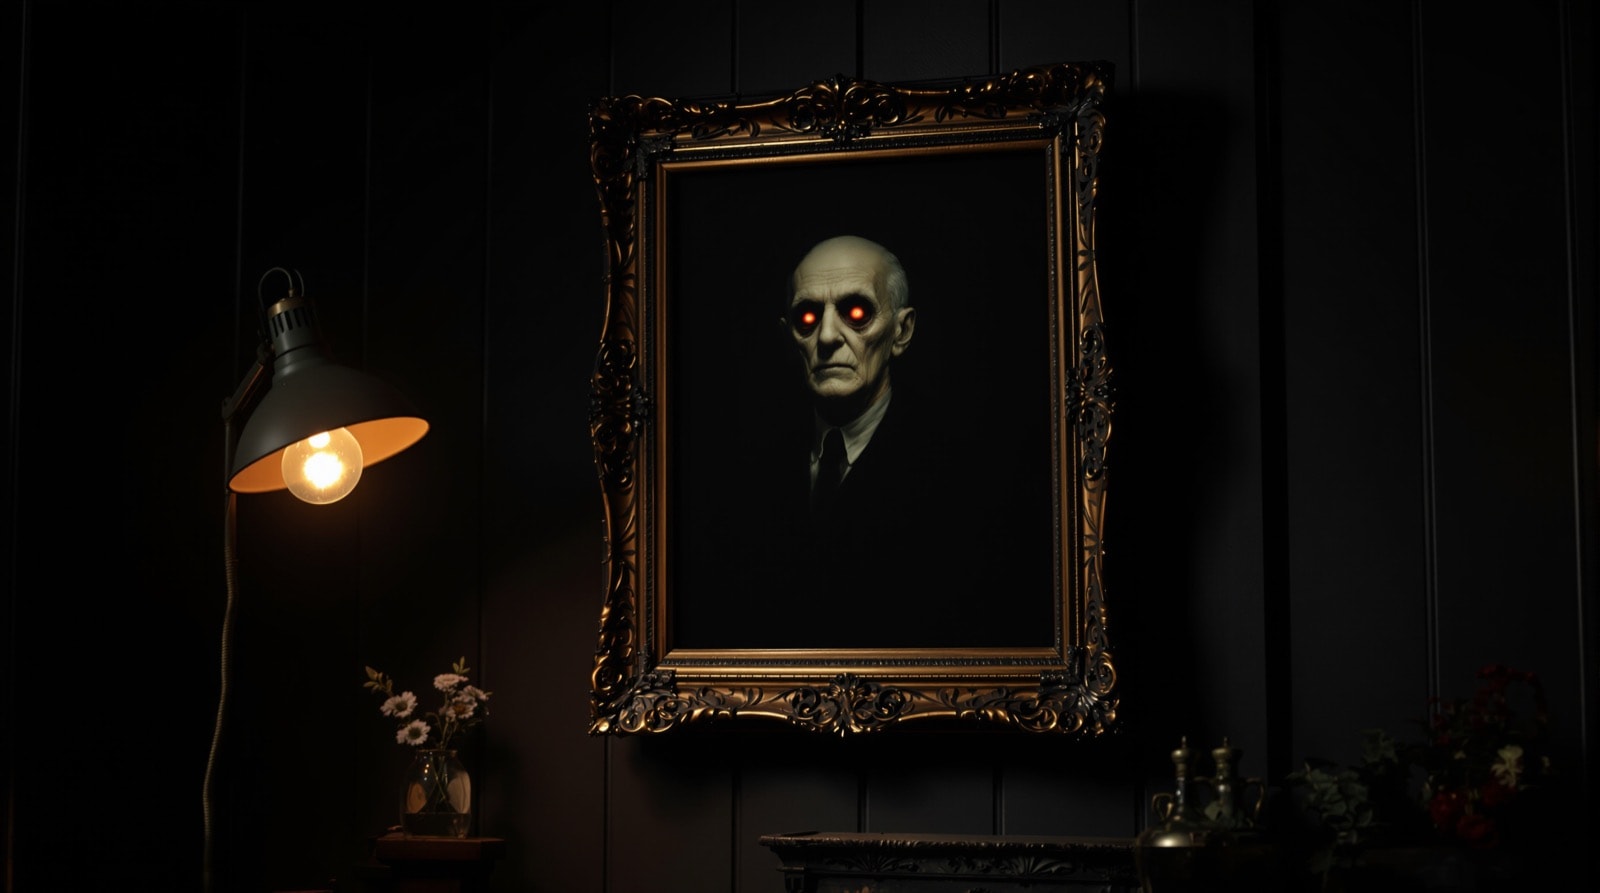 Haunted portraitRecessed eyes that follow the viewer across a room. Two parts.
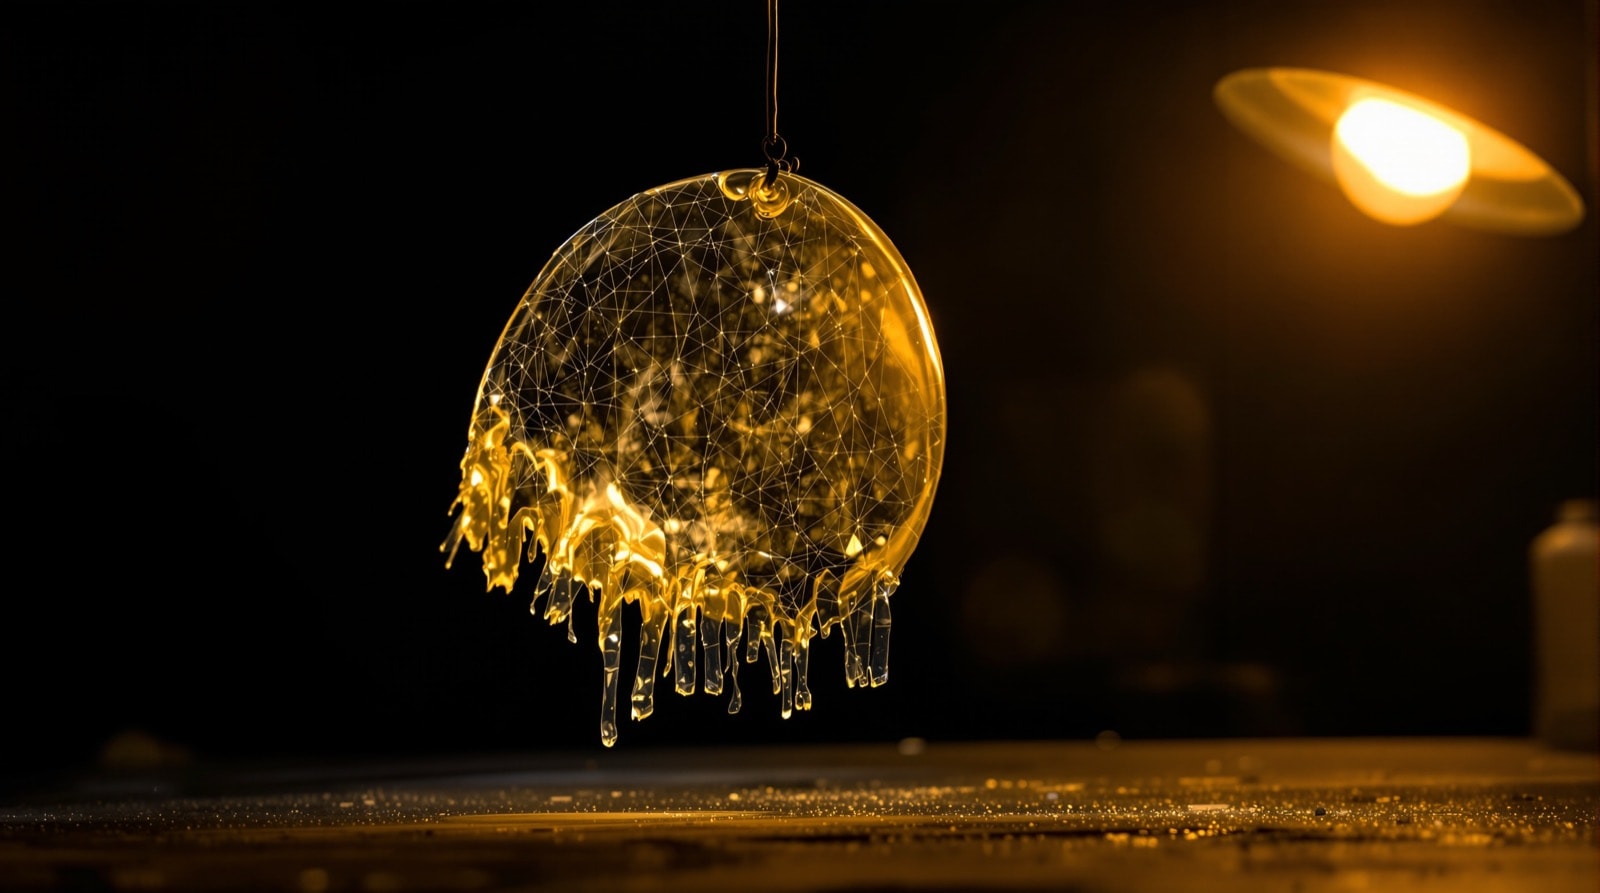 Skin faceHot glue laid as crossing threads, making a translucent membrane.
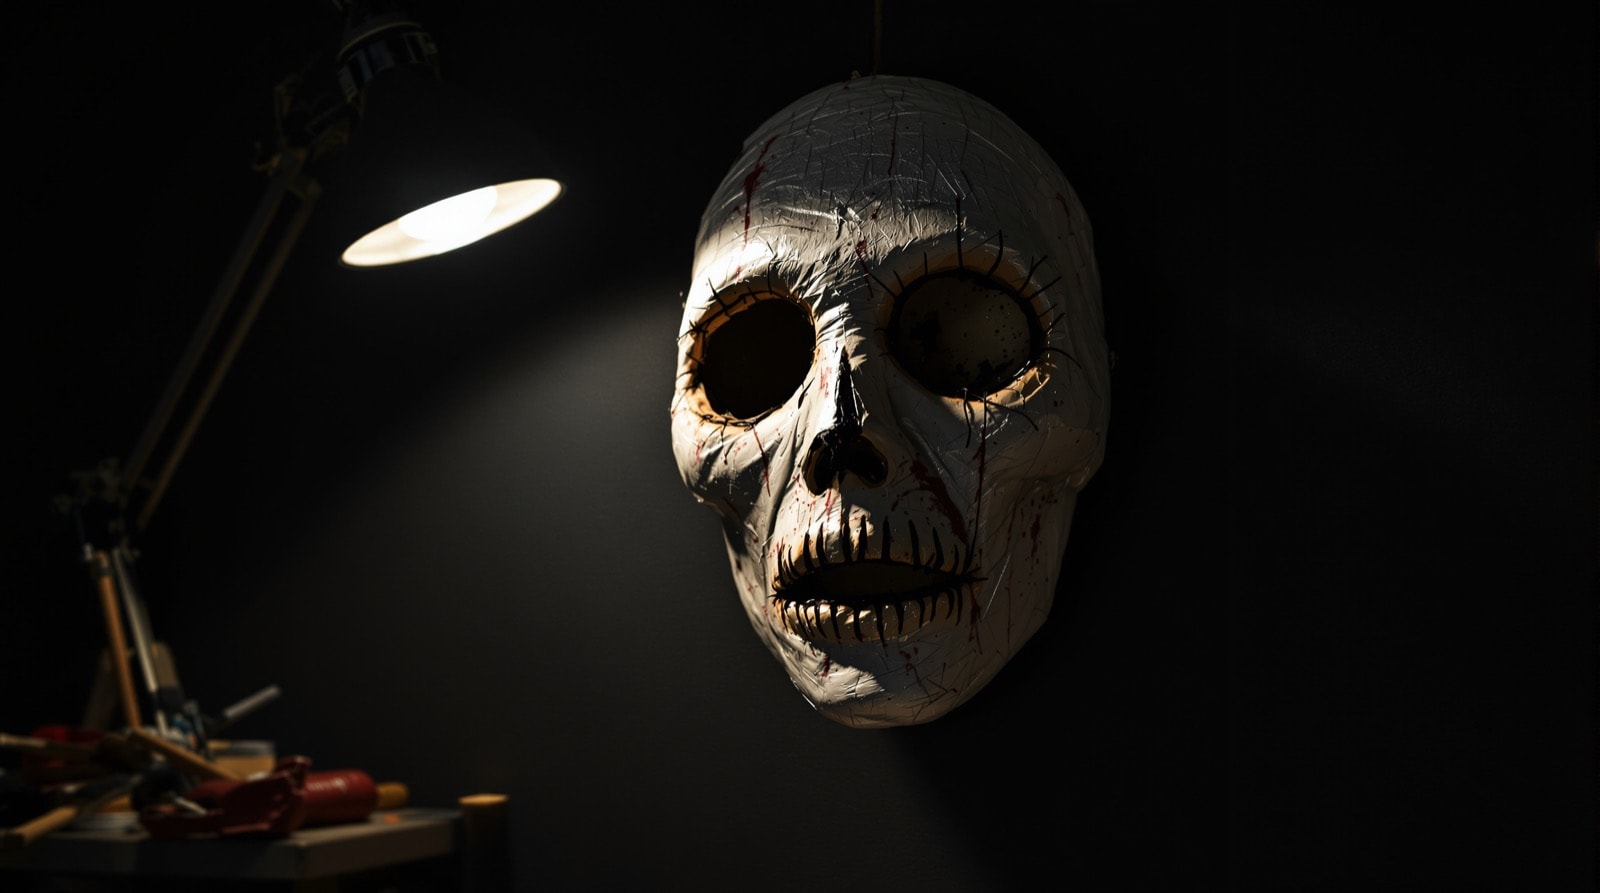 Face transplantA foil-and-glue shell pulled off a face form, washed and stitched.
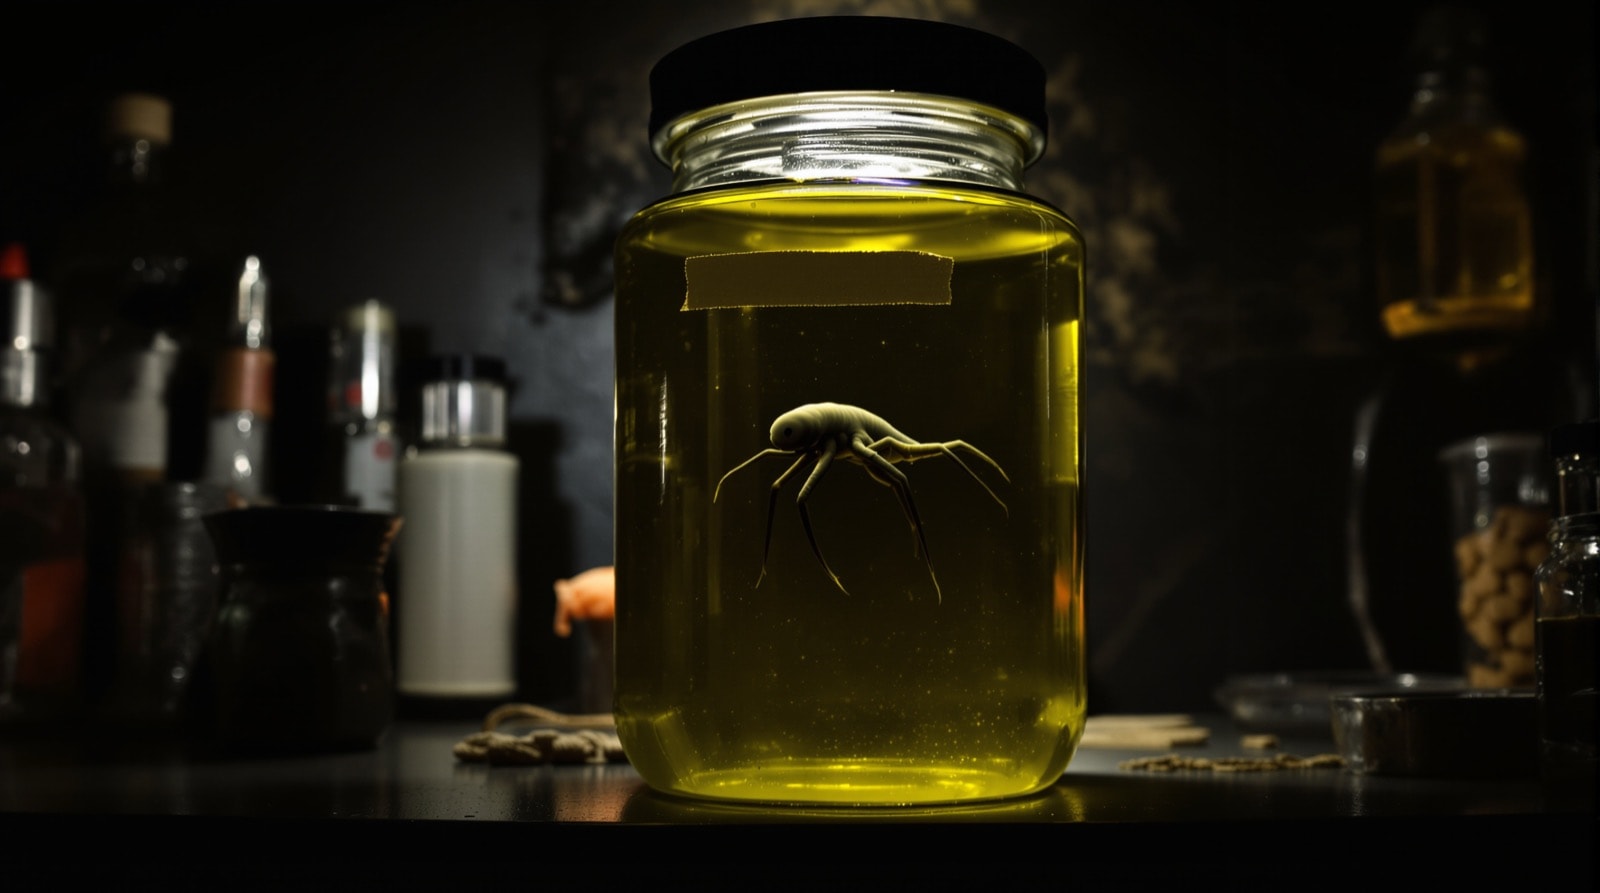 Alien specimenA repainted doll suspended in tinted water on a lit shelf.
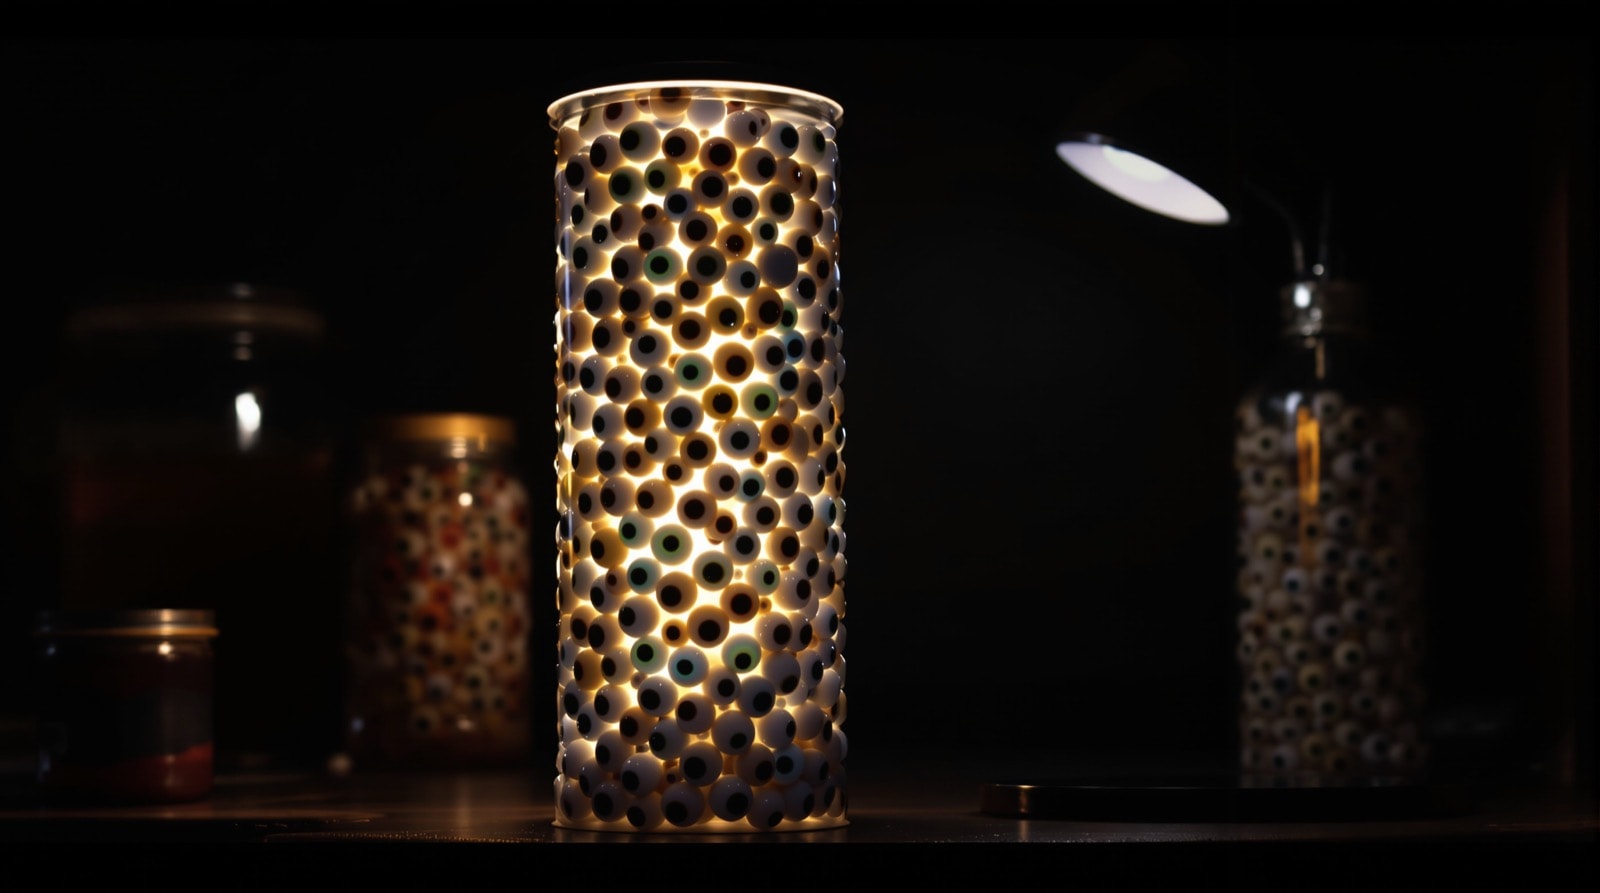 Eyeball tubeA printed sheet rolled inside a clear tube, reading as a packed column.
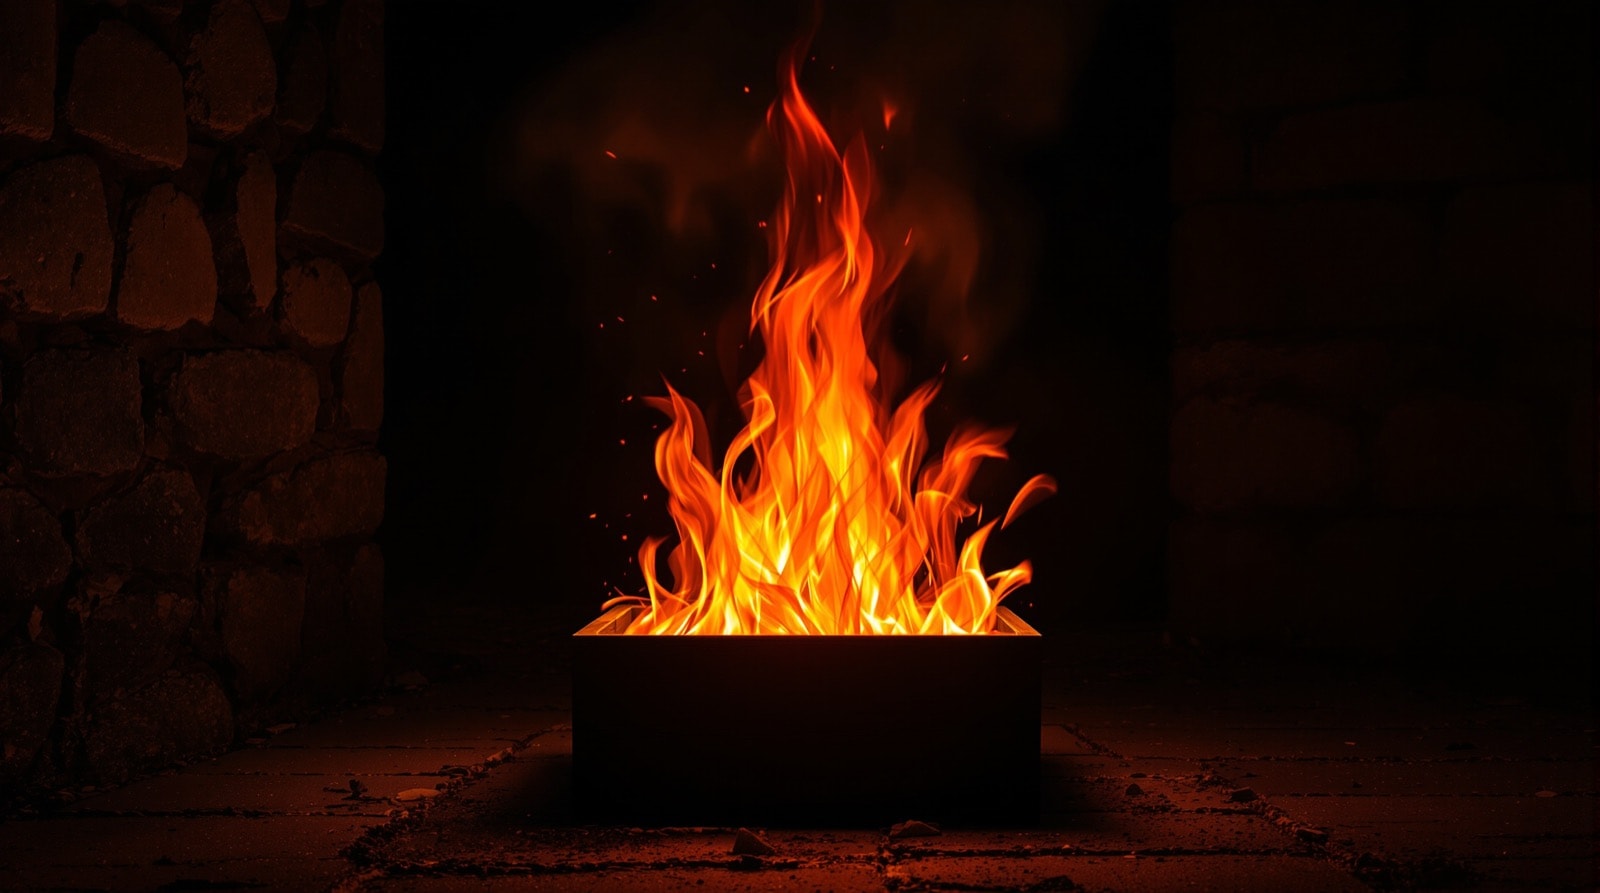 Flame boxA box fan, a floodlight and a yard of fabric. Read the safety page first.
 Glowing potionsHighlighter ink under a blacklight, brighter than any dye.
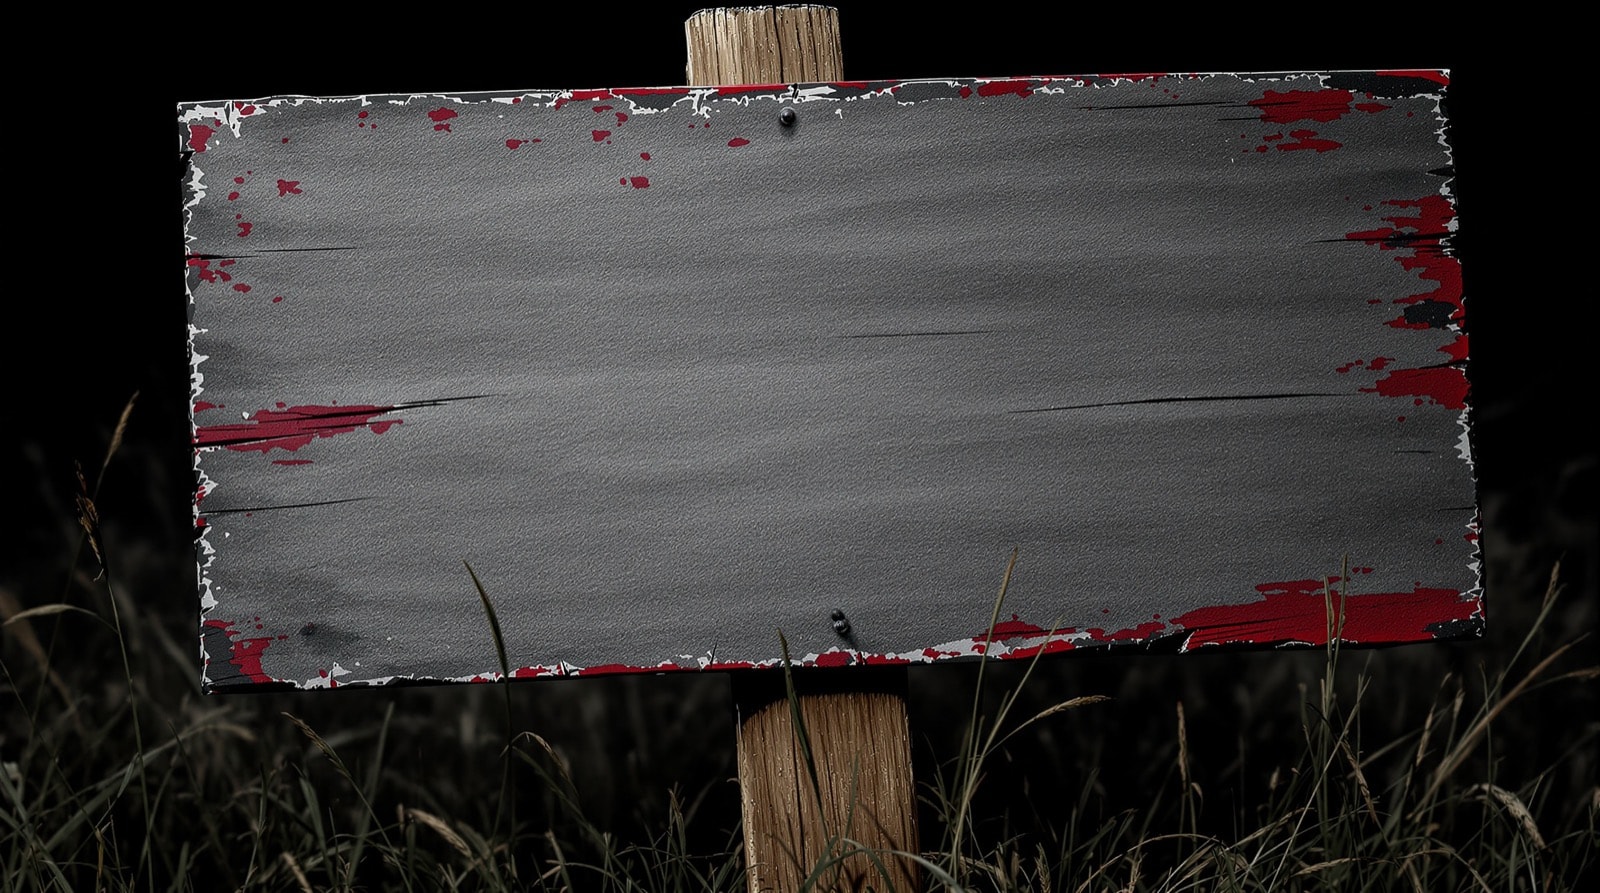 Spooky old signsThe dry-brush, don't-mix-the-paint recipe for rotten timber.
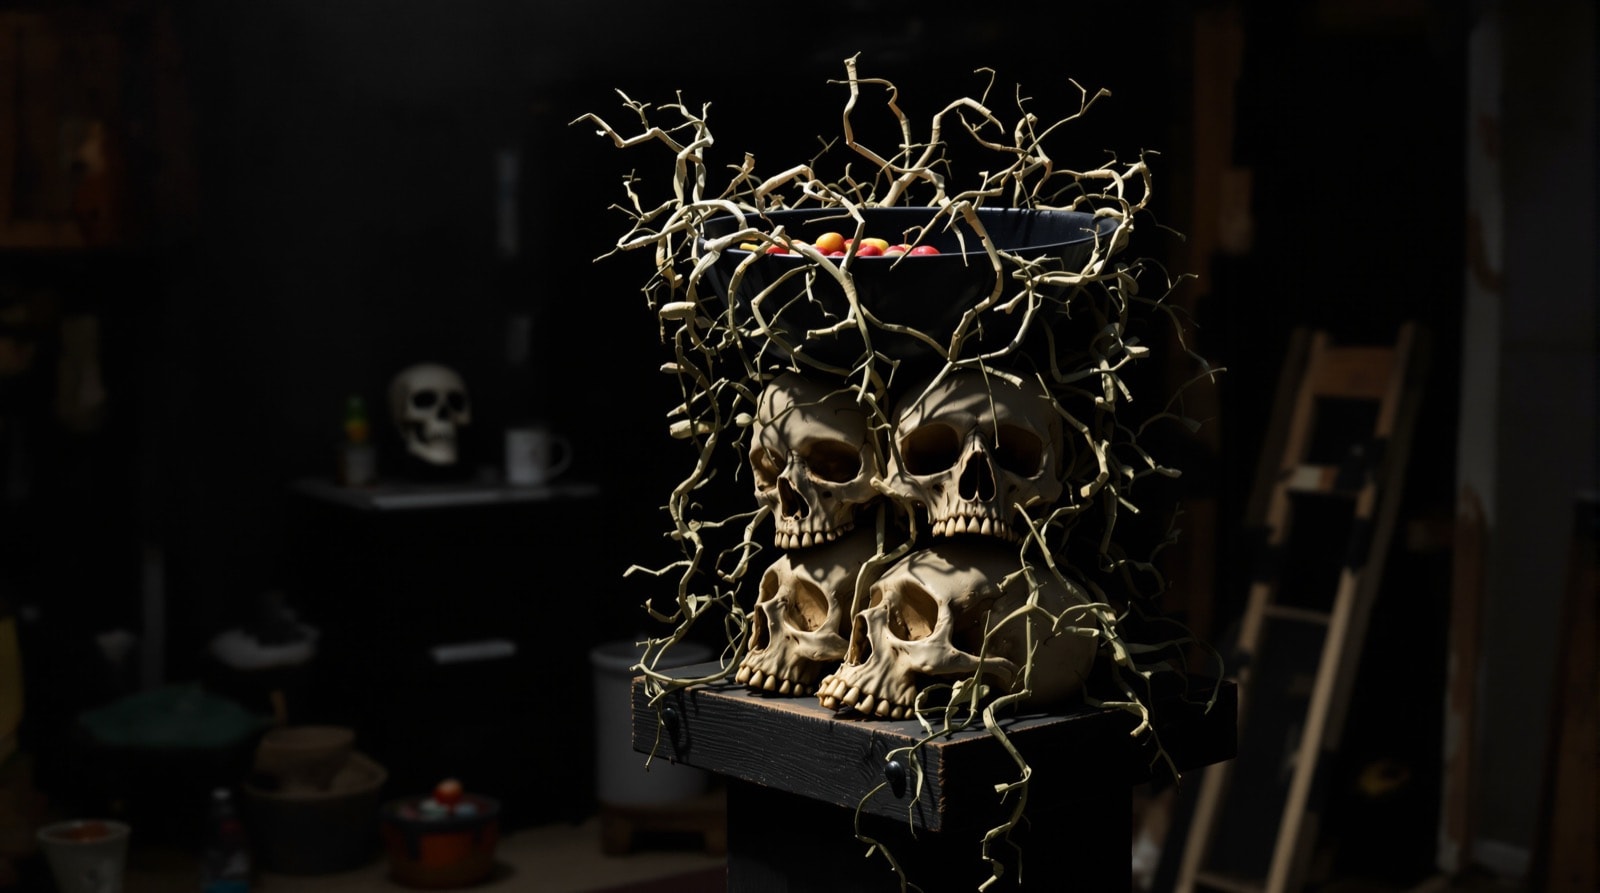 Candy dish of deathA stacked-skull pedestal that uses every method on the site at once.