
Arms and hands clawing their way out of the ground. They cost almost nothing, they take an evening, and planted between a row of foam tombstones they are what turns a set of props into a scene.
They can be built around scrap wood or around wire. Both were tried, and the all-wire version is clearly better — it is lighter, it can be bent into any articulation you want after it is built, and it does not rot when it spends a fortnight in wet ground. Build them out of wire.
Materials
- Two wire coat hangers per arm. One for the hand, one for the arm.
- Wire cutters and pliers. Needle-nose pliers make the finger work far easier than ordinary ones.
- Plastic shopping bags (optional). For bulking the arm out.
- Duct tape. The main covering.
- Masking tape. For the finish — see step 4.
Making the prop
Step 1 — Choose the construction
Wire throughout. A wooden core means a fixed pose decided before you have seen the prop in the ground, and a wooden core in a lawn absorbs water and eventually goes soft. Wire lets you adjust the pose on Halloween afternoon, when you can see exactly what the display needs.
Step 2 — Form the hand, then the arm
Disassemble a hanger, straighten it, and start with the hand — it is the hard part and everything else is scaled to it.
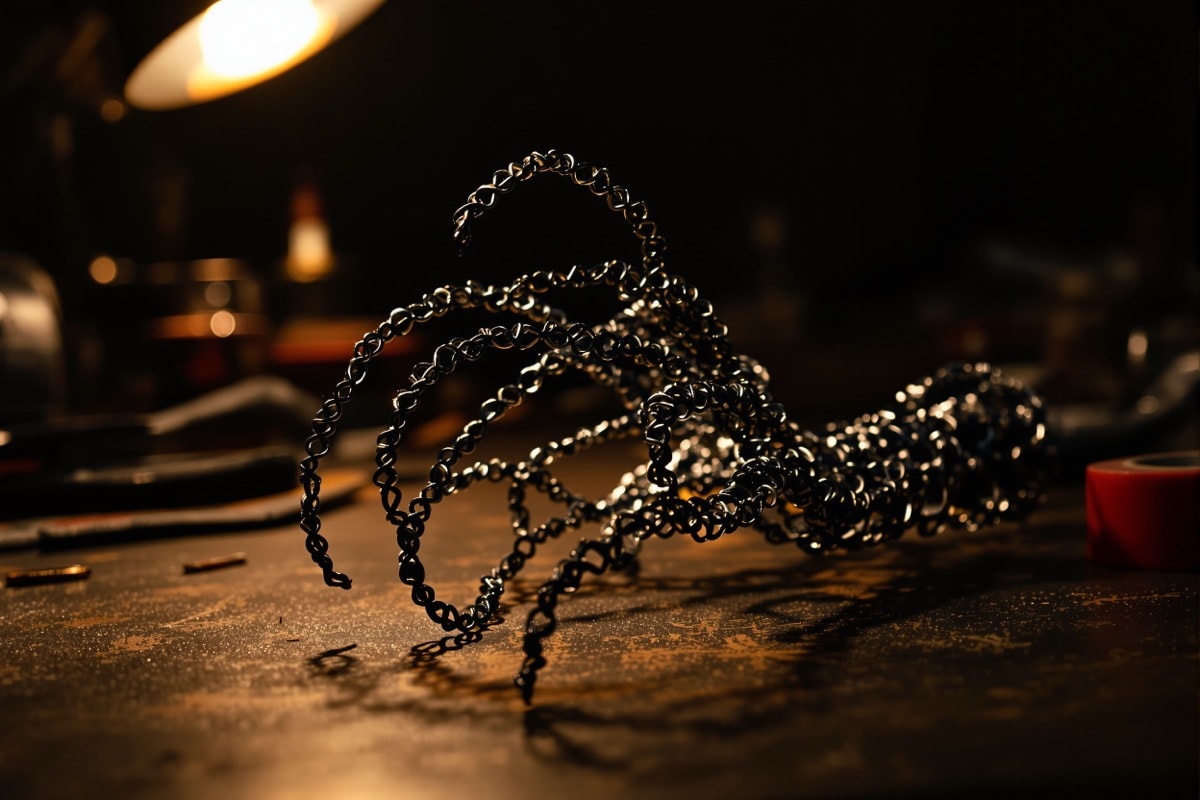
The technique that makes this work: form all the fingers from one continuous piece of wire. Run the wire out to the fingertip, loop it back towards the palm, then straight out again for the next finger, and so on across all four before doubling back for the thumb. Cutting and joining individual fingers is slower, weaker, and produces a hand that falls apart in a season.
Two things make the hand read as a hand rather than a rake. First, the fingers are different lengths — index and ring roughly equal, middle longest, little finger noticeably short. Second, the thumb comes off the side of the palm and opposes the others; a thumb in line with the fingers is the single commonest mistake.
Curl the fingers into a grasping claw, curling more at the tip than at the base, and turn every wire end over on itself with the pliers so no sharp point is left anywhere.
No two hands will come out identical, which is exactly right — but once the first one works, keep it on the bench as a pattern for the rest.
The arm itself is trivial after that. Take a second hanger, loop it back on itself to the length you want, and twist it closed so you have a doubled wire of roughly forearm length. Doubling it is worth the extra wire: a single strand bends under its own weight once bulked out.
Attach the hand to the arm by twisting the leftover wire from both parts together at the wrist. Wrap that joint thoroughly — the wrist is the only place these ever fail.
Step 3 — Bulk and wrap
For a skeletal look, wrap the bare frame in duct tape and stop there. For a zombie — flesh rather than bone — wrap the arm first in plastic shopping bags, then tape over them. The bags add thickness and give the arm a soft, slightly yielding feel that reads as decayed muscle, and they cost nothing.
Bulk unevenly. A smooth cylinder of tape looks like a pipe; lumps, hollows and a wrist noticeably narrower than the forearm look like a limb. Leave the fingers thin and bony however much you bulk the arm — the contrast between a thick rotting forearm and thin skeletal fingers does a great deal of work.
Step 4 — Finish
Spray paint over duct tape is a trap. It sits on the surface, never keys properly, and flakes off in sheets after a season outdoors.
The finish that works is re-wrapping the whole arm in masking tape over the duct tape. Masking tape is a dead, papery, off-white colour that reads at a distance as dried skin, and it ages further — going yellow, then blotchy brown — in exactly the direction you want. It is also free of the flaking problem entirely, since it is the surface rather than a coating on one.
If you want more colour, a thin wash of watered-down brown or black acrylic brushed over the masking tape and wiped back off the high points sinks into the tape edges and reads as grime. Do this rather than spraying.
Planting them
Leave six or eight inches of bare wire below the wrist end of the arm to push into the ground. Push it in far enough that the arm stands without support in wind, and angle it — an arm coming straight up looks planted, an arm reaching at an angle looks like it is pulling.
Arrangement is everything with these. A single arm is a decoration. A pair, close together and reaching in the same direction, is a body. Half a dozen scattered across a lawn at different angles, some barely clear of the grass and some fully extended, is a scene — and the ones only just emerging are more effective than the ones fully out.
Site them where nobody walks, and make sure every wire end is turned over. A protruding wire at ankle height in a dark yard full of visiting children is the one real hazard in this build; see the safety page.