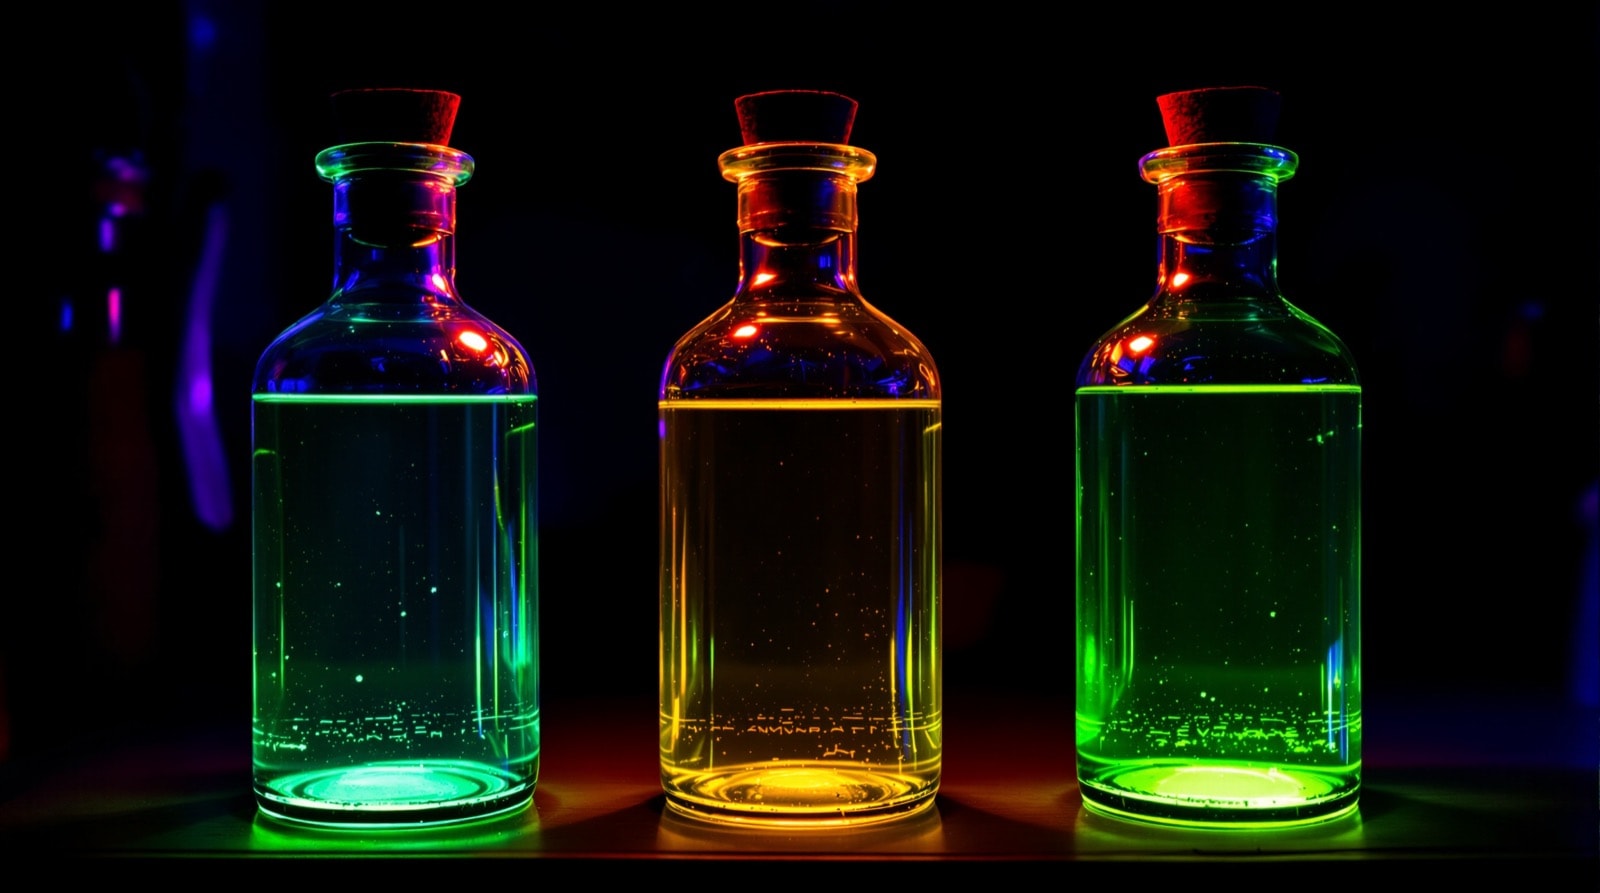
A bottle of water that glows an unnatural, luminous green under a blacklight. The whole secret is the spongy ink reservoir out of a yellow highlighter pen, and the effect is far brighter than anything food colouring can produce — bright enough that it is genuinely difficult to photograph.
Total cost: a bottle from a junk shop, and one highlighter.
Materials
- A creepy-looking clear glass jar or bottle. Odd shapes and old glass are best.
- A yellow highlighter pen. Green and orange also work; blue and pink generally do not.
- Water.
- Silicone or hot glue, to seal.
- A blacklight. Non-negotiable — without ultraviolet there is no effect at all.
Why it glows
Highlighter ink contains a fluorescent dye. Fluorescence is a specific physical behaviour, not just brightness: the dye absorbs ultraviolet light, which is invisible to us, and re-emits that energy as visible light. So the liquid is not reflecting a glow, it is producing one — which is why it appears to shine in a room that looks dark to the eye. NASA's page on ultraviolet waves covers what UV actually is and where it sits in the spectrum.
Food colouring cannot do this. Ordinary dyes absorb some visible wavelengths and reflect the rest — under a blacklight, with almost no visible light around, there is nothing for them to reflect, so they stay dull. This is the reason no quantity of food dye ever produces this effect.
Choosing a blacklight
Not all "blacklights" are equal, and this is where most disappointing results come from.
- Blacklight-blue fluorescent tubes (the deep purple-glass ones) are the classic choice and work well. They put out a good spread of long-wave UV over a whole room.
- UV LED fixtures are now cheap, run cool and last indefinitely. Look for a stated wavelength around 395 nm; some cheap "UV" LEDs are really just violet and produce much less fluorescence.
- Blacklight-effect incandescent bulbs — a normal filament lamp in dark glass — are the ones to avoid. They emit very little UV and a great deal of heat, and they will barely lift the potion at all.
Whatever you use, the room must be genuinely dark. Fluorescence competes with ambient light and loses. One ordinary lamp on in the corner will halve the effect.
Making it
Step 1 — Find the bottle
This is the hardest part of the project, which tells you how easy the rest is. Look for shape and character: an old apothecary bottle, a squat stoppered jar, anything with a moulded pattern. Resale and thrift shops turn them up for around a dollar, and buying several at once and building a set is much more effective than one bottle alone.
Clear glass, or very lightly tinted. Dark glass absorbs both the UV going in and the glow coming out.
Step 2 — Extract the ink
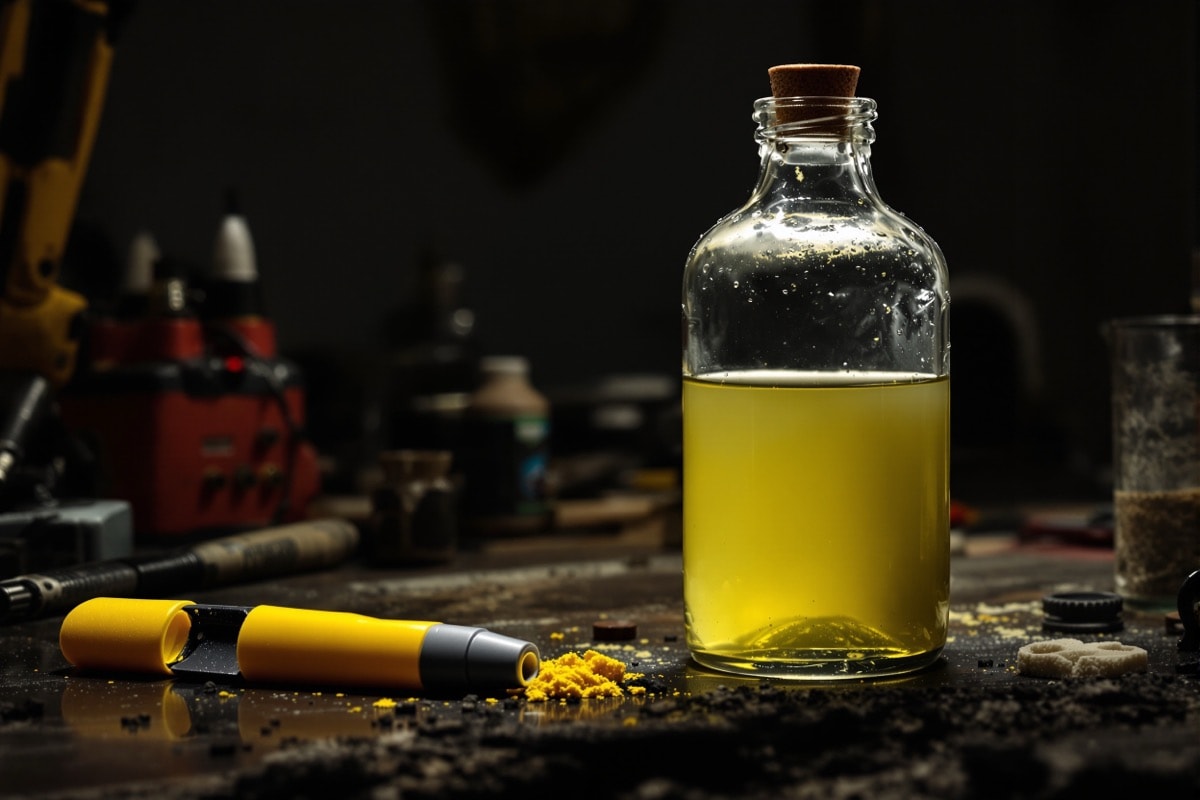
Prise the end off the highlighter — pliers make short work of it — and pull out the spongy felt reservoir inside. That sponge holds all the dye.
Step 3 — Let it leach
Drop the sponge into the water-filled bottle and leave it. Over a few hours the ink bleeds out and spreads through the water, and the colour will look surprisingly weak in daylight — a pale yellow-green tea. Ignore that. It has nothing to do with how it will look under UV.
Once the sponge has given up its colour, fish it out and throw it away.
Step 4 — Seal and site it
Cork or cap the bottle and seal it with a bead of silicone or hot glue so it cannot be opened or spilled. Then put it somewhere the blacklight can reach it and the ambient light cannot.
Getting the most out of it
- Concentration. One highlighter in a small bottle is about right. In a large bottle, use two. Too little ink and it is dim; there is no real "too much".
- Angle the UV. Light from the side or below rather than straight on. A bottle lit from underneath appears to be generating the glow internally, which is the effect you want.
- Make a set. Several bottles of different sizes and different highlighter colours on one shelf reads as a laboratory. A single bottle reads as a bottle.
- Combine it. The same blacklight will fire everything else fluorescent in the room — white-dyed cheesecloth ghosts, glow paint on spiders, the fabric-paint detail on the alien specimen. One lamp, a whole scene.
Practical notes
Keep the sealed bottles away from small children — they are attractive, and they contain pen ink rather than anything intended to be handled or swallowed. Label them if there is any chance of confusion. The solution fades over weeks as the dye breaks down in daylight, so store the bottles in the dark between seasons and expect to remake them every year or two; refreshing one costs another highlighter.