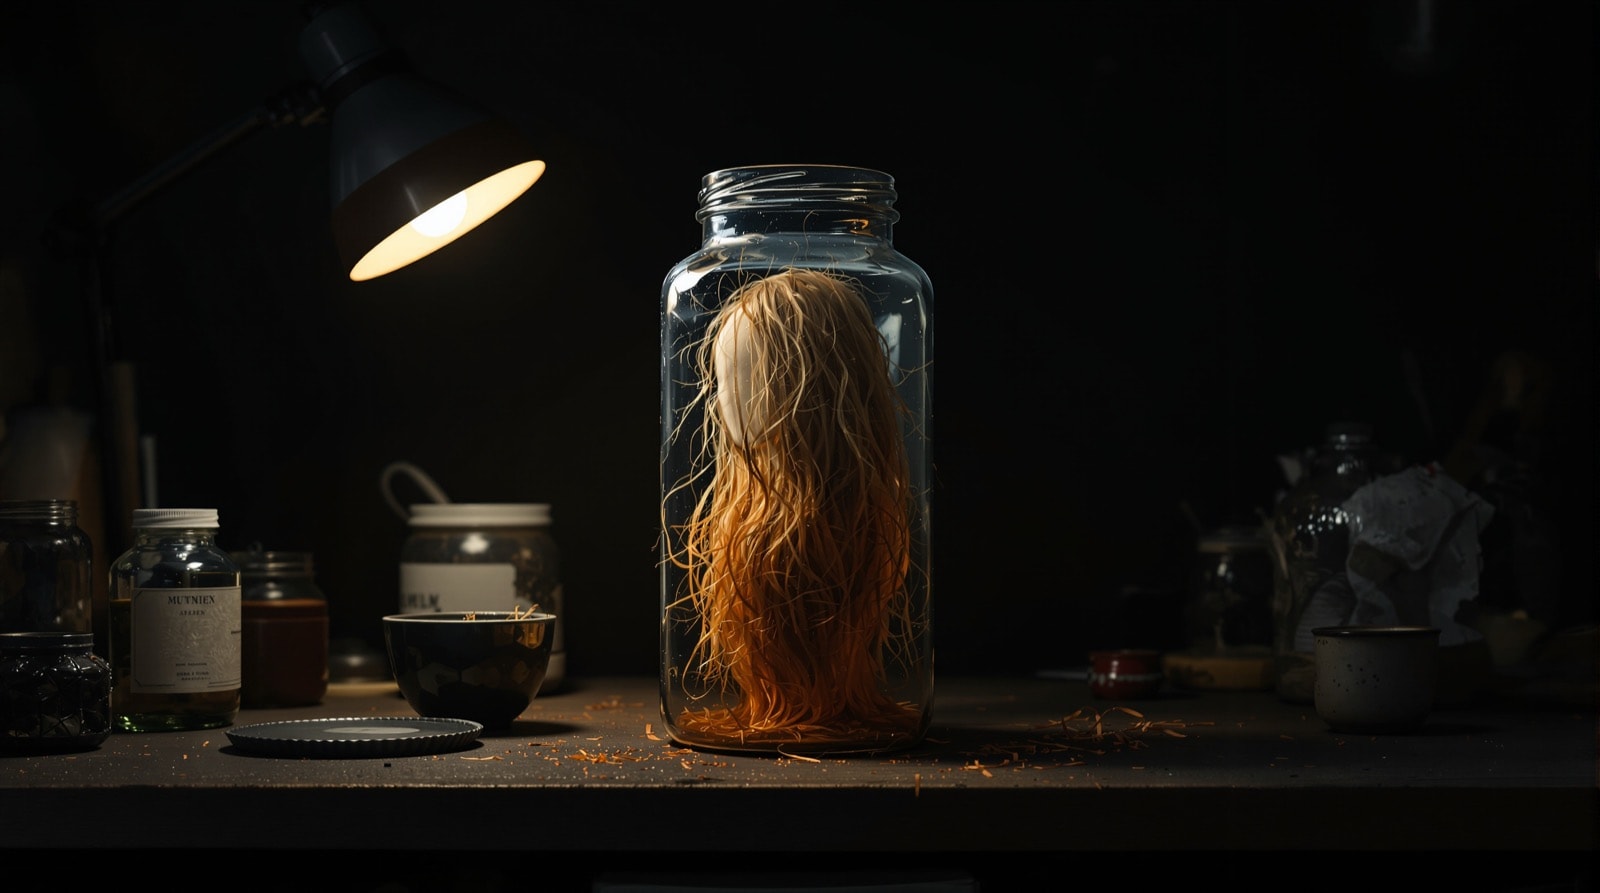
This is the most-copied prop here and it contains no sculpture at all. There is no casting, no latex, no armature — a flat printed face, curved against the inside of a cheap glass jar, in low light. The illusion does the work. Total build time is about half an hour, and the whole thing can be assembled for the price of a thrift-shop bottle.
It is also genuinely unsettling in a way that expensive props often are not, because it is not asking to be looked at. It sits on a bookshelf at eye height and behaves like an object rather than a decoration, and people notice it late.
Why the illusion works
Three things are doing the lifting, and understanding them tells you where to spend your effort.
- Cheap glass is a distorting lens. Bad, uneven, slightly wavy glass — the kind found on any resale-shop shelf for a dollar — refracts differently across its surface. As the viewer moves, the printed features stretch and shift exactly as a solid object seen through liquid would. Expensive, optically clean glass ruins this. Buy the ugly jar.
- Curvature reads as volume. A flat face wrapped against the inner wall of a cylinder already presents the eye with a curved surface. The brain, offered a curved face-shaped thing in a jar, supplies the back of the head for free.
- Low, raking light kills the giveaway. The one thing that betrays the prop is the flat paper edge and the sharpness of a printed eye. Light it from the side or from behind, keep it dim, and neither is legible.
Materials
| Item | Notes |
|---|---|
| A cheap glass jar or bottle | Resale or thrift shop. Wide-mouthed is easier to load. Poor-quality, slightly distorting glass is better than good glass. |
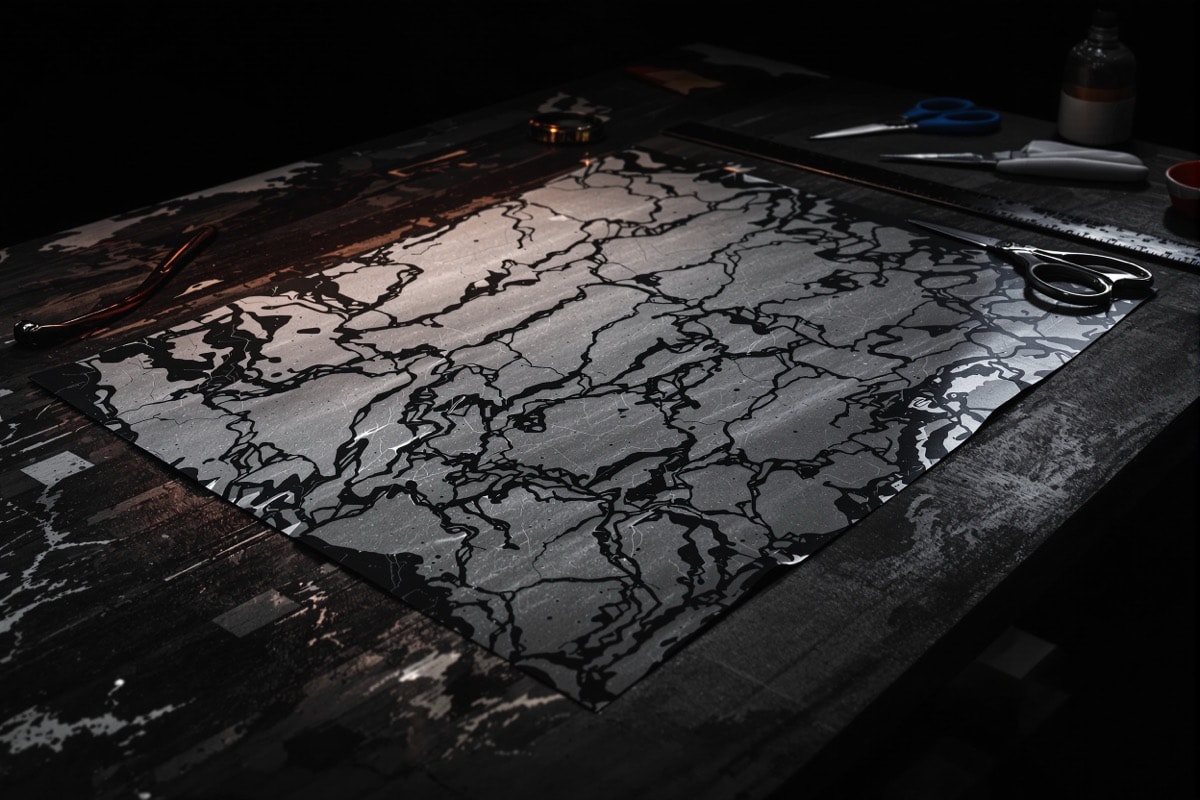
| A printed face image | See step 2. A flattened face texture — the kind of unwrapped map used to skin a 3D model — is ideal because it is already distorted for wrapping. |
| Card stock or laminating pouch | Stiffens the print so it holds its curve against the glass. |
| Scrap paper | For the wad that presses the face outward. |
| Loose hair | Optional but transformative. Craft or doll hair, or trimmings from a barber. Costume wig hair often looks too glossy and too even. |
| Cork or lid, hot glue | To seal the jar. |
| A long screwdriver or chopstick | For arranging hair and paper once the jar is loaded. |
Making the prop
Step 1 — Find the right jar
Start with the container, because everything else is scaled to it. Look for something with the shape of a specimen jar: straight-sided, taller than it is wide, ideally with a cork or a heavy screw lid. Junk shops and dollar stores are the right hunting ground. Hold the candidate up and look through it at your own hand — if the hand warps and shifts as you move it, that jar will make a better prop than a flawless one.
Step 2 — Obtain a face
The prop needs a front-on, evenly lit, high-resolution face, ideally one already flattened for wrapping. Searching for a face texture map — the unwrapped skin artists apply to a 3D head — turns up images built for precisely this purpose, and they are already stretched at the edges in a way that helps once the print is curved.
Use imagery you are entitled to use. Do not print a photograph of a real, identifiable person without their agreement — a face in a jar is not a flattering context to find yourself in, and a generic or synthetic face works just as well.
Step 3 — Scale it to life size, print and stiffen
Scale matters more than resolution. The eye is a reliable ruler: measure your own eye corner to corner and scale the printed face to match. Around 1 ¼ inches (roughly 30 mm) of eye width is life-sized for most adults, and a face that is even slightly too small immediately reads as a doll.
Print it, then trim the face out along the hairline and jaw. Laminating the print, or printing onto card stock, gives it enough spring to press itself flat against the inside of the glass — ordinary paper slumps and creases. Laminate also survives being nudged with a screwdriver during loading, which ordinary paper does not.
Step 4 — Roll it, load it, and pack it out
Roll the trimmed face into a loose tube, feed it through the neck, and let it spring open against the glass. Then crumple a large wad of scrap paper and push it into the centre of the jar so that it presses the face outward, flat against the inside surface. This is the step that makes or breaks the prop: the print must be in contact with the glass across as much of its area as possible, with no air gap and no visible fold running down the middle of the nose.
Work the wad with a long screwdriver or a chopstick until the face is evenly pressed. Step back five feet and look at it in dim light before committing — from that distance you are seeing what your visitors will see.
Step 5 — Add hair
Hair is what converts a printed face into something biological. Feed it in a small tuft at a time and tease it into position with the screwdriver; the goal is uneven, matted and slightly floating, not styled. Loose craft or doll hair works, as do genuine trimmings from a barber shop. Resist the urge to overfill — a little hair drifting around the crown reads as far worse than a full head of it.
Step 6 — Seal and site it
Cork the jar and run a bead of hot glue around the seal so it cannot be casually opened. Then think about where it goes, because siting is the last third of this build. A shelf at eye height, lit from one side by a small lamp, with the face turned slightly away rather than staring straight out, is the most effective arrangement. A face in three-quarter view invites the viewer to look again to check what they saw; a face staring dead ahead announces itself immediately.
Troubleshooting
- It reads as flat paper. The face is not pressed hard enough against the glass, or the light is too even. Repack the wad and move to a single-source side light.
- A crease runs down the face. The print was rolled too tightly before loading, or the card is too heavy for the jar's diameter. Reprint on lighter card and roll it loosely.
- The eyes look painted on. The image is too small or too sharp. Rescale to life size and cut the light level.
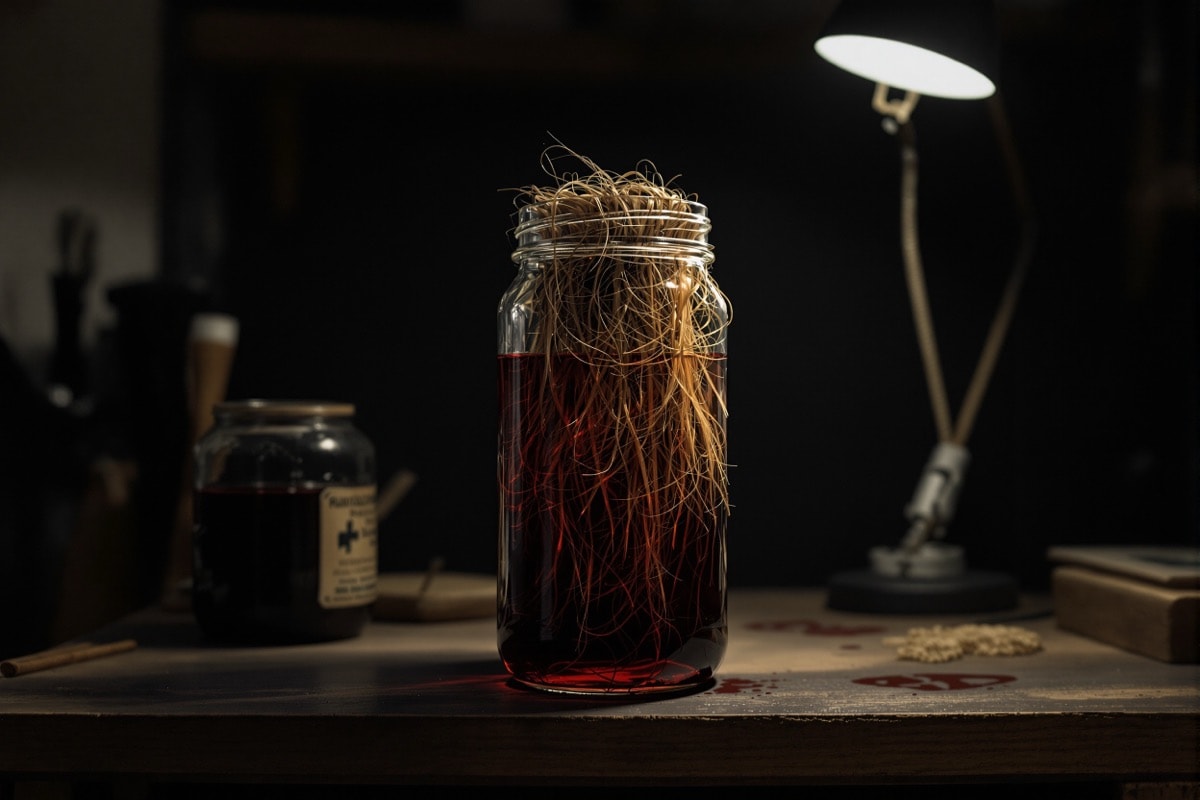
- It looks like a photograph in a jar. Add hair, and add a little cloudiness — a very light dusting of matte spray on the outside of the glass, or a smear of hand lotion, breaks the specular reflection that gives the print away.
Build the shelf, not just the jar
Test the finished jar from the visitor's route, not from the workbench. Put it at roughly eye height, walk past at normal speed, and note when the face first becomes legible. If it announces itself from across the room, turn it farther away or reduce the light. If it never resolves, rotate it towards the route a few degrees. The useful moment is the second look: enough information to suggest a head, with enough uncertainty to make the viewer check.
The shelf around it should stay quieter than the specimen. A dark, plain backing hides the paper edge and prevents reflections from outlining the empty rear half of the jar. Put the lamp above, below or to one side rather than directly in front, then shield the bulb itself from the viewing angle. A small card label can help the object read as a specimen, but keep the lettering short and slightly off-centre; a polished museum display makes the cheap materials easier to inspect.
Build the whole arrangement with the same economy as the prop. The broader Halloween projects index groups builds by technique, so a nearby eyeball tube, potion bottle or aged sign can repeat a material or finish without repeating the jar trick. Three objects at different heights usually make a better cabinet than three jars in a row. Leave some empty space between them, test the scene under its actual evening light, and secure anything that can be knocked from the shelf before visitors enter the room.
Variations worth trying
A liquid-filled version is possible but demands a laminated, fully sealed print and a lidded jar, and it will eventually fail — treat it as a one-season prop. A far easier upgrade is a small LED tealight tucked behind the paper wad, which backlights the face and makes it glow from within. Displayed next to the eyeball tube and the alien specimen, the three read as a collection rather than three separate gags, and the whole shelf becomes the prop.
Nothing about this project is dangerous, but the hot glue used to seal the cork is not harmless — see the tools and safety page for how to handle it.