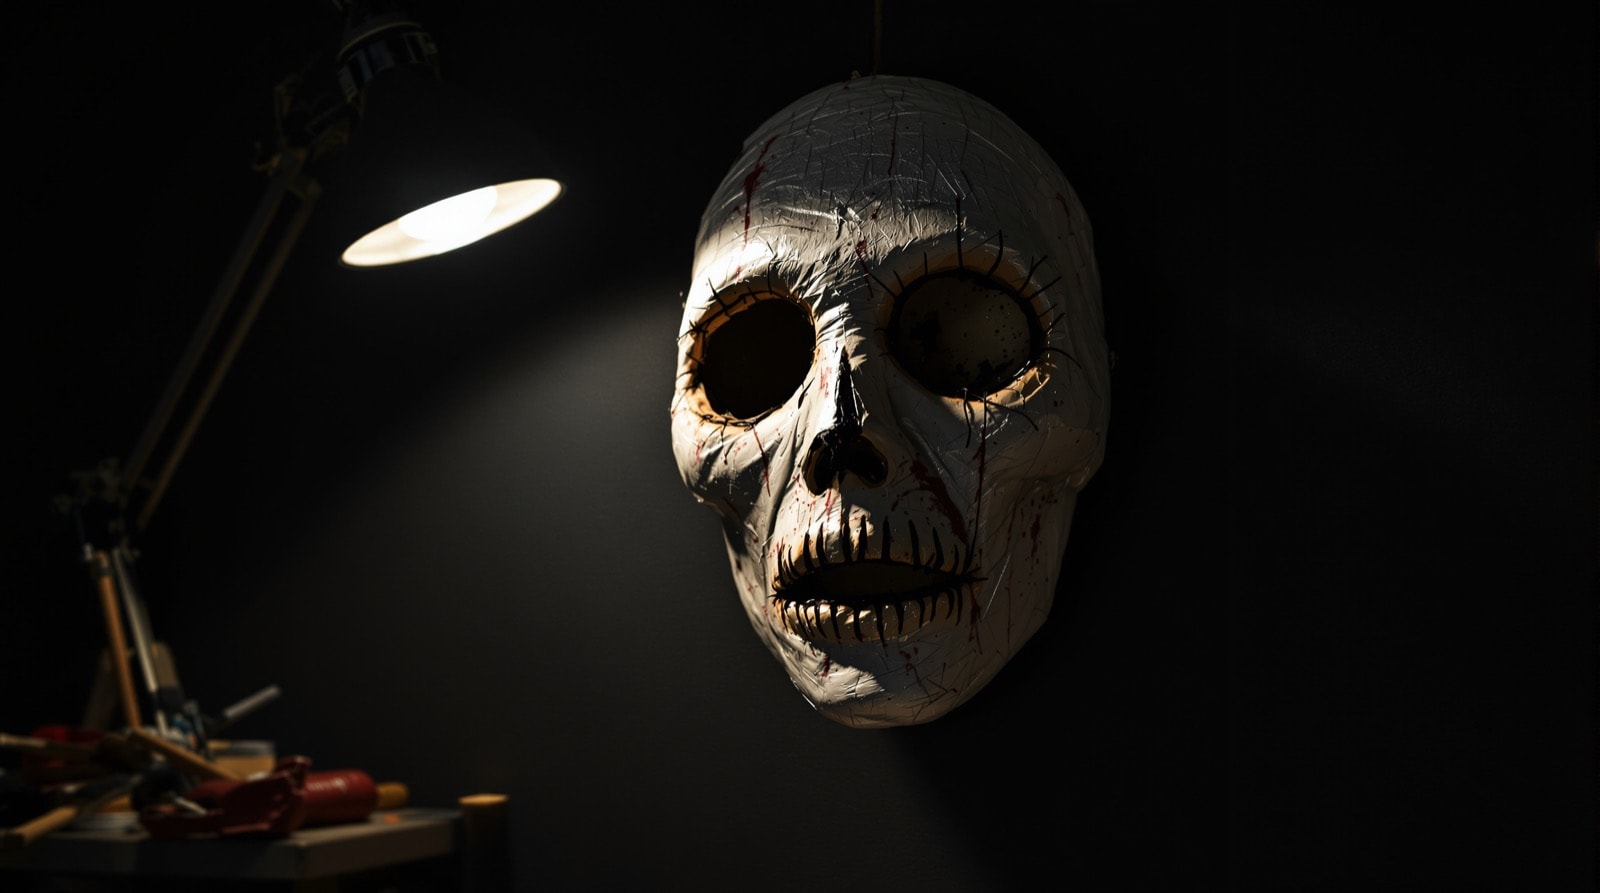
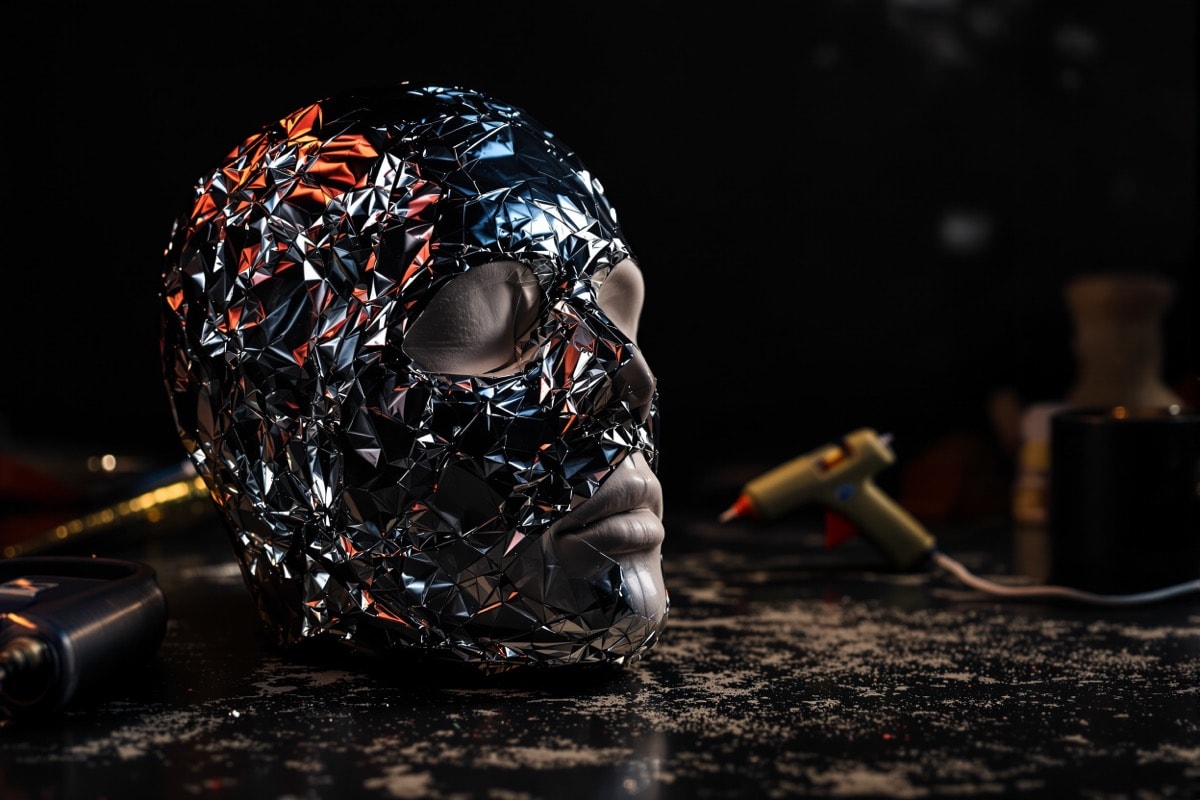
Aluminium foil pressed over a face form picks up every crease in seconds. Skinned with a coat of hot glue so thin it is barely visible, it becomes a rigid, feather-light hollow shell that can be lifted straight off. Ink-washed, and with the eyes and mouth stitched shut, it is one of the most disturbing objects here for perhaps twenty minutes of work.
The technique here is worth understanding on its own: foil for shape, glue for rigidity. It is the same method as cheap skulls, applied to a face rather than a cranium, and it will copy almost any rigid textured object.
Materials
| Item | Notes |
|---|---|
| Rigid face form | A ceramic or plaster face cast, a polystyrene wig head, or a cheap solid mask. It must hold shape under pressure. |
| Aluminium foil | Heavy duty if you have it; standard works. |
| Hot glue gun | Used sparingly — see step 2. |
| Acrylic paint | Black, white and three or four skin tones from brown through peach to burnt orange. |
| Paper towel | For daubing the wash back off. |
| Needle and heavy thread or yarn | For the stitching in step 8. |
Making the prop
Step 1 — Skin the form in foil
Lay foil lightly over the form and work it down into every crease and hollow. Fingertips do most of it; the handle of a spoon or the back of a fingernail gets into the corners of the eyes, the nostrils and the lip line.
Work gently and from the middle outwards. Foil tears where it is stretched over a hard edge, and the usual casualties are the bridge of the nose and the outer corners of the eyes. A useful trick for the sockets is to wrap the foil loosely around a fingertip before pushing it in, which spreads the load and stops it splitting.
Step 2 — The whisper of glue
Now the counterintuitive part. Cover the foil with a coat of hot glue so light it is almost invisible. Move the nozzle rapidly across the surface so the glue is deposited as a thin film rather than a bead — the aim is to lay down perhaps a tenth of what instinct suggests.
The glue is not the material here. It is a stiffener, and its whole job is to stop the foil relaxing. Too much and you lose all the fine detail the foil just captured, and you get a lumpy glue mask with a foil lining instead of a crisp foil face.
A good way to check coverage: shine a light across the surface at a low angle. Bare foil flashes back a hard specular reflection; glued areas go slightly matte. Anywhere still flashing needs another pass.
Step 3 — Release, then stiffen the inside
Once the glue has cooled, lift the shell off the form. It should be semi-rigid and hold its shape in the hand. Then run the same light coat of glue over the inside of the face. This sandwiches the foil between two thin glue films and roughly doubles the stiffness, which the piece needs if it is going to be handled, stitched or hung.
Steps 4 and 5 — Base skin tones
Paint both the front and the back of the shell in your base skin tones, building up in multiple thin coats until the metallic foil no longer shows through. Foil is uncooperative — the first coat will look terrible and patchy. Keep going.
Vary the tones across the face rather than laying one flat colour. Warmer and redder around the nose and the ears, cooler and greyer at the temples and jaw, a paler tone across the brow. Even badly done, variation reads as flesh; a uniform coat reads as a painted object.
Step 6 — Flood the wash
Mix black acrylic with plenty of water to a thin, dirty wash and flood it over the whole face. Be generous and make sure it gets everywhere — into the eye corners, the nostrils, the lip line and every crease the foil captured in step 1. This step is what makes the piece look like a face rather than a lump.
Step 7 — Daub it back off
Take a paper towel and lightly daub the surface, lifting the wash off the high points while leaving it in the recesses. Do not wipe or scrub — daub, and stop before you think you should.
Let it dry and repeat steps 6 and 7 as many times as it takes. Two or three cycles is normal. Each pass deepens the recesses without darkening the raised surfaces, and the contrast between the two is the entire effect. Do the inside as well if the piece will be seen from behind or hung free.
Step 8 — Stitch the eyes and mouth shut
The single detail that converts this from a mask into something unpleasant. Using a needle and heavy thread, stitch across the eyes and the mouth in large, crude, uneven cross-stitches, pulling just tight enough to draw the openings slightly closed.
Fine, even stitching is a mistake here — it looks tailored. Crude and irregular is the goal. Coarse yarn coated in a smear of glue looks better than thread, because it reads as matted and thickened rather than clean. Pierce the shell with a needle or an awl before drawing the thread through; forcing a needle through glue-stiffened foil is how the material tears.
Steps 9 and 10 — Suspended in a jar (optional)
The face can be hung inside a large clear container to make a specimen piece. A tall rectangular sweet jar is about the right shape and can be found in any bulk store. A salvaged fitting — the centre of a broken ceiling fan, a jar lid, a plumbing flange — makes a convincing lid, and a few loose coils of scrap wire pushed into its screw holes make it look like apparatus.
To suspend the face, pierce a hole in the lid with a nail, then use the nail itself laid across the top as a crossbar to anchor the string. Thread the string through the hole and tie it to the top of the face. If it is fixed at a single point the face rotates slowly under its own weight and under any air movement, which shows both sides in turn — a genuinely good effect that is hard to get deliberately.
Fill with water tinted using the highlighter-ink method from glowing potions and light it with a blacklight. Two warnings: the shell is not waterproof, so the paint will eventually lift and the piece is a one-season prop in liquid; and a full jar of water is heavy, so put it somewhere it cannot be knocked over.
Display
Dry, it hangs well on a dark wall with a light raking across it, or nailed to a board among other specimens. Alongside skin face and a row of skulls it stops being a single gag and starts being a collection.