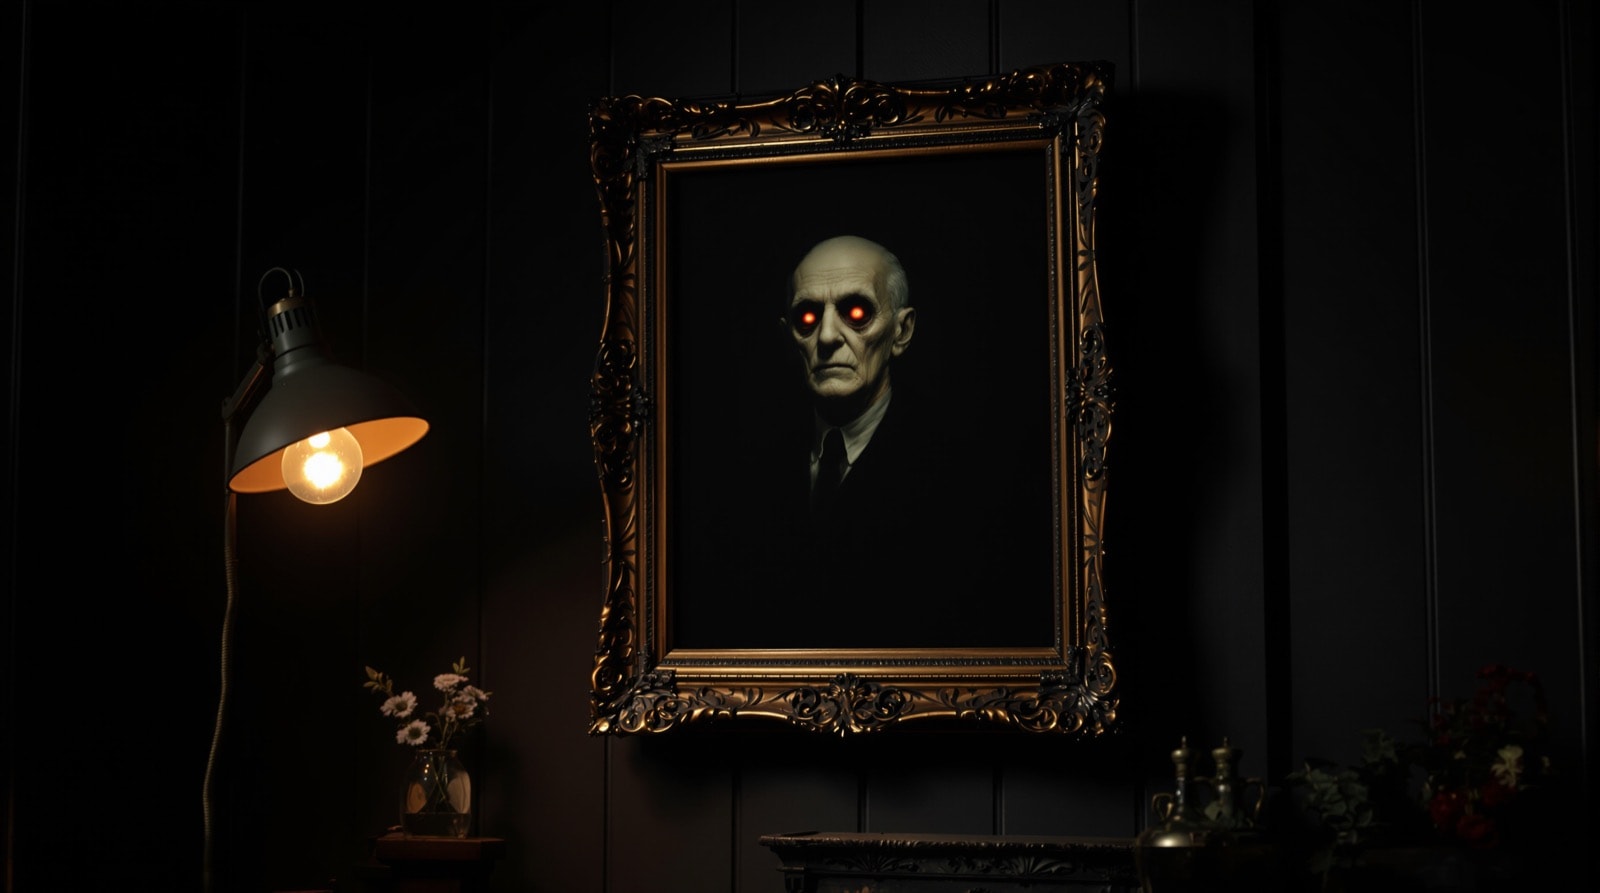
A portrait on the wall whose eyes track the viewer across the room. There is no mechanism, no motor and nothing electronic — the effect comes entirely from setting a photograph of real eyes about half an inch behind a cut-out in the printed painting. The recess produces a parallax shift as the viewer moves, and the brain reads the shift as the eyes turning to follow.
The prop's single dependency is viewing distance. Beyond roughly six feet it is uncanny. Closer than about five, the recess becomes visible as a recess and the illusion collapses instantly. Plan where people will stand before you build anything.
Materials
| Item | Notes |
|---|---|
| A printed portrait | Sombre, forward-facing, life-sized head. See step 1. |
| Posterboard | Backing for the print so it does not sag in the frame. |
| Foamcore board | Two identical pieces. This is what creates the recess. |
| A picture frame | Charity-shop frames are ideal; an ornate one sells the illusion considerably better than a modern one. |
| Craft knife and cutting mat | For the eye cut-outs and the foamcore. |
| Glue stick and PVA | Mounting. |
| Digital camera | For photographing the eyes. |
| Brass thumbtacks | Four, to hold the frame flat against the wall. |
Making the prop
Step 1 — Choose and print the portrait
The image wants to be a sober, forward-facing painted portrait — the kind of severe Victorian sitter who is already looking mildly disapproving before the eyes start moving. Searching for public-domain or openly licensed portrait paintings from museum collections turns up an enormous supply, and using a genuine old painting rather than a photograph helps because painted eyes and photographic eyes sit together more comfortably than two photographs would.
Use imagery you are entitled to use, and do not use a photograph of a real identifiable person. Print it so that the head is life-sized. This is not a stylistic choice: at anything under life size the eyes are too small for the parallax to be legible and the illusion simply does not fire. A useful check is the eye itself — around 1½ inches corner to corner is about right for an adult face.
Step 2 — Back it and cut the eyes
Glue the print down onto posterboard and let it dry flat under a weight. A print left unbacked will ripple in the frame, and a ripple across the face is visible from across a room.
Then cut out both eyes with a craft knife on a cutting mat. Follow the shape of the eye opening — the almond of the lids, not a rectangle — and cut a shade larger than the painted iris so the photographed eye behind has room to move without clipping. Work on a proper mat, with the blade pulled towards you and both hands behind the cutting line, and change the blade if it starts dragging rather than slicing. This is the step in this build where people cut themselves; see the tools and safety page.
Step 3 — Fit the portrait into the frame
Mount the backed, cut portrait into the frame as you would any picture. Leave the glass out. Glass reflects, and a reflection across the eye holes destroys the effect at exactly the viewing angles you want to work.
Step 4 — Photograph the eyes
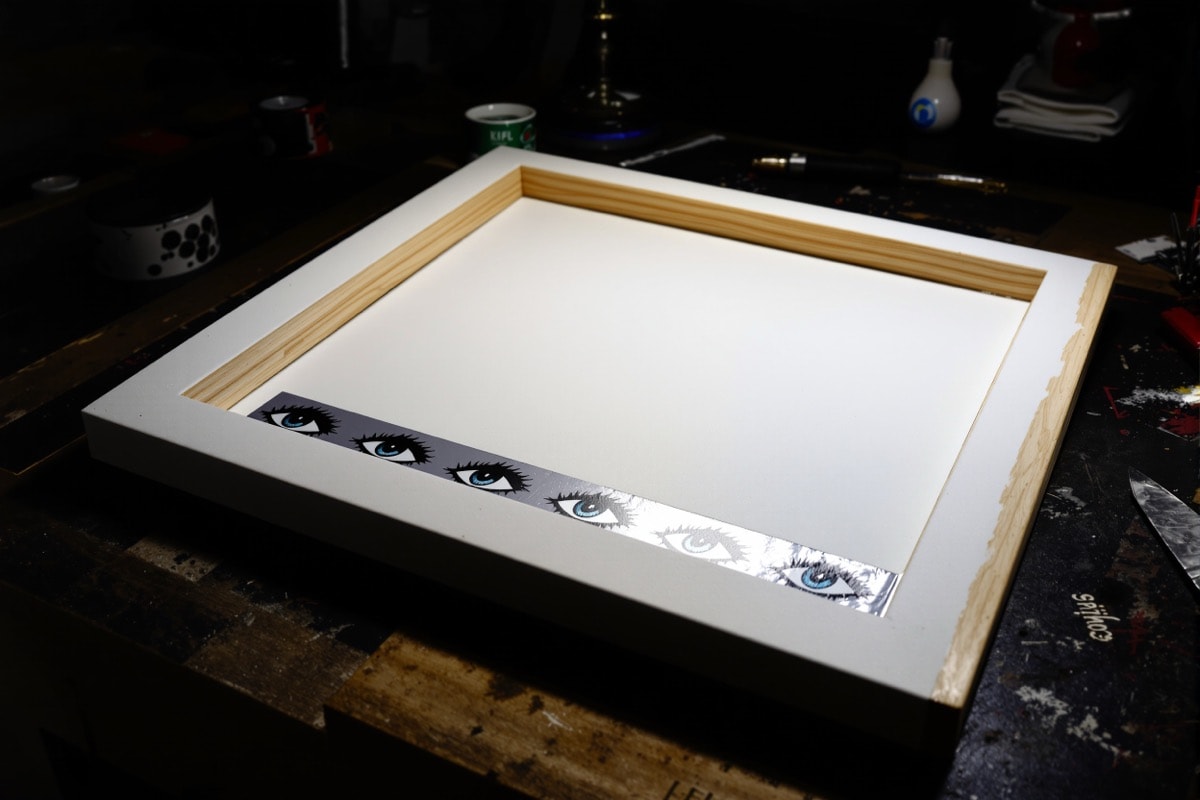
Photograph a pair of eyes, straight on, evenly lit, with a neutral or slightly hostile expression. Take a lot of frames — expression is hard to judge on the back of a camera and easy to judge on a screen, and there is no need for both eyes to come from the same shot. Compositing the better left eye from one frame and the better right from another is normal.
Two practical notes. First, use eyes you have permission to use — your own are the obvious answer. Second, do not improvise a substitute for a camera: pressing your face onto a flatbed scanner with the lid open is a genuinely bad idea, because the scan lamp is bright and passes directly under open eyes. Borrow a camera, or use a phone.
Print the eyes at the same scale as the portrait and hold the print behind the cut-outs to check. The spacing almost never matches first time — faces vary, and the print scale is approximate — so expect to cut the photograph between the eyes and slide the two halves apart or together until they register with the painted sockets. Tape the adjusted pair onto a fresh sheet and reprint if you want it clean.
Step 5 — Mount the eyes on foamcore
Cut the eye photograph out as a single strip and glue it to a piece of foamcore that is about an inch larger than the photograph all round. That margin is structural: it is what the second piece will glue to.
Step 6 — Cut the spacer frame
Cut a second piece of foamcore the exact same outside size as the first, then cut a window out of its middle the same size as the eye photograph. What you now have is a picture frame made of foamcore, and gluing it on top of the first piece leaves the photograph sitting at the bottom of a recess.
The depth of that recess is the entire effect. One thickness of foamcore — about a quarter of an inch — is the working minimum. Two thicknesses, roughly half an inch, is the sweet spot for a portrait viewed from six to twelve feet. Deeper than that and the eyes fall into shadow and read as holes.
Step 7 — Assemble and glue behind the portrait
Glue the spacer frame onto the backing piece and let it set. Then glue the whole assembly to the back of the portrait, behind the cut-out eyes, and check registration from the front before the glue grabs — with the eyes centred in their openings and the recess even all round. Nobody will ever see the back of this, so build it from whatever scrap is on the bench.
Step 8 — Make it hang flat
The foamcore assembly on the back means the frame no longer sits flush to the wall, and a frame that stands proud at the bottom tips forward and looks wrong. Push four brass thumbtacks into the back of the frame, one near each corner, so they act as feet of the same depth as the foamcore. The portrait then hangs flat and level.
Continue to part 2 — hanging, lighting and viewing distance.