
Foam tombstones are the cheapest way to turn a lawn into a graveyard, and the cheapest foam is the swimming kick board sold in dollar stores. They are dense closed-cell foam, they are already tombstone-shaped if you squint, and they cost about a dollar each.
The catch, and it is the whole trick of this project, is pre-planning. Kick boards are a summer product. In late October there is not one to be had; in July there is a bin of them. This is a project you buy in high summer and build in September, and that timing is what makes a graveyard cost eight dollars instead of two hundred.
Materials and tools
| Item | Notes |
|---|---|
| Dollar-store foam kick boards | One per stone. Buy more than you think; they are the cheapest part of the project and the hardest to find later. |
| Permanent marker | For laying out lettering before any cutting. |
| Loop-ended carving tools | Ceramic or pottery loop tools are by far the best thing for this. Dental picks and clay tools also work. |
| Wire brush | For the stone texture. A stiff one. |
| Grey primer, rattle-can | Roughly one can per two stones — see the coverage section. |
| Black and off-white acrylic | For the wash and dry-brush. |
| ½ in PVC pipe | Mounting sleeve, one short length per stone. |
| Steel rod or rebar | Ground stake, one per stone. |
Making the stones
Step 1 — Buy the board
Out of season, and in quantity. Kick boards are usually a slightly rounded rectangle already, so the classic round-topped headstone shape is a couple of minutes of trimming with a knife. Bought in a mixed colour lot, they are all going to be primed grey anyway.
Step 2 — Lay out and carve the lettering
Draw the inscription on with a permanent marker first, every time. Foam is unforgiving — a carved letter cannot be un-carved, and the marker lets you space the text, centre it, and catch the classic mistake of running out of room three letters from the end. Spacing matters more than letterform: evenly spaced clumsy letters read as an old stone, while beautifully drawn letters crammed at the edge read as a mistake.
Carve with a loop-ended tool. Foam cuts easily but tears rather than slices, so use light repeated passes rather than one deep one, and pull the loop towards you at a shallow angle. A carved groove of two or three millimetres is plenty — depth is not what makes lettering read, the shadow line inside it is, and that comes from the paint wash later.
This is the step to hand to a helper, including a child. It needs patience rather than tools, there is nothing sharp involved beyond the loop, and no two people carve alike, which is exactly what a row of stones should look like.
Step 3 — Beat in the stone texture
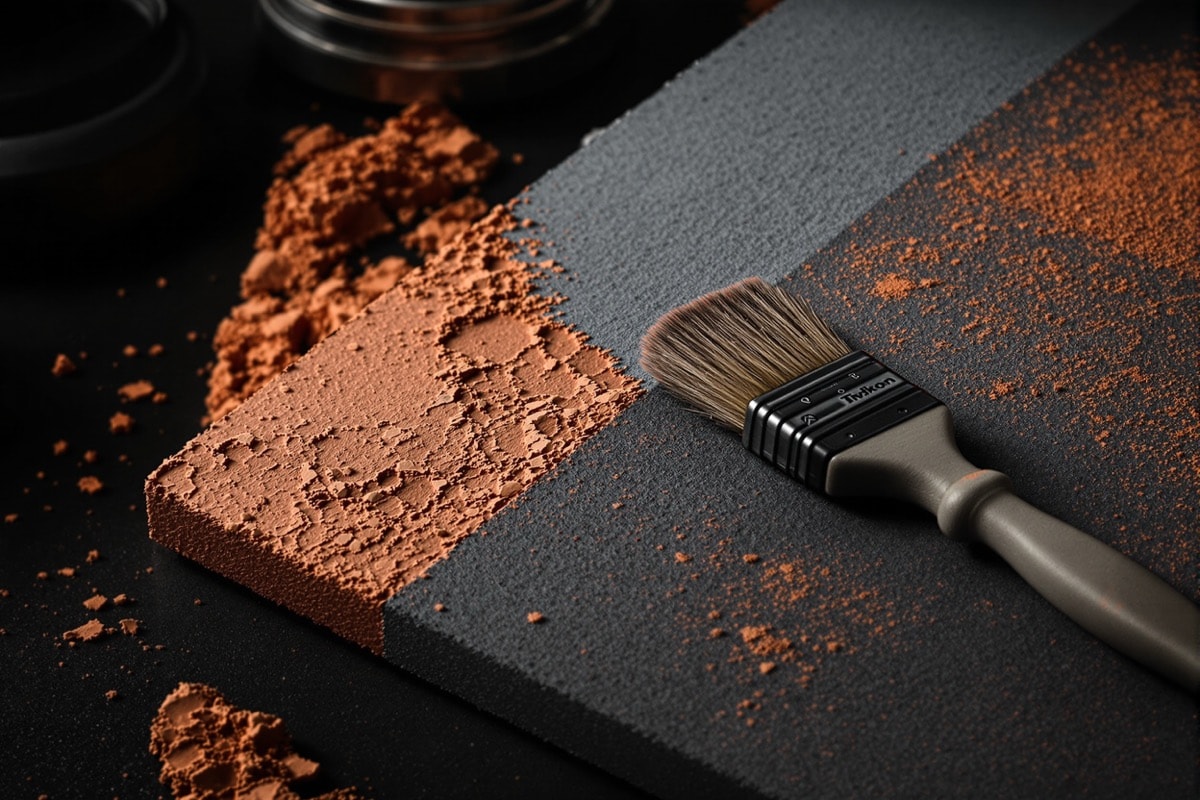
Clean carved foam looks like foam. What converts it into stone is texture, and the fastest way to get it is to pound the surface with a stiff wire brush. The steel bristles punch hundreds of small pits into the closed cell surface and leave an orange-peel finish that catches paint and shadow exactly like weathered limestone.
Strike rather than scrub — a dragged brush leaves parallel scratches that read as brushmarks, a struck brush leaves random pits. Work the whole face and both edges, and vary the pressure so the texture is uneven. Wear eye protection: this throws foam crumb, and a wire bristle occasionally comes loose off a brush at speed.
Two extra touches are worth the minute they cost. Round and nick the top edges with the brush and a knife so no edge is factory-straight, and dig a couple of shallow chips out of one corner. Real stones are damaged; new ones are not.
Steps 4 and 5 — Mounting
A foam board is essentially a sail, and any wind will take it. The mount that survives is a two-part one: a ½ in PVC pipe sleeve pushed and glued into the base of the foam, and a steel rod or rebar stake driven into the ground. The stone drops over the stake and lifts off again, which means it also stores flat and does not have a spike attached to it in the box.
Cut a slot in the base of the foam with a knife, work the pipe up inside the board as far as it will comfortably go — the deeper the sleeve, the less leverage the wind has — and seal it in place. Two sleeves side by side, rather than one, stop the stone spinning on its stake in a gust; one sleeve alone will weathervane.
Drive the stake fully home so no metal is left proud above ground level. A protruding steel rod in a dark lawn full of visitors is the one genuinely dangerous thing in this build.
Step 6 — Paint
Bare foam board drinks paint. Expect several coats of grey primer before the original colour stops showing through, and budget roughly a can of rattle-can primer per two stones. Two things reduce the pain: prime in thin passes from a distance rather than trying to cover in one wet coat, and let each pass flash off properly.
One warning that matters: test the primer on an offcut first. Some solvent-based aerosols will melt certain foams on contact, and you will discover this on the face of a stone you have just spent an hour carving. Spray outdoors regardless — see the ventilation notes on the safety page and the EPA's guidance on solvent vapour indoors.
Once the grey is down, the finish is the same wash-and-dry-brush move used everywhere on this site: a thin black wash flooded over the whole face and pushed into the lettering and the wire-brush pitting, wiped back off the high points while wet, then a nearly dry brush of off-white dragged lightly across the surface to catch the raised texture. Streak a little green or black wash downward from the top edge and out of the lettering, following where rain would run. That single detail — directional staining — does more for realism than any amount of carving.
After the season
Foam stones survive years if they are stored flat and dry and not stacked with anything heavy on them. Damage from a season in a yard is mostly cosmetic and generally improves them. Combined with zombie arms pushing out of the grass between them and a low coloured light throwing everything into silhouette, half a dozen of these make a complete display on their own.