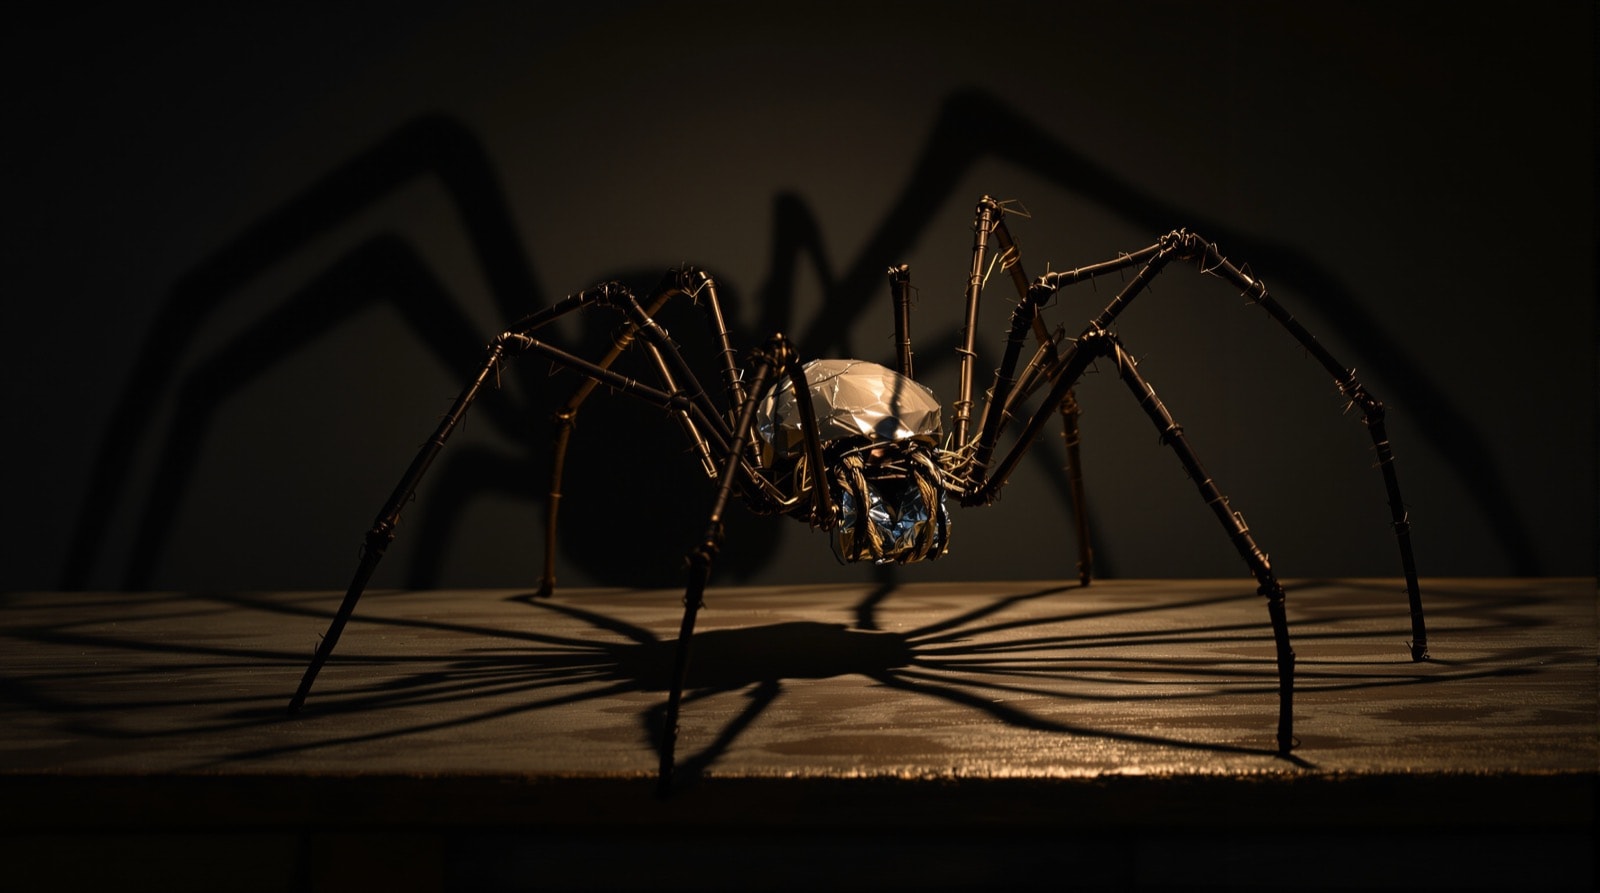
Large, heavy-looking spiders built from nothing but coathanger wire and aluminium foil. Once the method is familiar, each one takes about a quarter of an hour, not counting paint — which makes this the highest-yield project on the site for filling a space quickly.
They are the same build as the wire bats: bend an armature, bulk it out, finish it. The difference is that the legs are the whole prop, and everything about how a spider reads comes from getting those right.
Materials
- Several wire coat hangers, or similar wire. The stronger the wire, the better it will support the weight of the spider's body — thin hangers make legs that sag.
- Aluminium foil, the heaviest duty you can afford. How much depends entirely on the size of spider you are making.
- Spray paint or a tube of acrylic (optional). Some people prefer to leave the spiders with a bare metallic finish, so paint is a choice rather than a requirement.
- Side cutters and pliers.
Time needed
Once you get good at making these creepy suckers you will be able to slap one together in about fifteen minutes, not counting the time needed to paint them.
Get the anatomy right first
The one thing that separates a spider from a black blob with wires is leg segmentation. A spider's leg is not a smooth curve — it goes out and slightly up from the body, bends sharply down at the knee, and then runs out and down to the tip, with a final small turn where it meets the ground. Every leg has that same profile, and homemade spiders almost always get it wrong by putting in one gentle arc.
The other giveaway is the split body. A spider has two obvious parts — a small front section and a much larger rear one — not a single lump. Five minutes on the Australian Museum's spider pages looking at leg joints and body proportion will improve this prop more than any amount of extra foil.
Making the prop
Step 1 — Cut and pair the leg wires
Cut the hooks off the hangers and straighten the wire. Cut four lengths, each long enough to run the full span of two opposite legs plus a few inches to cross the body — so a spider with a two-foot span needs four wires of roughly two and a half feet.
Working in pairs rather than eight separate legs is the trick that makes this quick. Each wire becomes two opposite legs and passes straight through the body, which means the legs are self-anchoring and there is no joint to fail.
Wear eye protection when cutting: hanger wire is springy and the offcut end whips when it parts. Turn every cut end over with pliers as soon as it is made — see the safety page.
Step 2 — Bend the leg profile
Take the four wires and bend each one into a shallow "M" — up from the middle, a sharp knee bend down on each side, then out and down to the tip. Bend all four together over the same form if you can, so they match, then adjust individually afterwards.
Curl the last inch of each tip over with pliers into a small foot. This does two jobs: it gives the spider something to stand on so it does not sink into carpet or grass, and it removes the sharp wire end.
Now cross the four wires at their centres in a fan, so the eight legs radiate evenly. Splay them front and back rather than sideways — real spiders carry two pairs forward and two back, not four out to each side — and twist the crossing point together with a few turns of spare wire so the fan holds.
Step 3 — Build the body with foil
Crumple foil around the twisted centre to build the small front body section, squeezing hard so it grips the wire and compacts. Then build the much larger rear section behind it, working in several smaller pieces rather than one enormous sheet — layers of compressed foil are far denser and hold shape much better than a single loose wad.
Keep squeezing and rolling as you go: foil is stiff when it is compressed and floppy when it is not. Finish with one smooth outer layer wrapped over the whole body to hide the joins, and pinch the waist between the two sections so the split is obvious in silhouette.
Check the balance before moving on. The spider should stand on its own eight feet with the body just clear of the surface. Adjust the knee bends until it does — a spider whose belly rests on the ground looks dead, and one on stilt-straight legs looks like a table.
Step 4 — Finish
Leave it bare for a metallic, chitinous look, which is genuinely effective under coloured light, or paint it. Brown or matte black spray is the usual choice; spray outdoors, in several light passes, and turn the spider between passes so paint reaches the undersides of the legs.
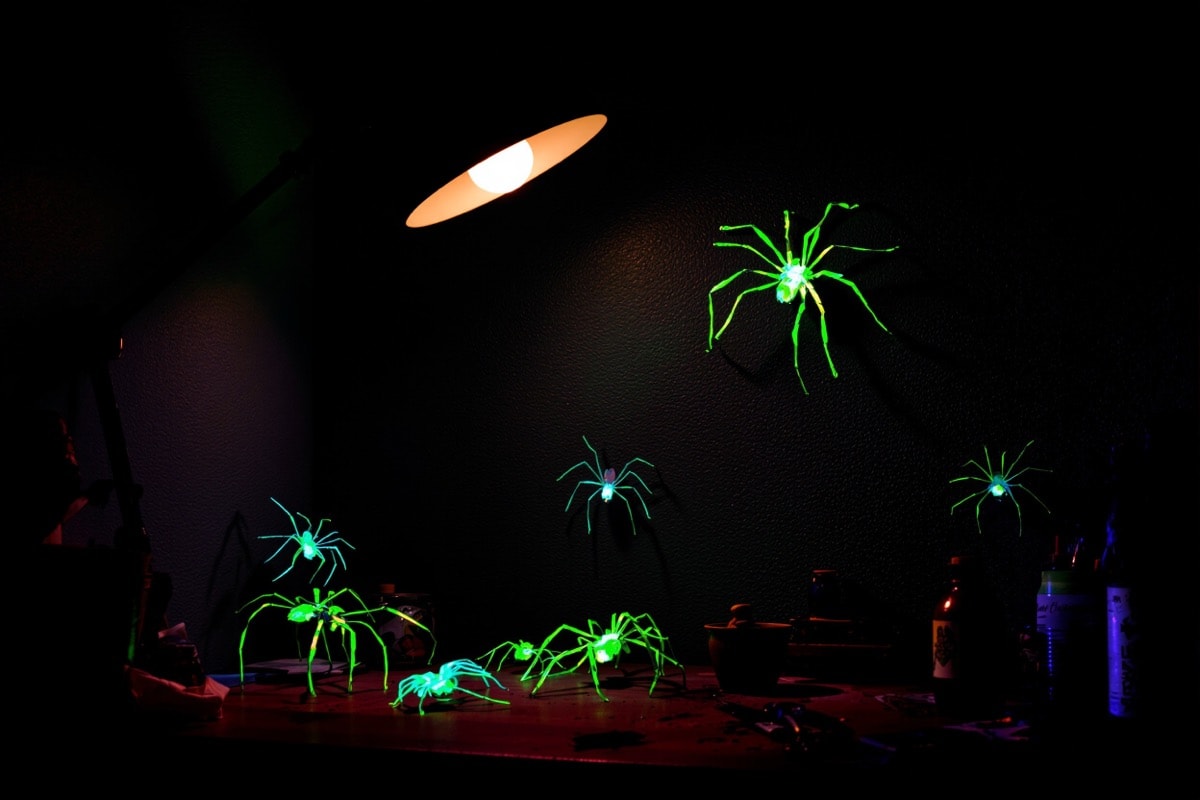
Two upgrades worth the effort. A dry-brush of a lighter brown over the raised foil texture picks out the crumple as body hair and takes about a minute. And a coat of fluorescent paint makes the spider blaze under a blacklight — a group of them on a wall or in a corner, apparently glowing in mid-air, is one of the most effective cheap effects there is.
Rigging an infestation
Choose the display surface before making a batch. A spider for carpet needs broad, level feet; a wall spider needs a flatter body and close-bent legs; an overhead one needs a balance point. Measure the available corner and make the first spider to suit it. Keep that body size for the batch, but vary the leg span so the group does not become a row of stamped ornaments.
Before the foil body goes on, form a small closed loop from spare wire around the crossed leg wires. Leave it just visible at the top of the finished body. The armature then carries the weight directly, and the line cannot pull free of the foil. Suspend the unpainted spider over a low surface and move the loop until the body takes the angle you want; a slight head-down tilt reads better than a level body.
Control a wall spider with two attachment points: one at the body and another at a turned-over foot. The second stops the prop swivelling when a door opens. Arrange the largest shape first, add the smaller ones along its direction of travel, and keep sharp feet and nearly invisible line away from doorways, stairs and head height. Light the group only after it is fixed. A lamp low and to one side throws unequal shadows, making a modest group occupy far more wall.
Display
Spiders read best in numbers and in odd places: high on a wall near the ceiling, on the side of a doorframe, in a corner where the light barely reaches. Vary the sizes across the group and turn each one to a different angle. One large spider is a decoration; six of assorted sizes, all facing different ways, is an infestation.
They hang easily too — a loop of wire pushed into the foil body takes fishing line, and a spider suspended a few inches below a ceiling casts an enormous shadow when lit from below.