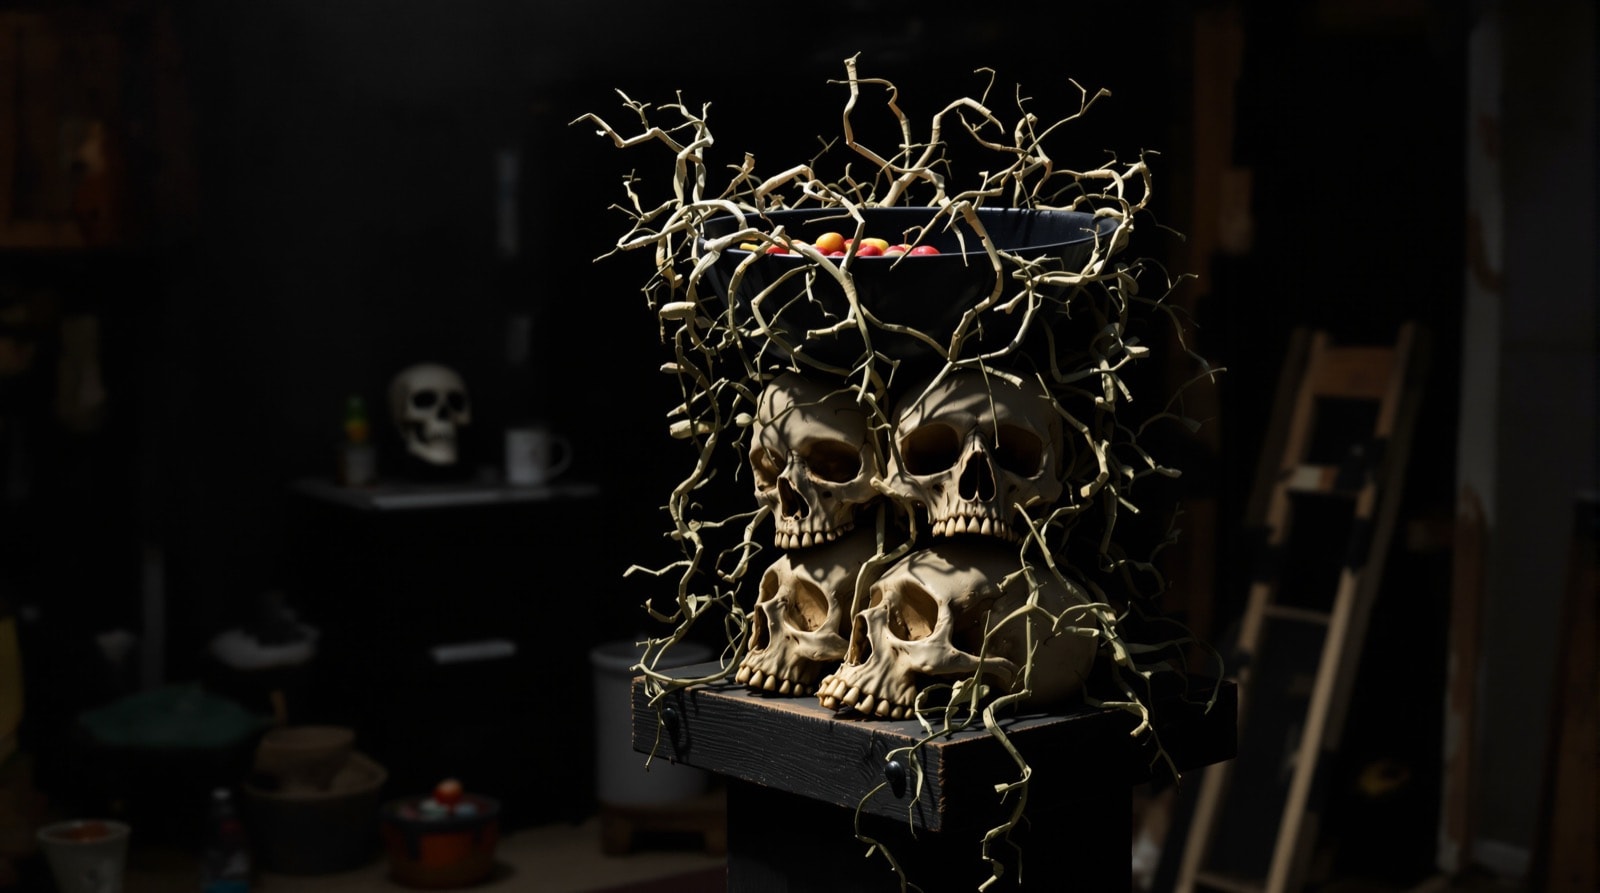
A column of stacked skulls and bones on a wooden base, with a bowl of sweets bolted to the top. It brings together nearly everything else on this site — the cheap skulls method, hot glue as a structural material, and the wash-and-dry-brush bone finish — into one piece that stands on a porch.
It is also the one prop here that small children put their hands into, in the dark. That single fact should drive every construction decision: stability, no exposed threads or points, and a height a short arm can reach without pulling on it. Those requirements are built into the steps below and they are not optional.
Materials
| Item | Notes |
|---|---|
| Several skulls | Made using the cheap skulls method, or bought. Six to ten depending on height. |
| Blow-moulded bones | Optional. A bag of cheap plastic bones fills the gaps. Often glow-in-the-dark, so plan to paint them. |
| Wooden base | At least 1 × 2 ft. Bigger is more stable. |
| 2 in PVC pipe | The spine. Use 2 in rather than anything thinner — this is a strength decision. |
| 6 × L-brackets | Three for the pipe to the base, three for the bowl to the pipe. |
| Bolts, lock washers, drywall screws | See step 5. |
| 4 × 12 in spike nails | To pin the base to the ground. |
| Plastic candy bowl | Light, wide and shallow. A heavy bowl raises the centre of gravity. |
| Hot glue gun, paper towels, acrylic paint | For the fill, the vines and the finish. |
Building it
Step 1 — Gather the skulls
Make them in a batch beforehand using the cheap skulls method — that tutorial covers casting and painting in detail, and doing them assembly-line is far quicker than one at a time. Bought skulls work fine too, and mixing sizes looks better than a uniform stack.
Step 2 — Mount the pipe on the base
Fix the 2 in PVC pipe upright to the wooden base with three L-brackets spaced evenly around it. Three is the minimum; four is better, and the extra bracket costs nothing.
Trim the pipe to about waist height. It is tempting to build it taller, and it is the wrong instinct: a tall column is less stable, and children have to reach up into a bowl they cannot see into. Waist height on an adult is roughly chest height on a small child, which is about right.
Pre-drill the four corners of the base now, while it is still light and workable, so that 12 in spike nails can be driven through it into the ground on the night. Countersink them so no nail head stands proud of the base — a nail head at ankle level on a dark porch is a trip hazard.
Step 3 — Stack the skulls
Cut a hole in the top of each skull large enough to pass over the pipe, and thread them down one at a time. Rotate each one as it goes on so they face different directions, and vary the spacing so the stack looks piled rather than threaded.
Work plastic bones in between the skulls to fill the gaps. If they glow in the dark, paint them — a stack of aged bone with three bright green femurs in it looks like exactly what it is.
Step 4 — Fill and bond with hot glue
Run hot glue into every gap between skulls and bones, working up the column until it is filled to within a few inches of the top. The glue does two jobs at once: it hides the pipe, and it bonds the whole stack into a single rigid mass rather than a pile of loose parts on a stick.
Be thorough. Every open gap is somewhere a small hand could catch a finger, and every unglued skull is one that can rotate or come off.
The rubber-glove-as-extra-detail variation is not worth the effort — it takes a long time and reads as almost nothing at a distance. Spend the time on the paint instead.
Step 5 — Fit the bowl. This is the safety-critical step.
Fix the candy bowl to the top of the column with three more L-brackets. Screw the brackets to the pipe with drywall screws, and attach the bowl to the brackets with bolts and lock washers — not screws. A screw into thin plastic works loose; a bolted joint with a lock washer does not, and this joint is going to be pushed, leaned on and grabbed all evening.
Then cover every exposed bolt thread with a generous blob of hot glue. This is the most important sentence on the page. A protruding bolt end inside a bowl that children reach blindly into is a genuine injury waiting to happen, and thirty seconds with the glue gun removes it completely. Run your own hand around the inside of the bowl afterwards, with your eyes shut, and find anything sharp before a visitor does.
Check the whole assembly for tipping before going any further. Push it firmly from the side at bowl height. If it rocks, widen the base, add a fourth bracket at the bottom, or put a weight — a paving slab, a sandbag — on the base under the column.
Step 6 — Vines
Twist paper towels into rope-like vines and glue them so they climb from the top skull up onto the outside of the bowl, tying the two visually together. Once the pattern looks right, coat the whole vine in a thin skin of hot glue by running the gun tip along it, which hardens it and makes it weather-resistant.
Be careful: these are paper towels, and the glue gun is at 190 °C. Work in short sections, keep the gun moving, and do not leave a hot gun resting against the paper. See the safety page.
Step 7 — Paint
Paint the skulls, bones and vines using the finish described on cheap skulls, part 3: white base, black or india-ink wash flooded into the recesses and wiped back, off-white dry-brush over the high points, then a second wash. The vines take the same treatment and end up looking like dried, dead growth.
Step 8 — Line the bowl
The inside of the bowl is the last problem, and painting it directly does not work — sweets scrape the paint straight off.
Instead, line it: tear paper towels and glue them down until the whole inner surface is covered, skin them with a thin layer of hot glue as with the vines, and once that has hardened paint the lining matte black. The glue skin protects the paint from abrasion and makes the bowl interior a black void that hands disappear into, which is a better effect than any amount of decoration.
Check once more that the lining is smooth and that nothing sharp is exposed.
On the night
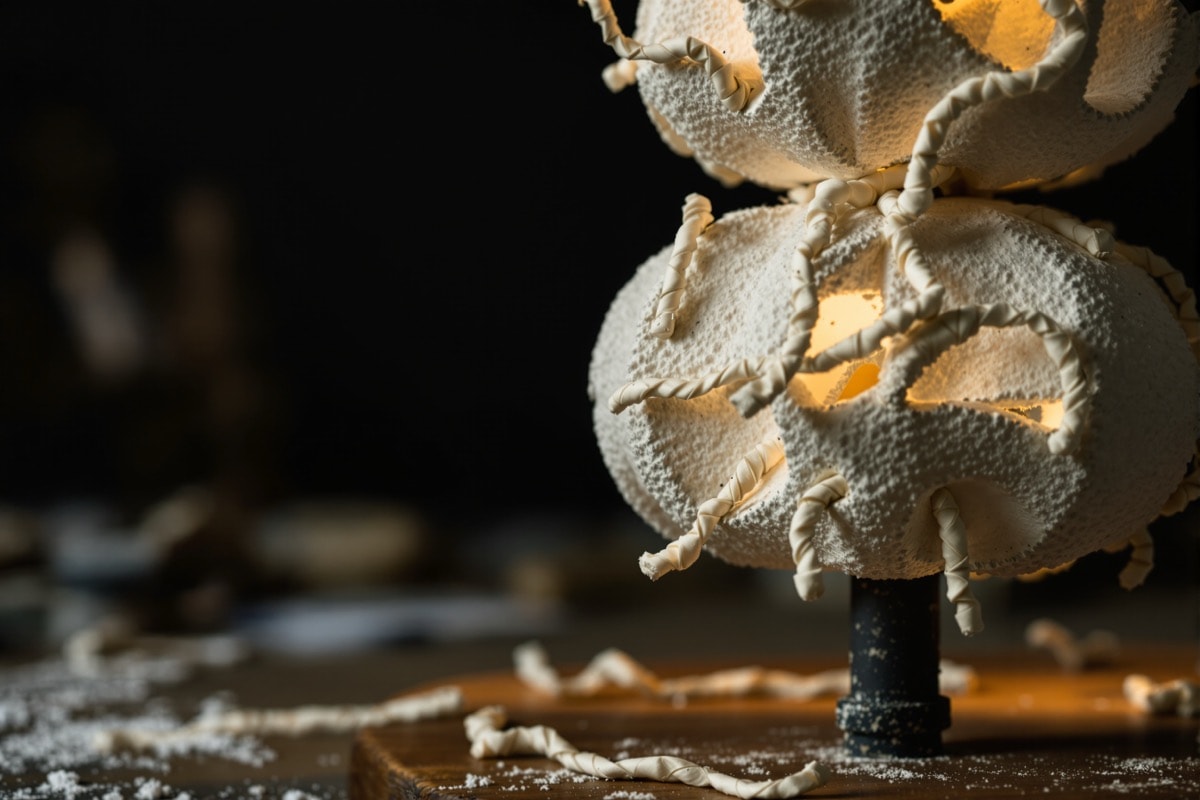
Drive the four spikes fully home through the pre-drilled corners so the base is pinned flat. Light it from below or from one side; a light shining down into the bowl kills the void effect entirely. Keep it clear of the path so nobody walks into it in the dark, and check it periodically during the evening — it will be handled a great deal more than any other prop you own.
If it rains, take it indoors. Hot glue and paper towel are weather-resistant, not waterproof, and the piece works perfectly well on a table just inside a door.