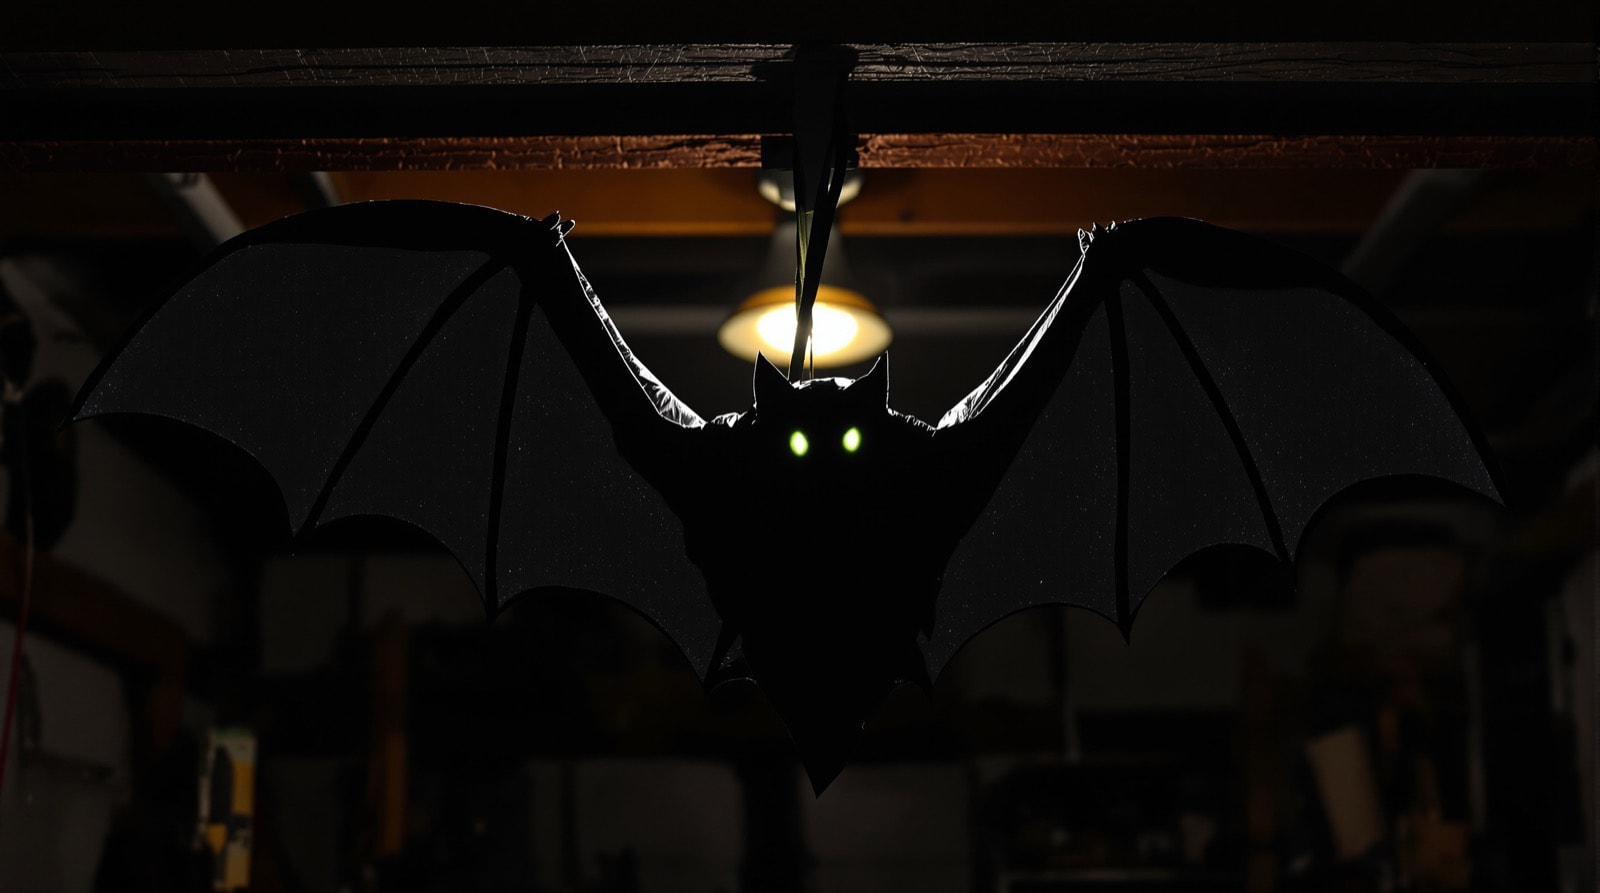
This is the reference build for the wire-armature method used throughout these projects: a shape roughed out in scrap paper, wrapped tight in tape, pierced with a straightened coathanger, and then dressed. The bats it produces are cheap, genuinely weatherproof, and sturdy enough to come out of a box every October for a decade.
They are also slow. Not difficult — slow. Each bat is perhaps forty-five minutes of fiddling once you know what you are doing, and rather longer the first time. If you need a dozen bats by Friday this is the wrong method, and a flock of cut-card silhouettes will serve you better. If you want three or four good ones, this is the method.
Materials
| Item | Notes |
|---|---|
| Sturdy wire coathanger | One per bat. The heavier the gauge, the better the wings hold their shape. Thin dry-cleaner hangers sag. |
| Scrap paper | Newspaper or junk mail. Forms the body core. |
| Black electrical tape | The main consumable. It compresses the paper, waterproofs it, and gives the finished body its colour. |
| Side cutters or wire cutters | For cutting and shaping the hanger. |
| Pliers | For tight bends and for turning over the cut ends. |
| A sharp piercing tool | A dental pick, bradawl or ice pick. Something with a handle you can push steadily. |
| Scrap wood or plastic slat | Roughly 4–6 in. Stabilises the wings in part 2. |
| Heavy plastic sheet | For the wing membranes in part 3. A contractor-weight bag or a light tarp; a kitchen bin liner is too thin. |
| Hot glue gun | For tacking. See the safety page. |
| Glow-in-the-dark fabric paint | Optional, for the eyes. Enormously effective. |
Getting the shape right first
Before touching any material, look at an actual bat. The single thing that makes a homemade bat read as a bat rather than a black kite is the proportion of body to wingspan — the body is small, and the wing has a long forearm and then a much longer spread of finger bones. The US National Park Service's bat pages and the Bat Conservation Trust both have good clear photographs. Ten minutes of looking will improve the prop more than an extra hour of building.
Making the prop
Step 1 — Rough out the body
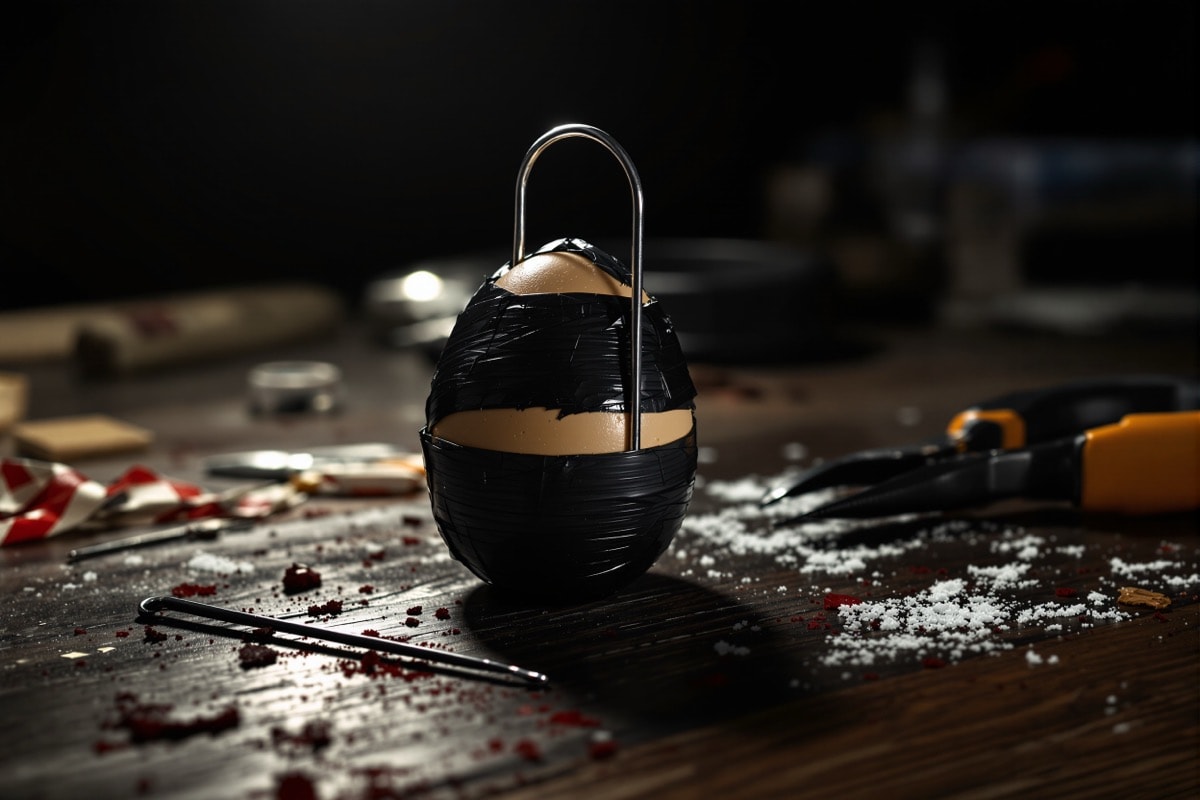
Crumple scrap paper into the rough shape the body will take: a blunt cone, thicker at the shoulders, tapering towards the tail. Keep it small. The instinct is to build a body the size of a fist, and a fist-sized body wants a wingspan of nearly a metre to look right. Something around the size of a large egg is a comfortable working scale.
Step 2 — Wrap it tight
Wrap the paper wad with black electrical tape, pulling hard as you go and working in overlapping bands from every direction. The tape is doing three jobs: compressing the paper into a dense, solid core, sealing it against water, and colouring it. Keep wrapping and squeezing until the body holds its shape under a firm pinch and the surface is smooth. A loosely wrapped body will crush later when you drive wire through it, and the shape will be lost.
Step 3 — Pierce the body
Push a sharp tool right through the body from side to side, at what will be shoulder height. Work it through slowly and steadily — a tightly wrapped core is dense, and the temptation is to shove. Keep the hand that is not holding the tool well clear of the exit point, because the tool will emerge suddenly when it breaks through. A dental pick or bradawl with a proper handle is far safer here than an improvised spike.
Rotate the tool a little once through, to open the channel enough that the hanger wire will slide rather than have to be forced.
Step 4 — Fit the armature wire
Cut the hook off the coathanger and straighten the remaining wire as best you can — a length of scrap timber to roll it against helps, but perfectly straight is not required. Feed the wire through the channel you made so that roughly equal lengths project from each side.
Measure before you commit. Each side needs enough wire to make the whole wing — the forearm out, the elbow bend, and the return towards the body. A useful check is to lay the wire against a photograph of a bat scaled to your body size; a wing that is too short cannot be fixed later without starting the armature again. Err long. Excess is trimmed in part 2; a shortfall is not recoverable.
Once the wire is positioned, put a small tack of hot glue where it enters and leaves the body so it cannot creep, and turn over the two cut ends with pliers so no sharp end is left exposed.
Building a flock without making clones
Batch the dull operations, but stop short of making identical bats. Form all the paper cores in one sitting, wrap them together, then cut the armature wires from one measured sample. That keeps the scale consistent. Mark the centre of every wire before feeding it through a body; the pencil line shows when one wing has quietly stolen length from the other.
Variation belongs in the bends, not the proportions. Give one bat a high leading wing and a low trailing wing, pull another into a shallow glide, and fold a third more tightly as if it has just turned. Make those decisions while the wire is bare. Once the membrane is attached, every correction pulls on the skin and encourages a crease or tear. Lay the group on the floor between adjustments and compare the silhouettes; repeated angles show up immediately.
Plan the hanging point before the wings are dressed. A small closed loop around the armature at the back of the body carries the load more reliably than a hole through taped paper. Balance each bat from that loop over a low surface, shift it until the chosen pose hangs without rolling, and only then tighten it. Vary height and direction, keep every line out of the walking route, and leave enough space that neighbouring wings cannot knock together in moving air.
Weatherproofing
Built this way the bat is close to fully weatherproof already: the core is sealed inside tape, the armature is a single piece of wire, and the wings in part 3 are plastic. The two weak points are the tape seams, which lift after a wet season, and the wire, which will rust where the tape does not cover it. Both are solved with the same fix — a light coat of matte black spray paint over the finished bat, applied outdoors, which seals the seams and stops the wire. Do it at the very end, after the eyes are on, and let it dry fully before storage.