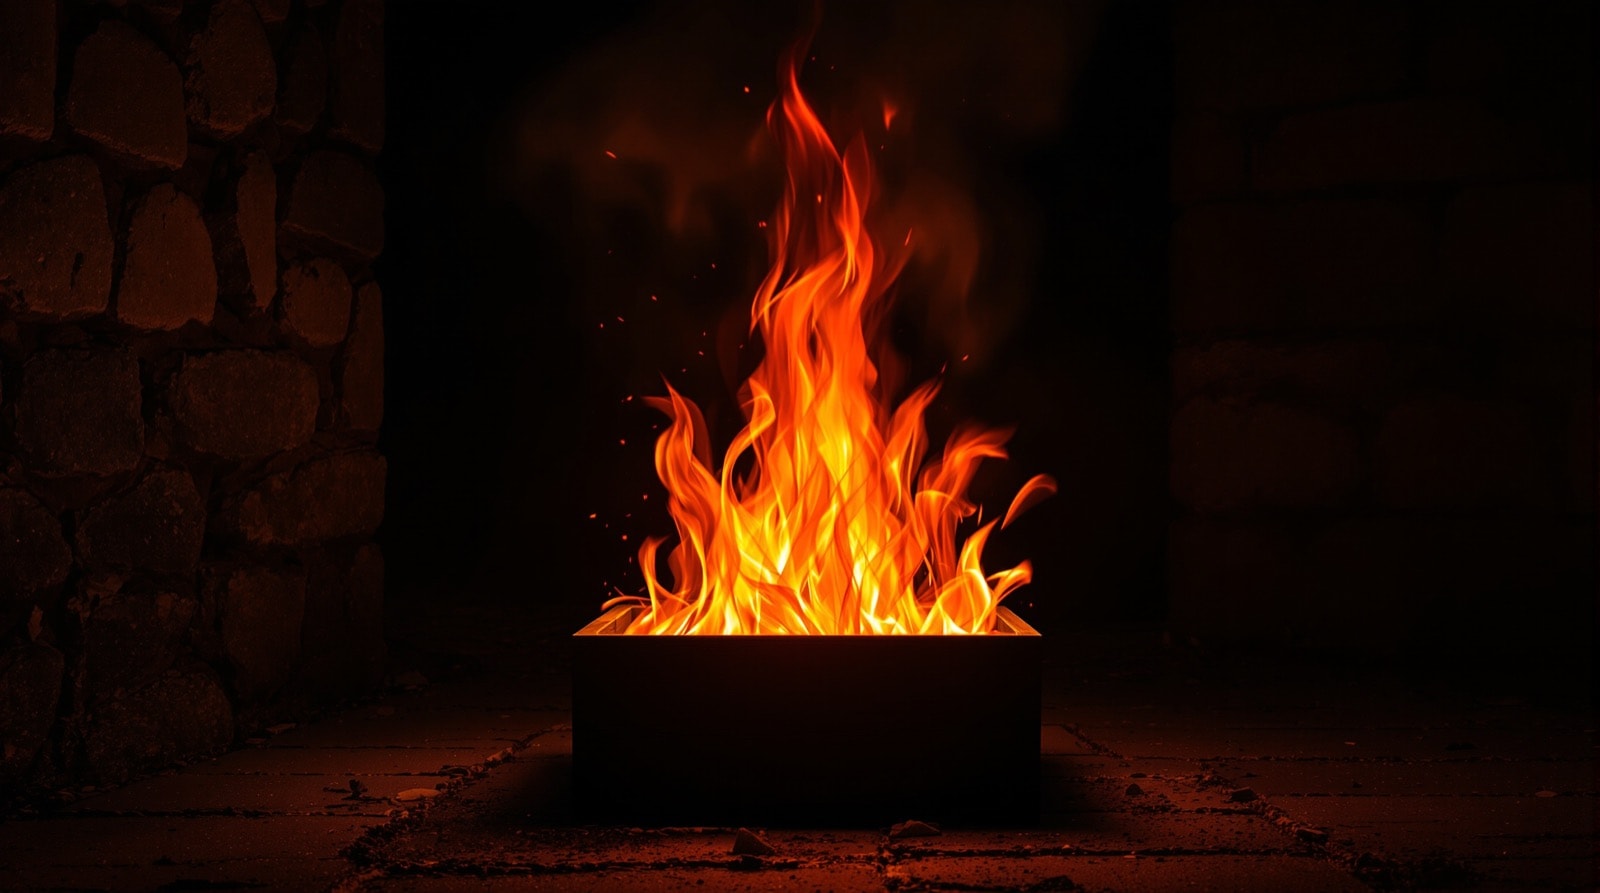
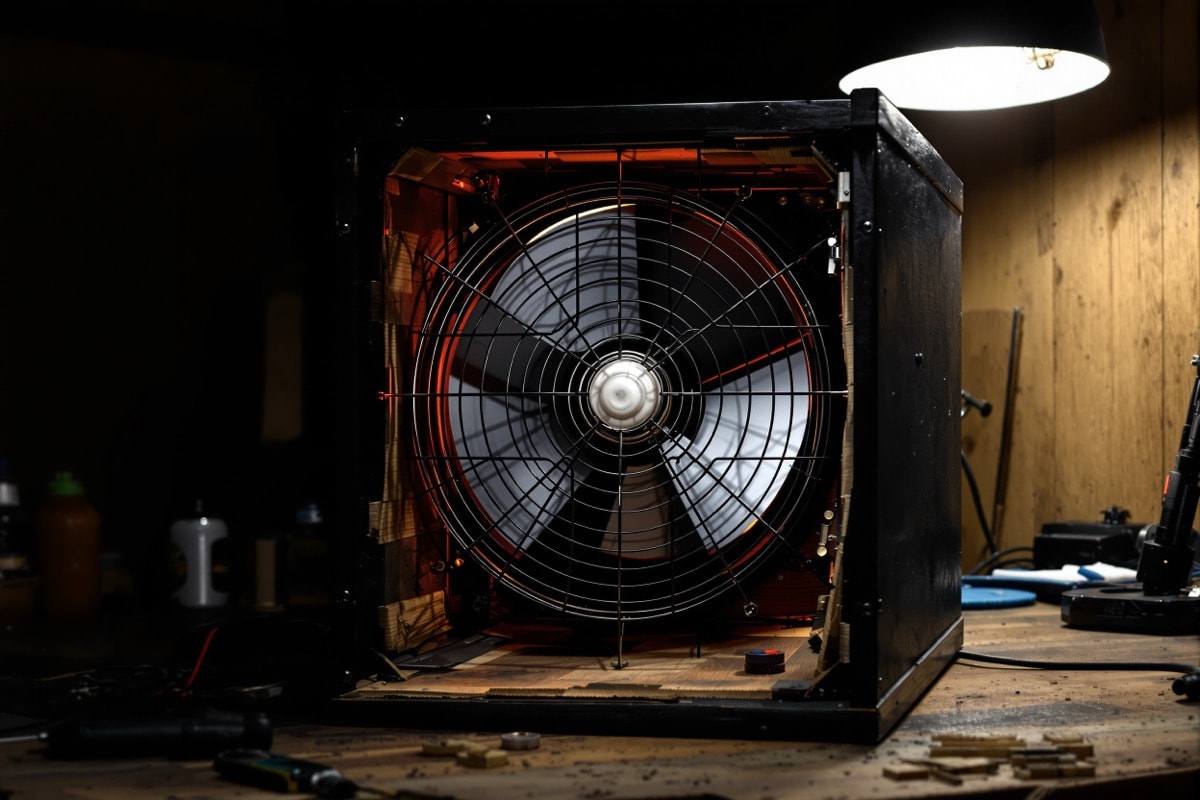
A box fan blowing upwards through a wooden housing, with strips of orange and yellow costume fabric tied across the grill and a floodlight throwing hard light up through them. In the dark the effect is genuinely convincing — convincing enough that people have been known to try to put one out.
It is also the most demanding project on this site in the only way that matters: it puts a mains-powered lamp inches from loose fabric, inside a wooden box, with an electric motor running. Built as described, with the bulb cage, it is safe. Built carelessly, it is a fire. Read this whole page and the tools and safety page before starting.
Heavy duty versus simple
The build described here is the heavy-duty version: a solid framed box designed to sit outdoors on sand and run for many hours at a stretch. Most people do not need that. If your flame box will run for an evening on a patio or in a garage, you can skip the framed timber housing entirely and simply stand the fan in a cardboard or plywood surround painted black. Everything from step 4 onward is identical, and the safety requirements are identical too. The full instructions are given anyway, because they document the version that survives real use.
Materials and tools
| Item | Notes |
|---|---|
| Box fan | An ordinary cheap one. The mounting design depends on its exact size, so buy it first and measure. |
| Costume fabric | About a yard each of orange and yellow. Lightweight, floaty dress-lining type material — the lighter it is, the better it flies. |
| Floodlight and fixture | See the note on lamp choice below. |
| Scrap lumber | 2×2 for the frame, plywood offcuts for the sides and base. |
| Scrap tin, ductwork or termite shield | For the air deflectors, if needed. |
| Heavy wire | For the bulb cage. Do not substitute anything that will soften. |
| Tools | Saw, cordless drill, hammer, tin snips, drywall screws or nails, duct tape, black paint. |
Building it
Step 1 — Buy the fan and measure
Everything is dimensioned off the fan, so it comes first. Measure the fan body accurately in all three dimensions and note where the switch and the cord exit, because both need to remain reachable once it is boxed in.
Step 2 — Build the housing
Build a box from 2×2 framing and plywood that the fan drops into, and paint the whole thing matte black inside and out. Black is not cosmetic: any light-coloured surface inside the box will bounce light and wash out the effect.
Build a small internal ledge or lip for the fan to sit on. If the box will stand in sand or on loose ground, put it on a solid base with a ledge running right round the bottom to keep grit out of the motor; on a patio or a garage floor, leave the base off.
Clamp everything you cut. A plywood offcut held by hand under a jigsaw is the commonest workshop injury there is — see the OSHA guidance on hand and power tools.
Step 3 — Fit the fan, blowing up
Drop the fan into the housing and secure it, ideally with a top frame that screws down and locks it in position. Check the airflow direction before fixing anything. The fan must blow upwards. It is entirely possible to build the whole box around a fan mounted upside-down and only discover it when the fabric is sucked flat.
Keep the cord and the speed switch accessible from outside the housing.
Step 4 — Cut the flames
Cut the costume fabric into flame shapes: a single tall triangle from the yellow, and a double-pointed shape — two inverted Vs — from the orange. Hem or tape the edges, or the fabric will fray steadily in the airflow and shed threads.
Make them larger than seems reasonable. Fabric flying in an air stream spends most of its time folded on itself, so a piece that looks generous flat looks small once it is airborne.
Step 5 — Tie the fabric on and test
Tie the fabric to the fan's grill, spacing the pieces well apart to give them flapping room — pieces tied too close tangle around each other and stop moving. Then switch the fan on and watch.
What you want is fabric that stays up indefinitely, rolling and licking rather than snapping. If your fan is strong enough to do that on its own, you are finished with the airflow work and can skip straight to step 8. Many cheap fans are not, and the fix is steps 6 and 7.
Step 6 — Add air deflectors
If the fabric keeps dropping, the airflow is too spread out. Narrowing the outlet with sheet metal deflectors raises the velocity through the middle of the box, which is exactly what is needed.
Cut deflectors from scrap tin, ductwork or termite shield and fix them to the frame so they angle the air inwards towards the centre.
Step 7 — Cut the lamp cradle
Cut a "U" shaped notch out of one of the deflectors, big enough for the base of the bulb to sit through it. This notch cradles the lamp in position and keeps it centred in the air stream.
Step 8 — Mount the light
Fix the floodlight fixture to the frame so the lamp sits below the fabric and shines upward through it. Wire and two screws will hold a fixture; the important thing is that it is genuinely rigid and cannot swing, sag or rotate towards the fabric while running.
Lamp choice matters more than the original build allowed for. A traditional incandescent flood gives the warm colour and hard shadow that make the effect convincing, and it runs extremely hot — it is the reason the cage exists. A modern LED flood of similar output runs far cooler and removes most of the fire risk, at some cost in colour quality and shadow hardness. Try LED first and only fall back to a hot lamp if the effect genuinely suffers. Whatever you choose, keep it well inside its rated wattage for the fixture.
Step 9 — Build the bulb cage. Do not skip this.
Make a cage of heavy wire around the bulb so that nothing — fabric, the fan's plastic grill, a stray leaf — can ever touch it. It will not be seen, so it does not have to be neat, and it should be generous: leave a clear inch or more all round the lamp, and use more wire than you think you need rather than less.
This single component is what makes the whole project acceptable. Costume fabric against a hot lamp ignites; a plastic fan grill against a hot lamp melts. Build the cage before you ever switch the light on with fabric fitted, and check it every year when the prop comes out of storage.
Step 10 — Run it and finish
Plug in the fan and the light — ideally through a switched strip so both can be killed together — and watch it in the dark. Adjust the fabric positions until the movement looks right. Then paint the deflectors matte black to match the box, and cover the fabric while you spray so it stays clean.
Using it
The effect only exists in darkness. In daylight it is fabric on a fan; at night it throws real moving firelight across a wall. It is genuinely at its best half-hidden — behind a low wall, inside a brazier, down in a fireplace, or beneath a pile of logs arranged around the box — because the less of the mechanism visible, the more the eye accepts the light.
The operating rules are short and they are not negotiable: never unattended, never overnight, outdoor-rated cable and an RCD or GFCI outlet for anything outside, and a cord inspection every season before it is switched on. A prop that has spent eleven months in a basement is not the prop you put away.