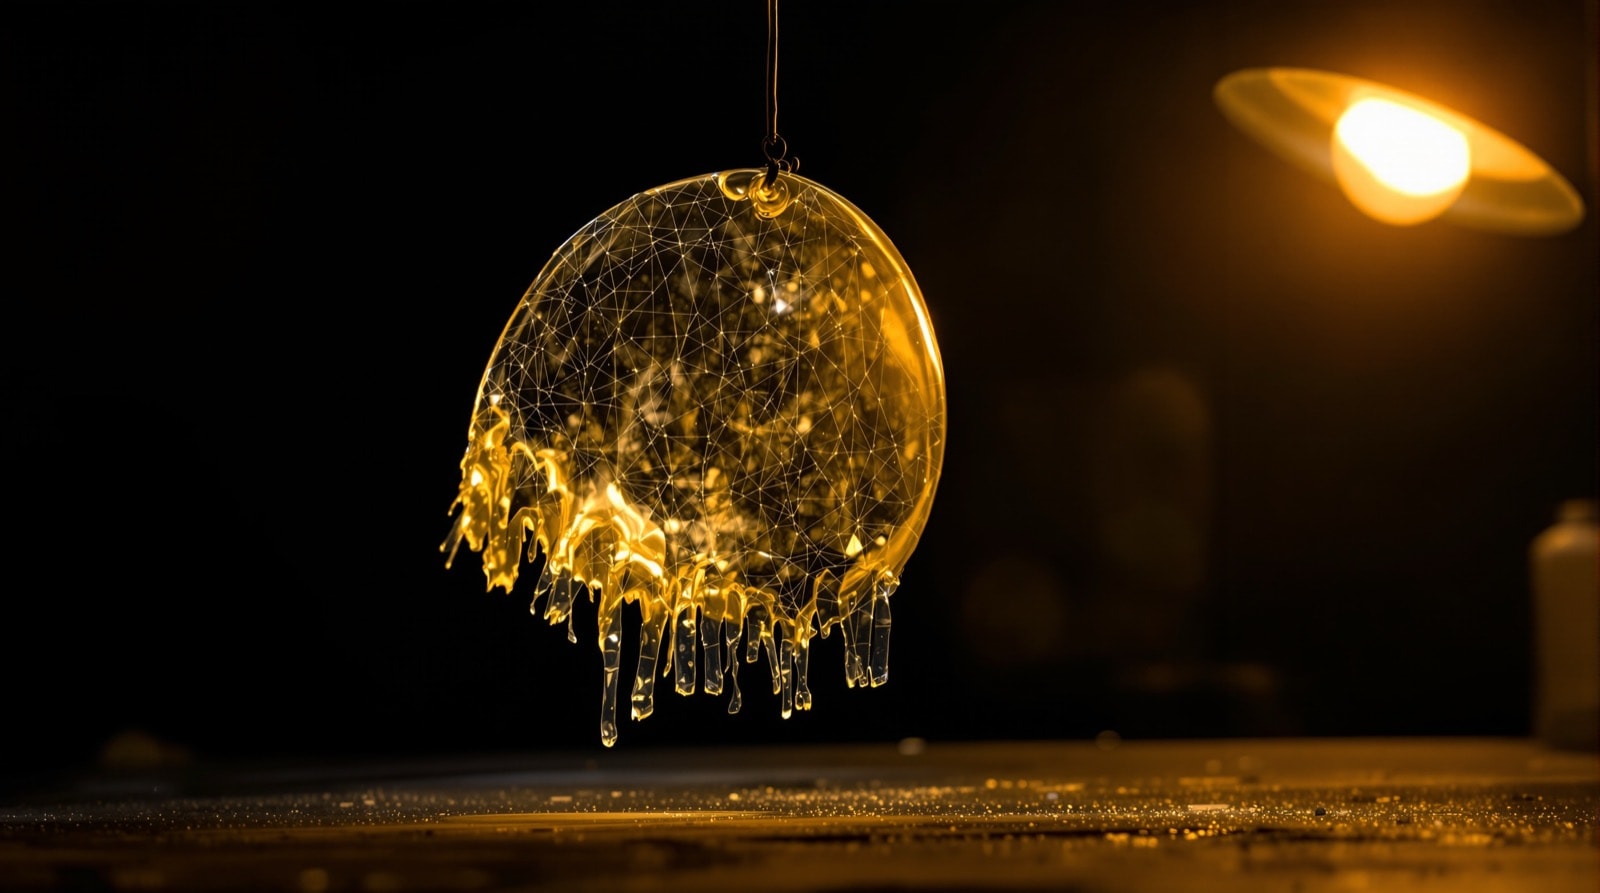
This project uses hot glue in the way it is least often used: not as a solid shell, but as a web of crossing threads laid over a face form and then peeled off. The result is a translucent, veined membrane that reads unmistakably as flayed skin, and it is made of nothing but paper, glue and acrylic paint.
It is designed as a hanging prop rather than a wearable mask, though the technique adapts to a wearable with some pre-planning — see the note at the end.
What you need
A rigid face form is the one non-negotiable item. A ceramic or plaster face cast, a polystyrene wig head, or a cheap solid plastic mask all work; the requirement is that it holds its shape under pressure and tolerates heat. A soft latex mask will not, and a hollow flexible mask will collapse when you press wet paper into it.
| Item | Notes |
|---|---|
| Rigid face form | Ceramic cast, polystyrene wig head, or a cheap solid mask. |
| Hot glue gun and sticks | The main material. Expect to use a lot. |
| Paper | Ordinary printer or newsprint, soaked. See step 1. |
| Scissors or craft knife | For trimming the membrane and cutting flesh tabs. |
| Acrylic paint | A mid flesh tone as base; green, red and blue for veins. |
| Red, blue and purple markers | For the translucent surface veins in step 7. |
| Gloss clear coat | Optional but recommended. It is what makes it look wet. |
Making the prop
Step 1 — Soak and lay the paper
Soak a sheet of paper in water until it is thoroughly limp — an hour in the sink is not too long. Wet paper fibres separate and stretch, which is what lets a flat sheet take on the compound curves of a face without tearing.
Lay the wet sheet over the form and press it into every hollow: the eye sockets, either side of the nose, under the cheekbones, the philtrum. Use fingertips and a spoon handle. The detail you push in now is the only detail the finished piece will have.
Let it dry partway before gluing. A porous form (fired ceramic or plaster) pulls the water out fast; polystyrene does not, so allow longer. Working over paper that is still soaking wet makes the glue spit and skate.
Step 2 — Lay the glue veins
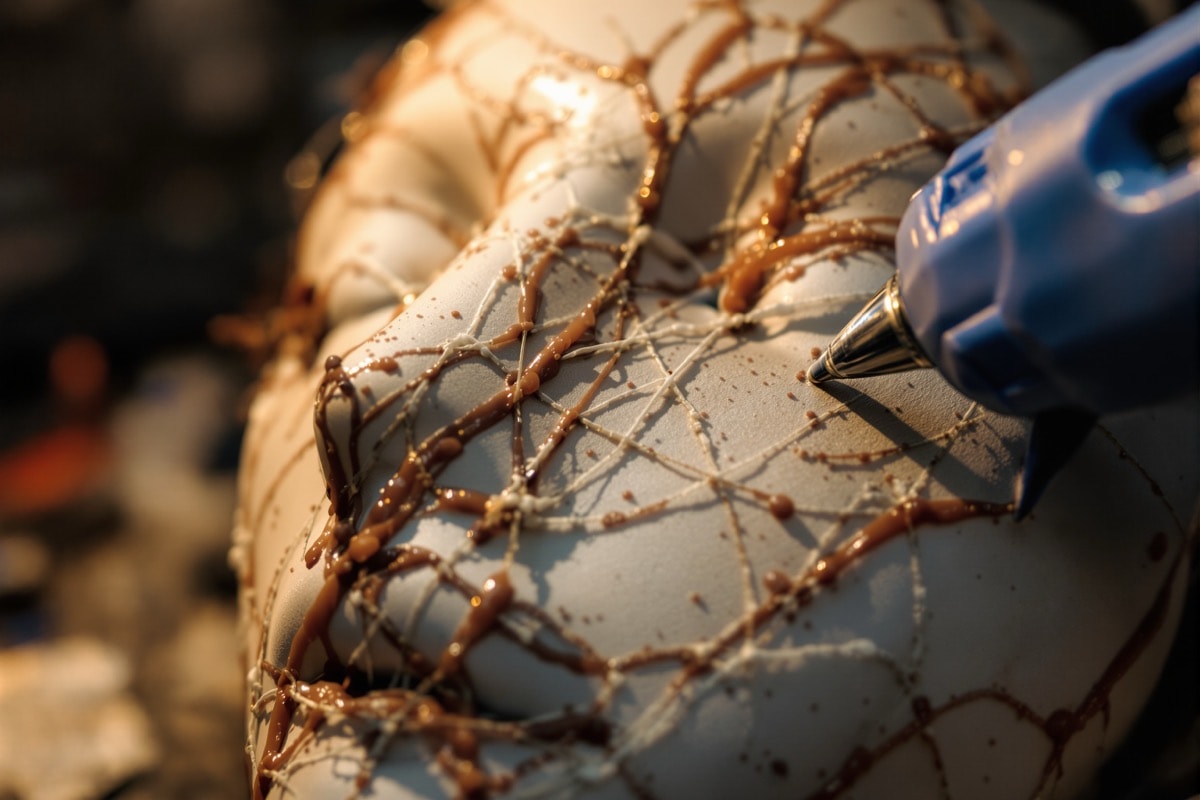
This is the technique the whole project exists to teach, and it is the opposite of what the glue gun invites you to do. Do not fill in areas. Instead run thin, stringy beads across the face — veins — and build the membrane out of them.
The rules that make it work:
- Never let two veins run parallel. Cross them at angles, constantly.
- Never let a vein run straight. Wander. A straight line reads as glue; a meandering one reads as tissue.
- Let some set before laying more. Veins laid over cooled veins stand proud and build genuine relief. Veins laid into hot glue merge into a flat sheet, which is what you are trying to avoid.
- Build up in passes until the whole face is covered by a web dense enough to hold together as one piece, but still open enough to see through in places.
Let the whole thing cool completely before touching it again. Molten glue on a curved form runs downhill, and the run will find your hand if you steady the piece from below — work over a scrap board and see the safety page.
Step 3 — Release the membrane
Peel the paper-and-glue membrane off the form. It should come away as a single flexible sheet, carrying the paper on the inside. If a section tears, patch it from behind with more veins rather than starting again — patched areas disappear entirely once painted.
Step 4 — Add hanging flesh (optional)
To turn the face into something that looks torn from a body rather than simply removed, cut irregular triangles of paper and glue them to the lower edge of the mask. Then treat them with the same crossing-vein method, running veins from the triangles up onto the face so the join disappears. Continuity of the vein pattern across the seam is what sells it; a clean edge between face and tab announces the join immediately.
Step 5 — Do the back
If the piece will hang free and be seen from both sides, repeat the vein treatment on the inside. It is worth the extra hour: a membrane with veins on both faces is genuinely translucent from either direction. If it will hang flat against a wall, skip this step entirely.
Step 6 — Base colour
Paint the whole piece, front and back, in a mid flesh-tone acrylic. Do not aim for a good skin colour — aim for a dull, even, slightly unpleasant one, because the interest is going to come from the layers on top. Then pick out individual veins with a fine brush in assorted greens, reds and blues. Vary it: a face where every vein is the same red looks decorative, a face where the colours disagree looks diseased.
Step 7 — The translucent overlay
This is the step that makes the project. Once the paint is dry and flat, run a fresh set of squiggly, random glue veins across the whole face, over the top of the painted ones. Let them cool, then colour these new veins with red, blue and purple markers.
Marker over clear glue stains it without hiding it, so the new veins are see-through and the painted detail underneath shows through them. That layering — opaque structure below, translucent structure above — is exactly what real tissue does, and it is why a two-pass face looks alive and a one-pass face looks like a craft project.
Step 8 — Make it wet
Several light coats of high-gloss clear spray. Flat paint on a face reads as plastic; gloss reads as moist. Spray outdoors in moving air, and mask nothing — the whole surface wants the sheen.
Hanging and display
The classic display is suspended in mid-air on fine line or fish hooks, lit from behind or from one side so the membrane glows and the veins show as dark lines through it. Backlighting is what this prop was built for and it is spectacular. Hung flat against a dark wall with a light raking across it is the second-best option and much easier to rig.
Adapting it as a wearable mask
It can be done, but plan for it from step 1. You would want eye and nostril openings cut properly at the release stage rather than hacked in afterwards, a heavier vein density around the edges for strength, no gloss coat on the inside, and a form taken from a face of similar size to the wearer's. Be aware that a glue membrane does not breathe, that it will be hot, and that the inside surface — however smooth it looks — is textured plastic sitting against skin. Treat it as a photographic mask for short periods rather than a costume for an evening.
The same foil-and-glue family of techniques is used differently on face transplant, which produces a rigid shell rather than a membrane, and on cheap skulls.