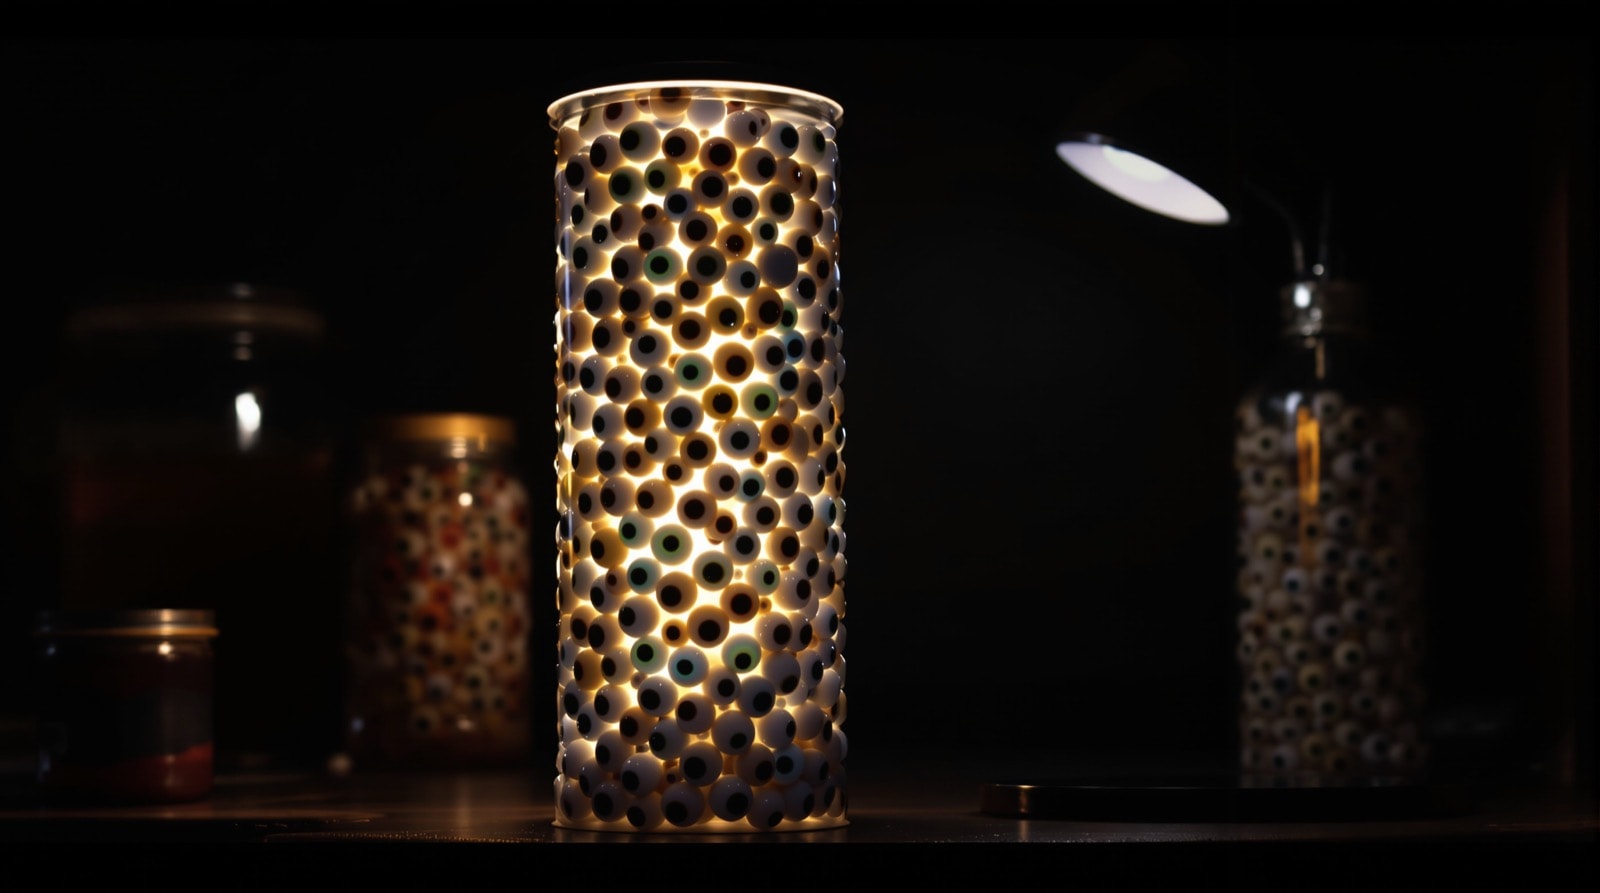
Two materials and about ten minutes. A clear plastic tube with a printed sheet of eyes rolled inside it reads, at any distance beyond arm's length, as a tube packed solid with eyeballs.
The illusion is the same family as the head in a jar: a flat print, curved, seen through slightly distorting plastic in low light. The curve supplies the volume and the plastic supplies the doubt. Keep it out of reach and nobody works it out.
Materials
- A clear plastic storage tube. The kind sold in hardware and home-improvement stores for holding nuts, bolts and screws, usually in the storage or fasteners aisle. A couple of dollars. A tall clear sweet jar or a length of acrylic tube with a cap works equally well.
- A printed sheet of repeating eyes, sized to the tube.
- Tape, and some scrap paper for packing.
Making the print
A ready-made artwork file was once offered for this project, but it is no longer available. Making your own is straightforward and gives a better result anyway, because the print can be scaled precisely to your tube.
Three routes, in increasing order of effort:
- Photograph real props. The original artwork was made by photographing novelty eyeball sweets and cloning the photograph into a repeating field. Any bag of eyeball gumballs, glass marbles or plastic craft eyes will do. Shoot them from directly above on a dark cloth in flat, even light, then copy and paste until the sheet is full.
- Build a sheet from stock imagery. Any openly licensed close-up of an eye can be cut out, duplicated, rotated and scattered.
- Draw them. An eye is a circle, a coloured ring, a black dot and one white highlight. Twenty minutes of drawing produces a perfectly good sheet, and hand-drawn eyes have a slight wrongness that works in your favour.
Whichever route, four things decide whether the print reads as three-dimensional:
- Every eye needs a highlight in the same place. A consistent specular dot implies a single light source, which implies solid objects. This is the single most important detail.
- Every eye needs a shadow underneath it. Contact shadow is what makes things sit on each other rather than float.
- Vary size and rotation. A perfect grid is instantly legible as wallpaper.
- Overlap them and let them run off the edges. Whole eyes with gaps between them look printed; eyes crowding and clipping each other look packed.
Size the sheet by measuring the tube's height and its circumference — diameter × 3.14, plus about half an inch of overlap so the seam closes. Print, and check the eyes are life-sized or a little larger against your own before committing.
Assembly
Step 1 — Prepare the tube
Peel off the manufacturer's sticker and any price label, and wash out the residue with warm soapy water or a little isopropyl alcohol. A ghost of a barcode down the side is what gives the prop away in daylight.
Step 2 — Roll and insert
Roll the print into a cylinder slightly smaller than the tube's inside diameter, feed it in, and let it spring open against the wall. Run a short strip of tape down the inside of the seam to hold it closed. As with the head in a jar, the print must be in genuine contact with the plastic all the way round — any air gap catches the light and reads as paper.
Step 3 — Pack the centre
Push a wad of scrap paper down the middle so it presses the print outward and holds it flat against the tube. This also fills the hollow core, which matters if the tube will be seen from above: an open shaft down the middle of a "solid" column is the one angle that gives it away. If the tube has a lid, keep it on.
Display
Set it above eye level or behind something, so nobody gets close. Light it from the side or behind — a small lamp or an LED tealight tucked underneath makes the whole column glow and the eyes seem wet. Next to the head in a jar and the alien specimen it completes a specimen shelf, and the three together are more effective than any of them alone.
A variation worth trying: two or three narrower tubes of different heights, each with a different eye colour, in a row. Reading as a set of catalogued samples is worse than reading as a single jar.