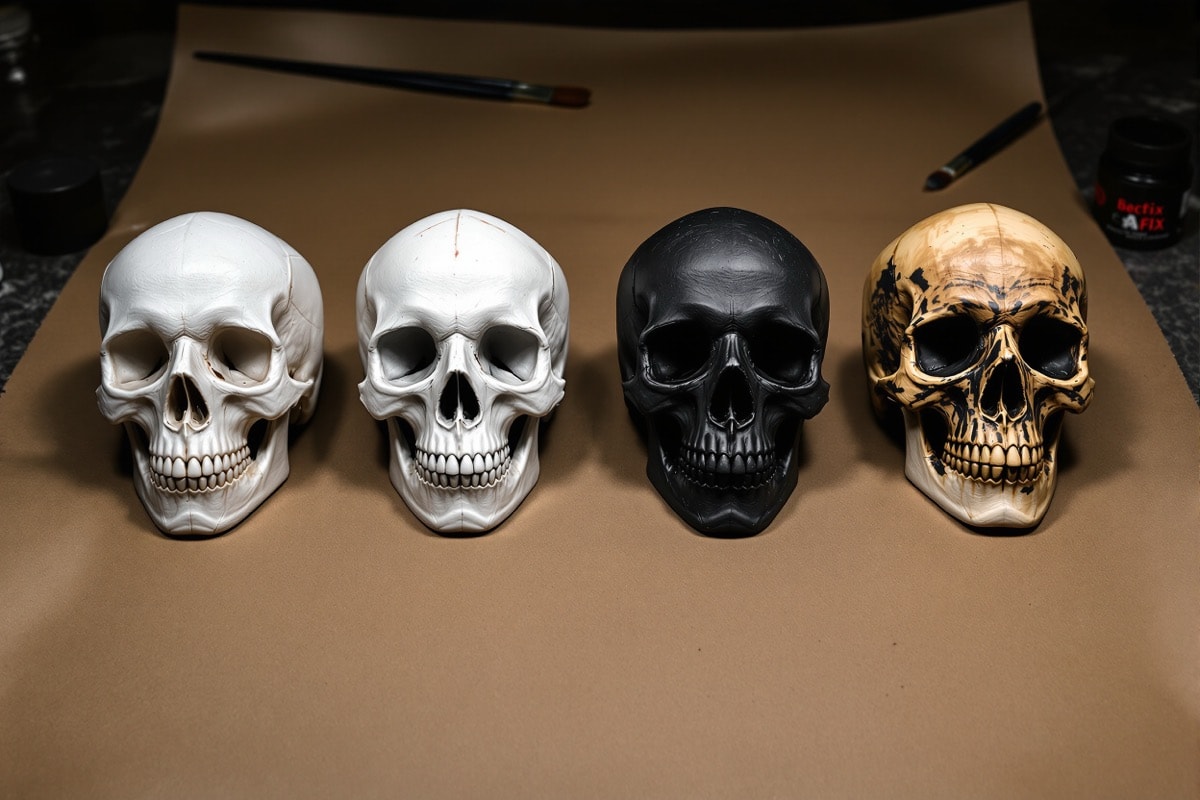
Four coats turn a clear glue shell into aged bone. This is the finishing recipe used all over this site — on the candy dish, on spectres, and in a greyscale variant on foam tombstones — and it is worth learning properly, because it is the difference between a prop that reads at ten feet and one that reads as a craft project.
Work in a batch
Before painting anything, cast a stockpile. Painting skulls one at a time wastes an enormous amount of time, because most of the clock is drying rather than working.
Paint them like an assembly line: every skull gets coat one, then every skull gets coat two, and so on. Six skulls take barely longer than one, and they end up matching, which a batch painted individually never does.
Step 10 — White base coat
Paint every skull all over with cheap white paint. It looks wrong — flat, chalky and toylike — and that is fine; nothing about this coat is meant to be seen. Its job is to stop the following layers looking transparent over clear glue.
Get it into every nook and cranny. Any recess the white misses will not hold the wash properly, and the whole effect depends on the recesses. Push the brush into the sockets, the nasal opening and the deep texture pits.
Let it dry thoroughly. This is the step people rush, and rushing it is what turns the next coat into grey mush. Overnight is not excessive.
Step 11 — First ink wash
Mix black india ink with water into a thin wash. Ink is preferable to thinned acrylic here for one specific reason: it does not grab as fast, so if an area goes too dark you have a window in which to push it around and lift some back off. Acrylic sets where it lands.
Using a fan brush, cover the entire skull and let the wash flood into every recess. Be liberal. The ink will run off the skull, off your hand and onto the bench — put newspaper down first.
Then take a cloth or paper towel and dab the ink off the raised areas, leaving it in the cracks, the sockets and the pitted texture. Dab; do not wipe. Wiping drags ink out of the recesses, which is the only place you want it.
Let the skulls sit overnight.
Step 12 — Off-white dry-brush
Load a fan brush with off-white or pale cream acrylic and then wipe nearly all of it off onto a rag, so the brush is almost dry. Drag it lightly across the skull.
An almost-dry brush only touches the high points, so the raised surfaces pick up cream while the recessed areas keep the black wash beneath. That contrast is the whole trick. If the recesses are filling with cream there is far too much paint on the brush — wipe more off.
Build it up in several light passes rather than one heavy one, and vary the coverage a little across the skull so it is not uniform. Let it dry.
Step 13 — Second ink wash
Mix another ink wash and cover the whole skull again — but this time do not dab it back off the raised areas. Let it settle into the cracks as before, and let it stay as a thin grey film across the flat surfaces too.
This last pass knocks back the brightness of the dry-brush, ties the whole surface together, and takes the skull from clean white bone to something that has been in the ground. Allow to dry completely.
Getting it right
- Too clean? Another wash. Almost every skull that looks wrong is one wash short.
- Too dark and muddy? Another dry-brush pass, lighter than you think.
- Chalky and flat? The white base was not dry before the first wash went on. There is no fix but to go back over it, so be patient with step 10.
- All identical? Vary the last two coats between skulls. In a stack, uniformity is what gives away that they came off one master.
Variations
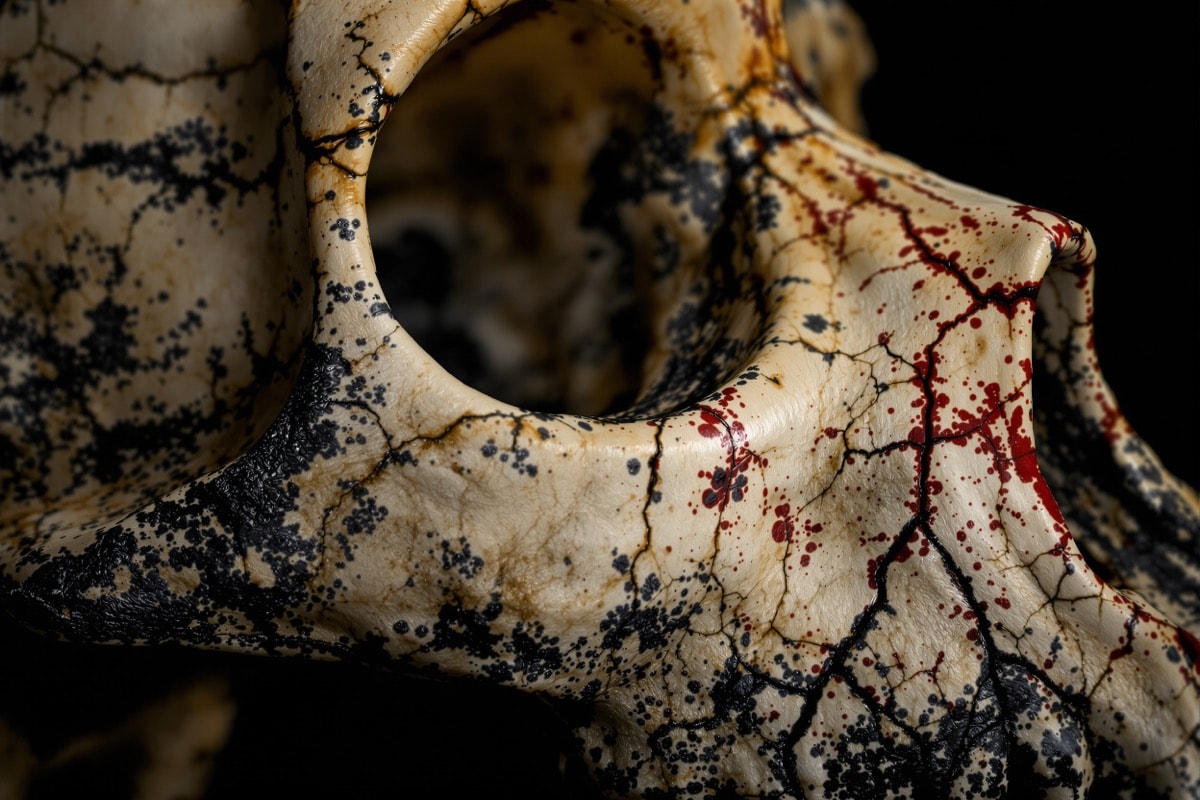
A little brown or green in the final wash gives earth staining; concentrated in the sockets and under the cheekbones it reads as damp. A touch of the same in a few pits reads as mould. For a skull that will be lit from behind, thin the white base coat slightly so the glue stays a little translucent — light glowing dimly through a skull's own walls is worth the extra fiddle.
Your skulls are finished. Clean up the workshop, feed Igor, and go about your way.