The armature is finished. What remains is the membrane, which is the part that turns a bent wire into a bat, and the two small details — ears and eyes — that do a disproportionate amount of the work at night.
Step 9 — Trace the wings from the armature
Lay the bat face down on a sheet of plastic. Use something heavier than a kitchen bin liner: a contractor-weight refuse sack or a light tarp holds a shape, resists tearing at the tape line, and survives a wet October. A thin bag will flap, stretch and split at the wingtips within a season.
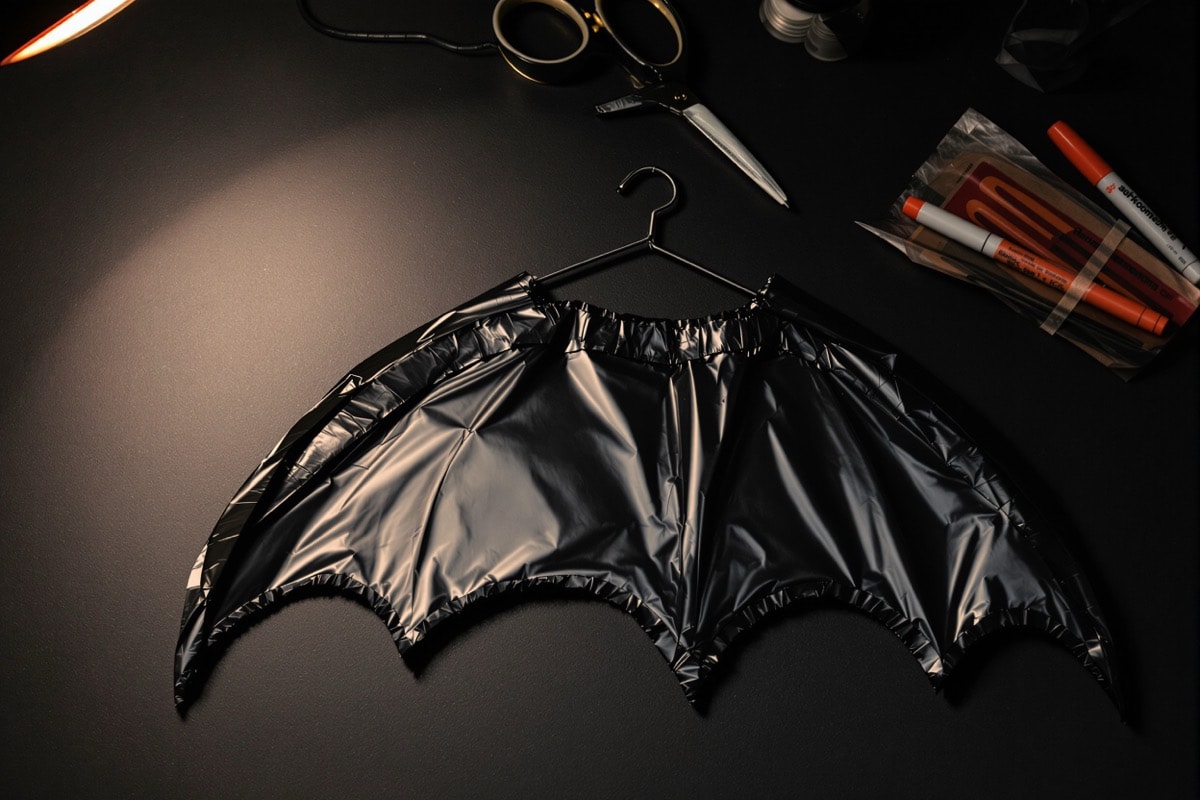
Draw around the wing wire with a marker, working from the shoulder out to the tip and back along the trailing edge. Leave about an inch of extra plastic outside the wire on the leading edge: that margin is what will be folded over the wire and taped in step 11. Traced tight to the wire, there is nothing to fold and the wing has to be surface-taped, which looks worse and fails sooner.
The trailing edge is where the character is. A straight cut reads as synthetic; a shallow scallop between each finger point, or a couple of ragged tears and a notch, reads as a real membrane that has had a hard life.
Step 10 — Cut the membranes
Cut along the outline with scissors, keeping the extra margin on the leading edge. Cut both wings before assembling either — it is far easier to compare two flat shapes on a bench than two wings already attached to a bat.
Step 11 — Fold and seal the leading edge
Lay the body back over the membranes and fold the spare inch of plastic over the wing wire so the wire is enclosed in a hem. Tape along the fold with black electrical tape, working from the shoulder outward in short overlapping pieces and keeping the plastic under slight tension as you go. Slack plastic wrinkles; over-stretched plastic tears at the tip.
Continue until the whole leading edge is sealed and the membrane is held only by the taped hem — no glue is needed, and hot glue on thin plastic tends to distort it. Repeat on the other side.
Step 12 — Ears and eyes
Ears are made from electrical tape alone: fold a short length back on itself sticky-side to sticky-side to make a double-sided black tab, trim it to a tall triangle, and tape the base to the head. Two of them, set fairly far apart and angled slightly outward, are enough. Bat ears are large — larger than instinct suggests — and undersized ears are the second most common flaw in a homemade bat after wingspan.
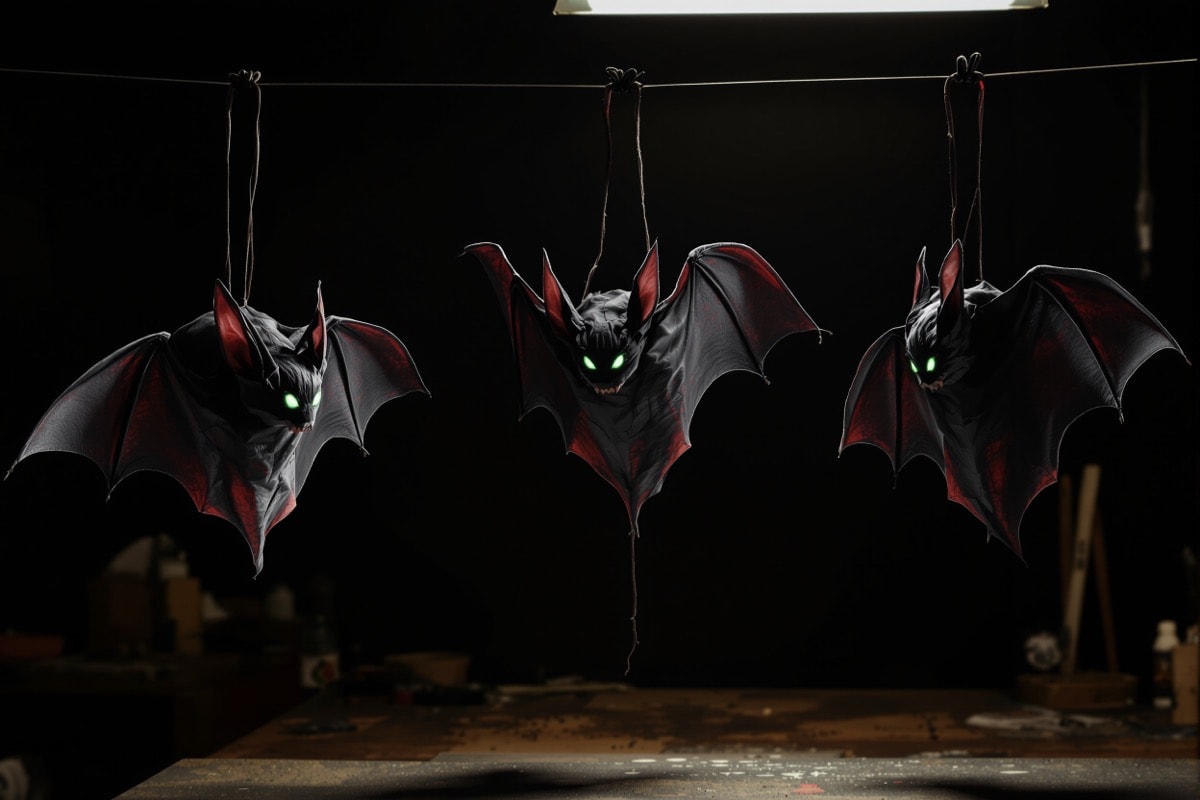
For eyes, put a single small dot of glow-in-the-dark fabric paint on each side of the head. This is the highest-value five seconds in the whole build. In daylight the dots are almost invisible; after dark, charged by any household light, they hold a faint green glow that picks the bat out of a black corner exactly the way real eyeshine does.
Step 13 — Hanging
Screw a small threaded eyelet into the back of the body, through the tape and into the compressed paper core, and add a drop of hot glue around the base of it. Hang from fishing line rather than string — invisible line at three feet is what makes the bat look like it is flying rather than being displayed. Vary the drop lengths across a group and turn each bat to a slightly different angle; three bats at three heights and three attitudes read as a colony, while three at the same height read as bunting.
Finishing and storage
A light coat of matte black spray paint over the finished bat, applied outdoors, seals the tape seams and stops the wire rusting — see the weatherproofing note in part 1. Do it after the eyes are on and mask them, or you will lose the glow. Store bats hanging rather than boxed; stacked in a crate, the membranes take a crease that never comes out.