Part 1 left a taped body with a straight wire running through it. This part turns that wire into wings that hold their shape and will keep holding it once the plastic membrane is added in part 3.
Step 5 — Bend the wing profile
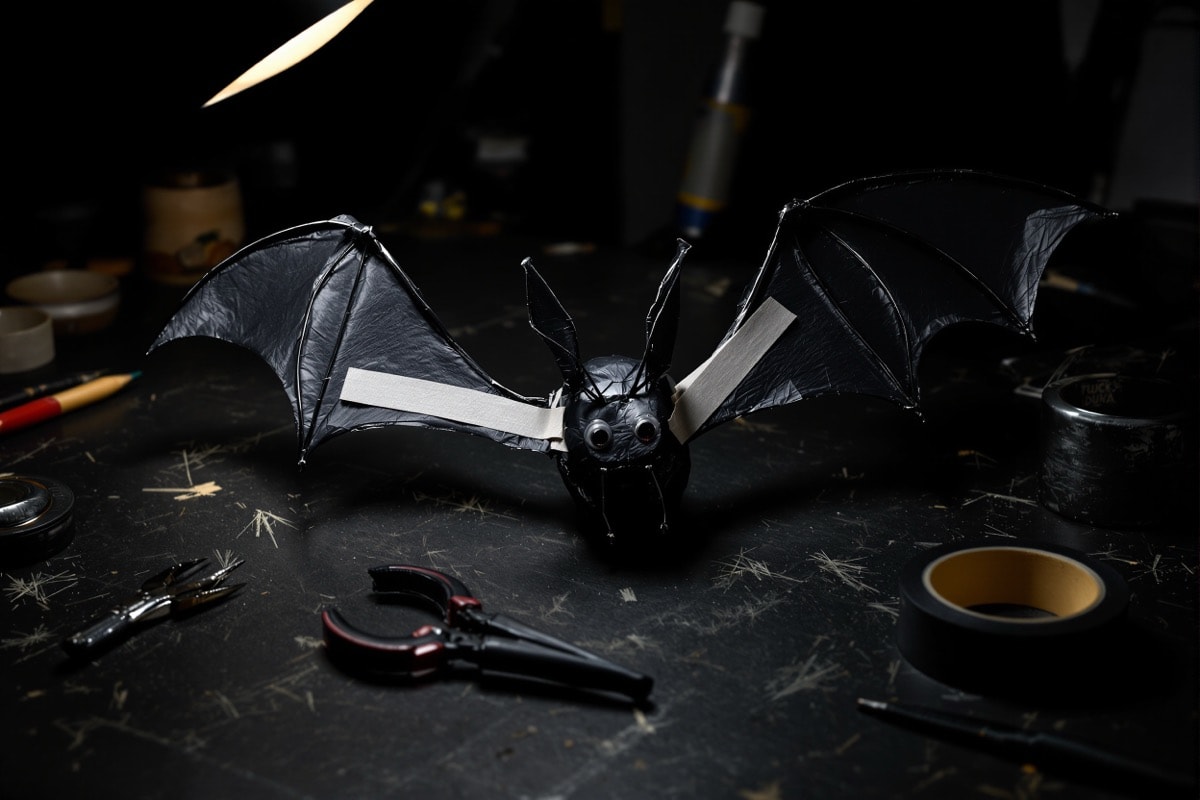
Using the side cutters and pliers, bend each side of the wire into the familiar inverted "W" of a bat wing: out from the shoulder, a bend down at the elbow, out again to the wingtip, and then the sweep back in towards the body at the trailing edge. Work both sides to the same profile — lay the bat face down on the bench and eye the two halves against each other, because asymmetry is far more noticeable in silhouette than in the hand, and silhouette is how this prop will be seen.
Slightly dropped wingtips look better than level ones. A bat with perfectly horizontal wings reads as a paper cut-out; a small downward set at the tips reads as weight.
Step 6 — Tack the bends
Run a bead of hot glue into the angle of each bend where the wire meets the body. Be clear about what this is for: it stops the wire creeping while you work, and that is all. Hot glue alone will not stop a wing rotating in the body once the membrane catches wind — it is a tack, not a joint, and the next two steps are what actually fix the wings.
Step 7 — Add a spine behind the wings
Cut a short slat of scrap wood or rigid plastic, four to six inches long, and lay it across the back of the body so it spans both wing wires just outboard of the shoulders. This slat is the structural answer to the problem in step 6: it ties the two wing roots to each other and to the body, so neither can rotate independently.
It sits on the back, where it will not be seen from below and in front — which is the only angle this prop is ever viewed from.
Step 8 — Bind it in
Wrap the slat, the body and both wing wires together with black electrical tape, pulled as tight as it will go, in overlapping bands running in several directions. Do not be shy with the tape; this is the joint that carries the whole prop. When it is done, hold the bat by one wingtip and shake it gently. If either wing shifts relative to the other, add more tape.
Finished properly, the bat at this stage is a rigid, symmetrical armature with a smooth black body. It should look like a bat skeleton in silhouette, and it should survive being handled by the wings.
A note on scale
This is the last comfortable point to change your mind about size. If the wingspan now looks mean against the body, cut new wire and redo the armature — it is twenty minutes. Once the plastic membranes are on, the proportions are locked.